
When a cutting head starts drifting off line
A cutting head that sits slightly out of position can leave burrs, rough edges or a cut that changes from one corner to the next. The usual checks begin with nozzle centring, then the focus setting, then the capacitive sensing and finally the gas path if the cut still looks uneven.
On most sheet-metal machines the problem is not one single part. Dust on the lens, a worn ceramic ring, a damaged nozzle or a small knock to the head body can all change the cut quality. A proper inspection looks at the full path from the optical stack to the material face.
- Check the nozzle for oval wear, spatter and blocked orifices
- Check the protective window for fogging, pitting or heat scorch marks.
- Confirm the focus position and the sensor reading
- Look for leaks, loose fittings or dirty gas passages
Nozzles, single layer and double layer
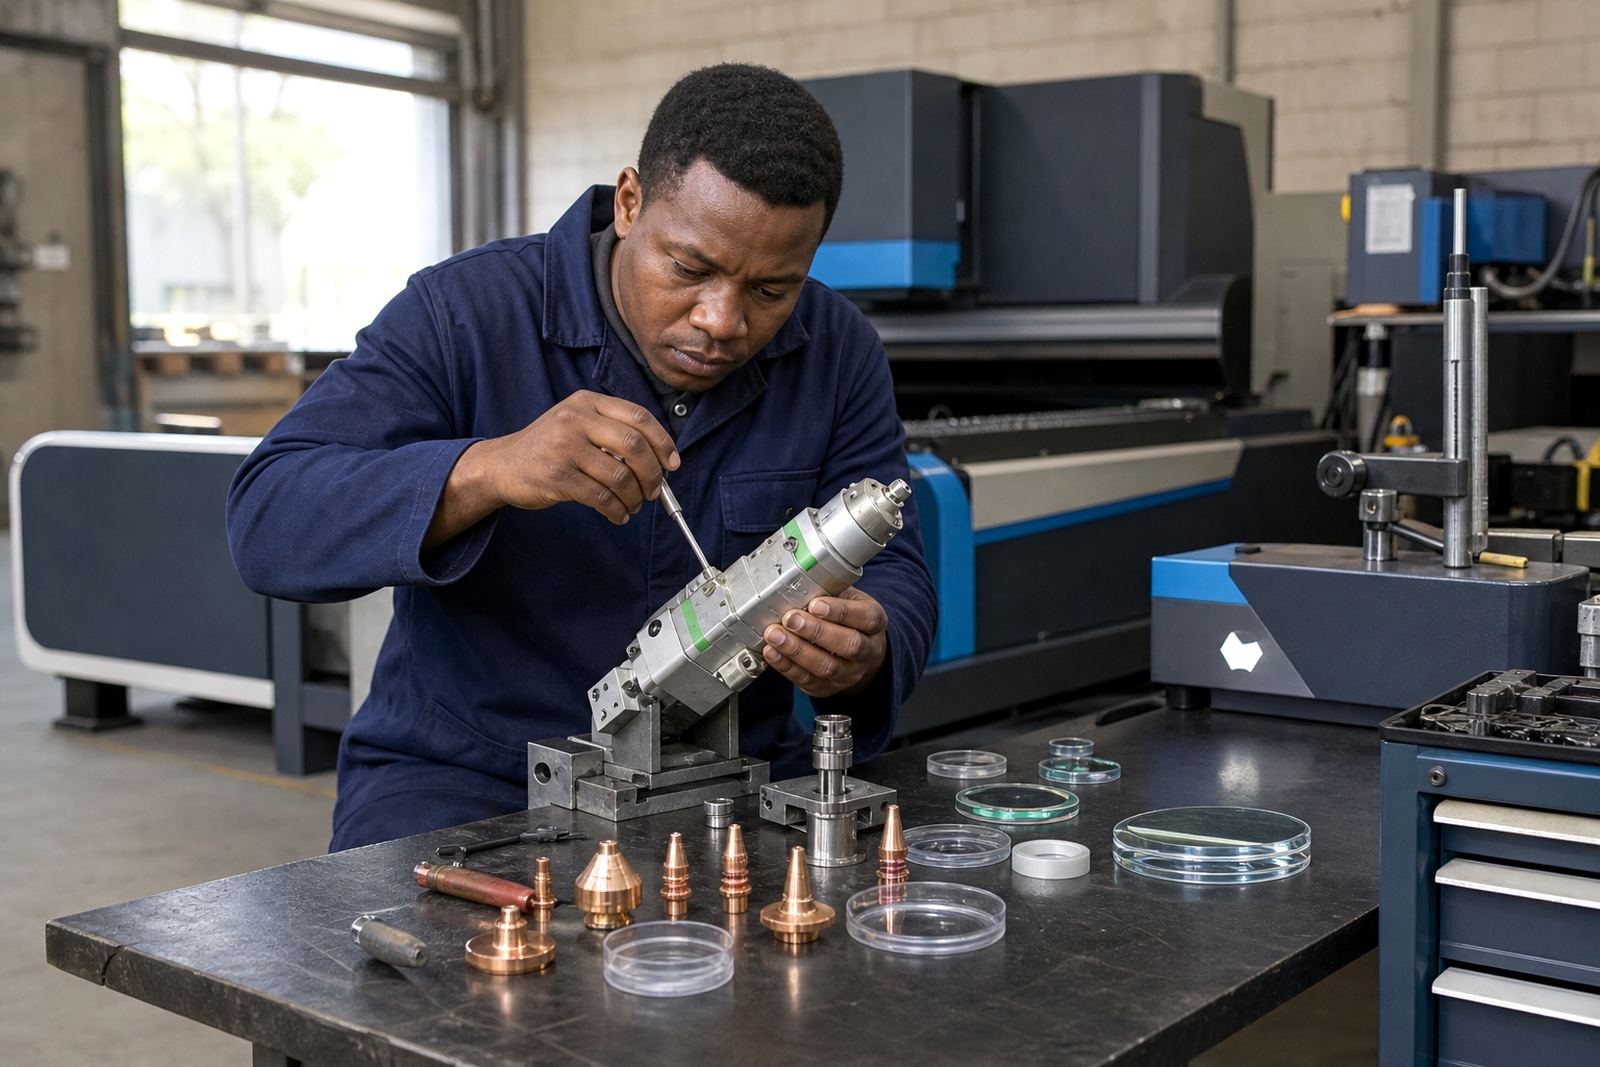
Single layer nozzles are often used where the cut needs a narrow gas stream and a clean kerf. Double layer nozzles can help when assist gas flow needs more control, especially on thicker sheet or where edge finish matters. The right nozzle size depends on material thickness, pierce behaviour and the cut quality you want to hold.
If a nozzle keeps marking the sheet or the kerf widens and narrows from part to part, the centre line may be out. That is when nozzle centring and a close look at the nozzle seat make sense. A bent tip or spatter build-up can throw off the beam and spoil an otherwise sound job.
- Single layer nozzles suit straightforward cutting runs
- Double layer nozzles are used where gas control needs more stability
- Orifice wear changes cut width and pierce quality
- Repeated crash marks can damage the nozzle seat as well
Optics care on the bench
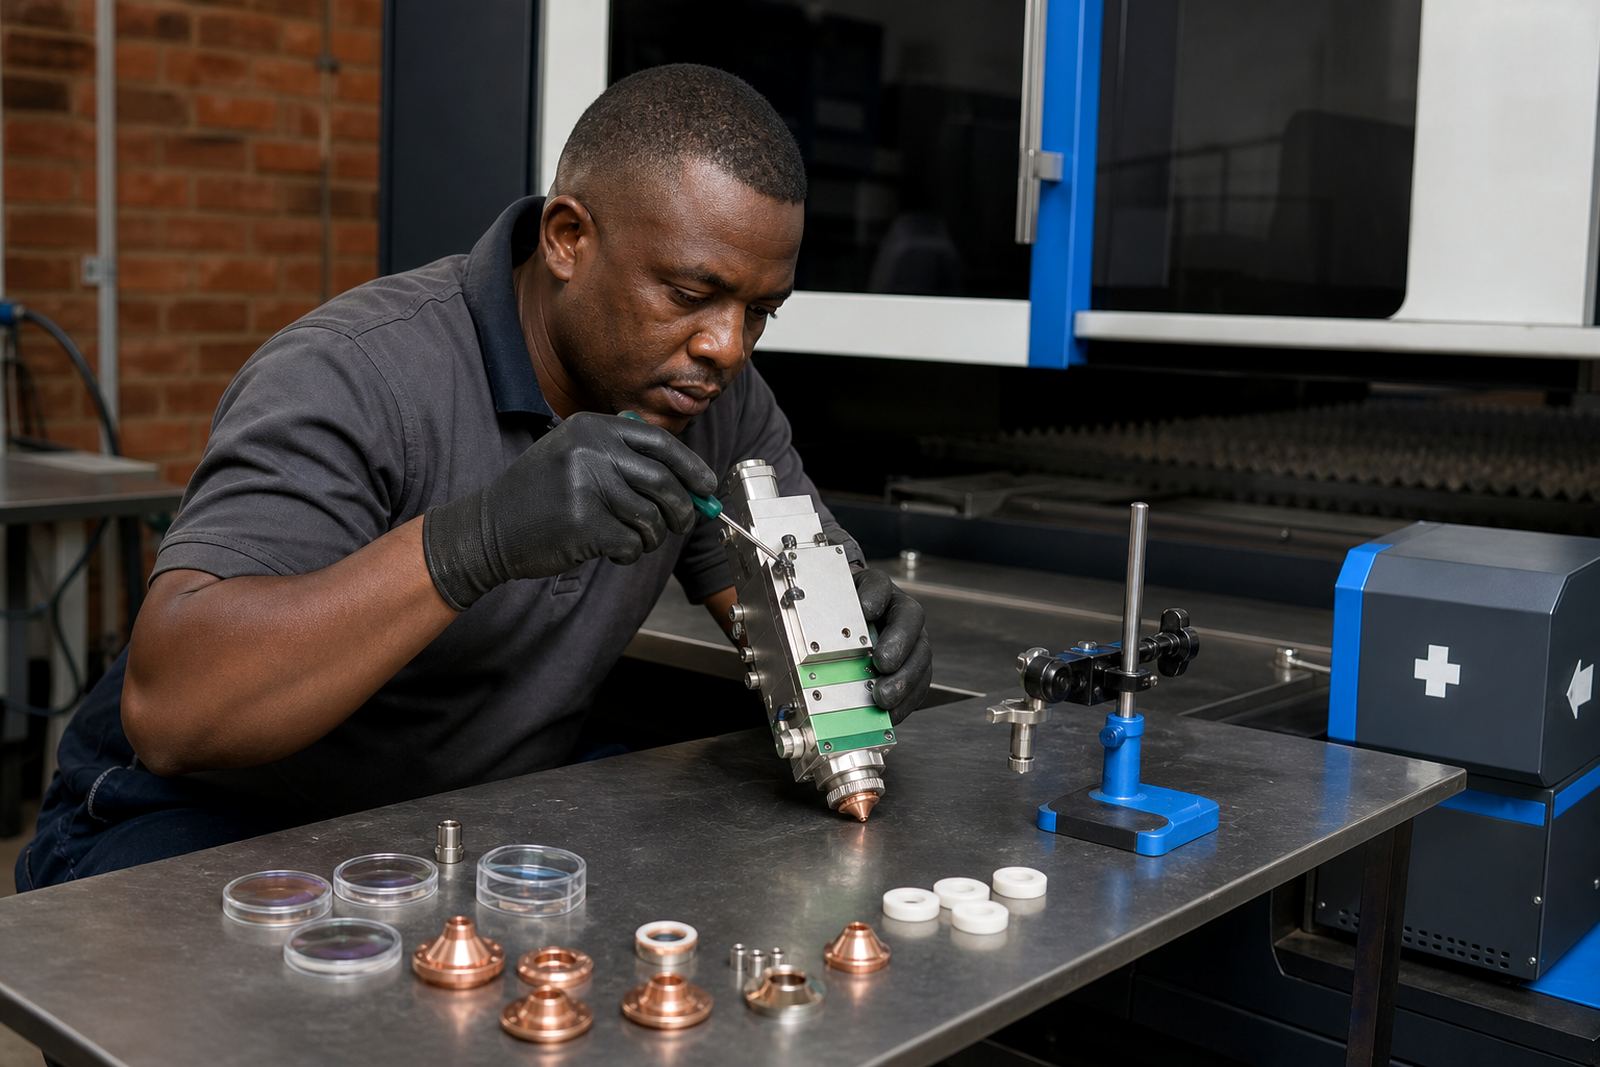
Focus lenses, collimator lenses and protective windows all need clean handling. A fingerprint, smoke film or fine dust can distort the beam and create heat marks inside the head. Bench servicing is the right place to inspect the optics, clean them properly and check for seal wear before the head goes back into work.
Lens cleaning is not a quick wipe with a rag. The parts need the correct handling method, clean swabs and a proper check for scratches or clouding. If a protective window has taken too much heat or peppering, replacement is safer than trying to recover it. Ceramic rings are checked at the same time because cracked or loose rings can disturb the optical alignment.
- Inspect lenses under light before any cleaning starts
- Replace protective windows that show heat damage
- Check ceramic rings for cracks, chips and poor seating
- Rebuild seals where dust or gas leakage is visible
What capacitive sensing has to do with cut quality
Capacitive height sensing helps the head keep a stable distance from the sheet. If the sensor drifts, the cut can drag, spark too hard or lose focus through the corner. A sensor check looks at the reading, the wiring, the mounting and the condition of the head face around the sensing point.
In shops cutting mixed material thicknesses, the sensor needs to stay clean and consistent. Rust, oil and fine slag can interfere with the reading. That is why a service often includes a cleaning routine, a sensor test and a review of the focus setting at the same visit.
When the sensor is working as it should, the head can track the sheet more steadily and the edge finish becomes easier to hold. If the sensor keeps wandering, the problem may sit in the head, the cable or the machine setup, so the inspection needs to move step by step.
On-site alignment for shops that cannot pull the head out
Some heads need a bench strip-down, but others can be aligned at the machine where they sit. On-site head alignment is useful when the installation is large, the machine is difficult to move, or the fault appears after a crash and the frame still needs checking in place.
Our field work can include nozzle centring, focus setting check, capacitive sensor check and a gas path inspection. If the head shows crash damage, the technician first looks for bent parts, seal failure and any sign that the optical path has shifted. Where needed, a spare head can be prepared so the machine is not waiting while parts are sorted.
- Confirm the fault before any alignment starts
- Check the mounting, sensor reading and head body condition
- Set the focus and re-centre the nozzle
- Test the cut on material that matches the normal job
Parts, wear points and the order they usually fail
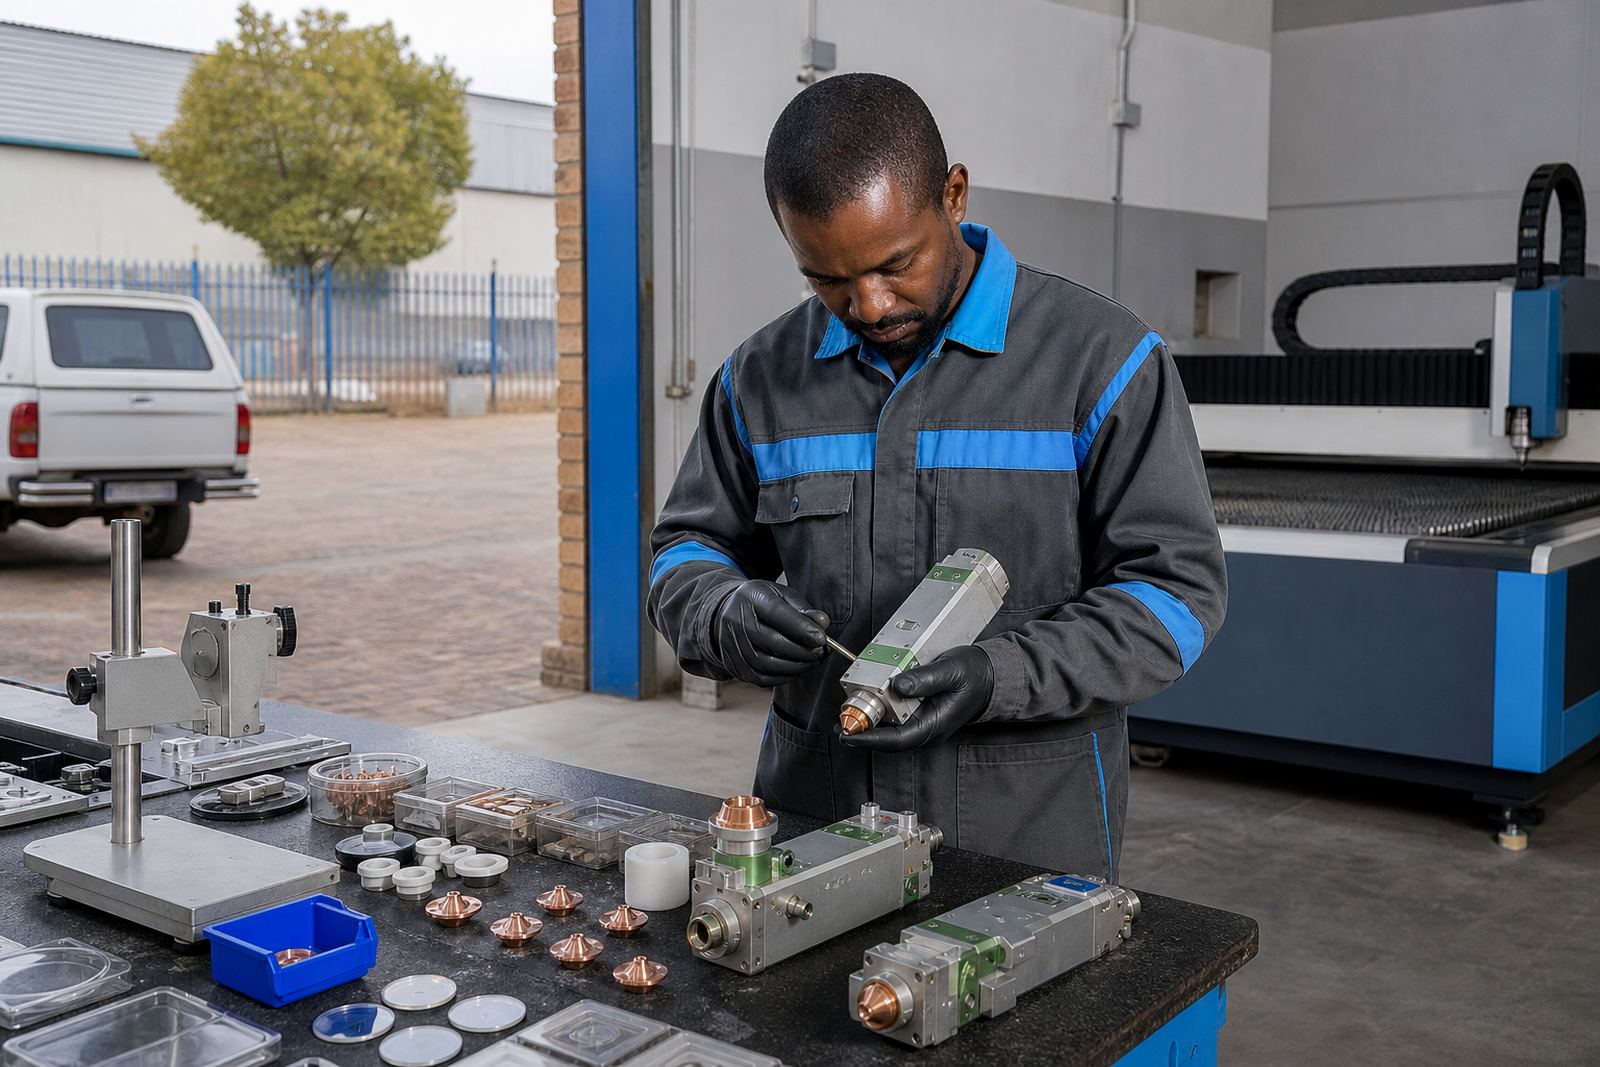
In daily use, the parts that wear first are often the nozzle, the protective window and the ceramic ring. After that, attention moves to the lenses, the seals and the head body if there has been a crash or a long period of dirty cutting. A good service record helps track what changed and what was replaced.
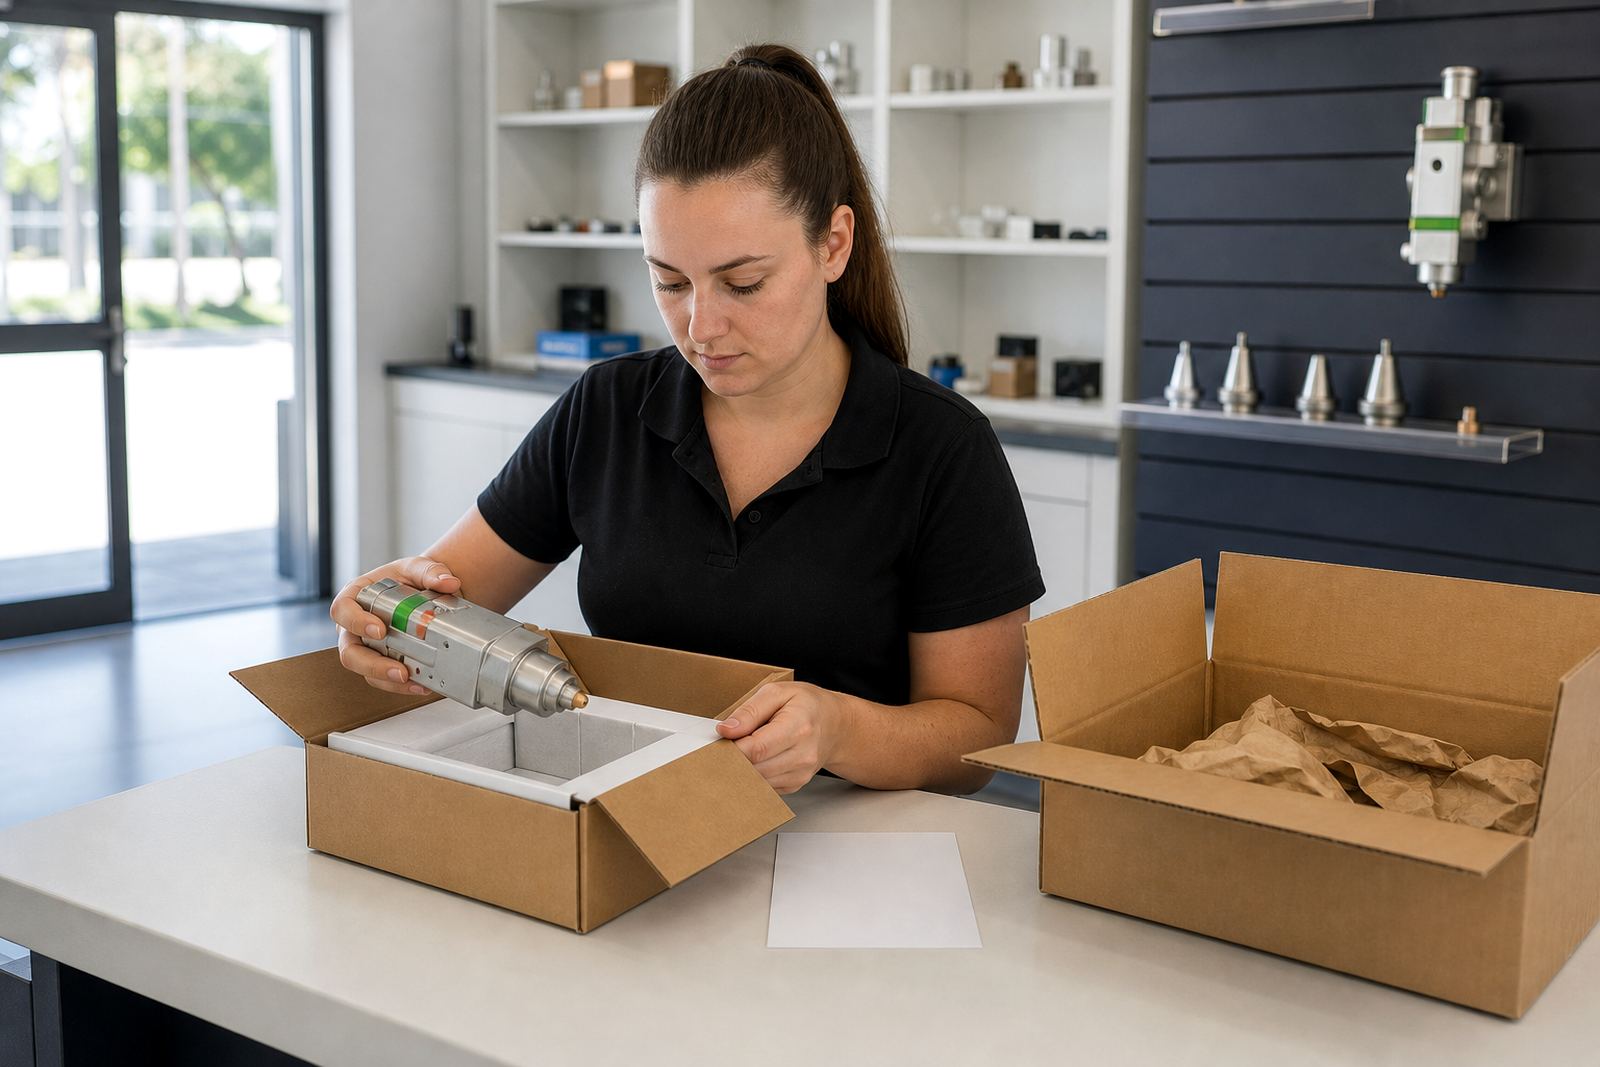
Spare head preparation is useful for shops that want a backup ready on the shelf. It can save time when a head is out for repair or a nozzle seat has been damaged. The key is to keep the spare stored clean and checked, not just boxed and forgotten.
- Keep consumables sealed and dry in a clean area
- Inspect spare heads before they are put into use
- Replace damaged seals before dust enters the optical path
- Track crash damage separately from normal wear
How support visits usually move from fault to fix
Support work starts with the symptom. Poor edge finish, lost pierce control, smoky cuts or an unstable sensor reading each point to a different part of the head. From there the technician moves through the nozzle, optics, sensing and gas path in a set order so the real cause does not get missed.
That method keeps the work practical for sheet-metal shops in Spartan, Kempton Park, Johannesburg, Pretoria, Rustenburg, the East Rand, Durban and Cape Town. It also suits machines that run a mix of mild steel, stainless and aluminium, where the head needs to stay clean and correctly set for each job.
Clear fault notes help. So does a sample part or a photo of the cut edge, because both make the inspection more direct and the service more accurate.