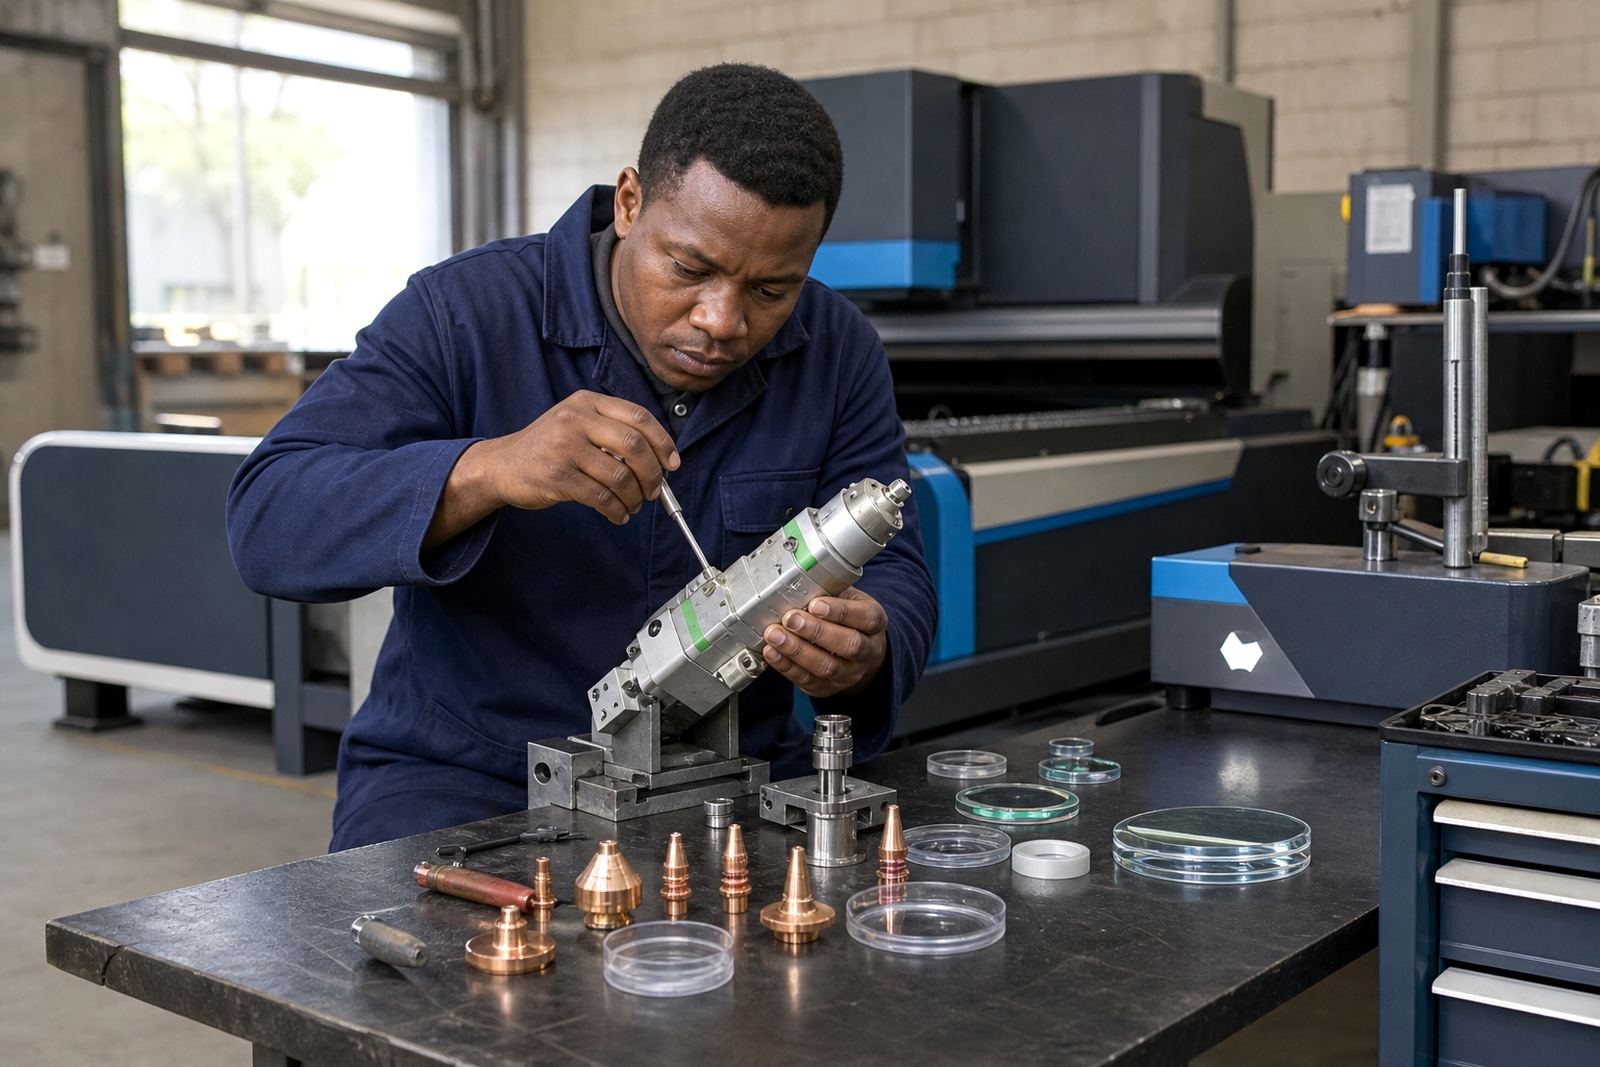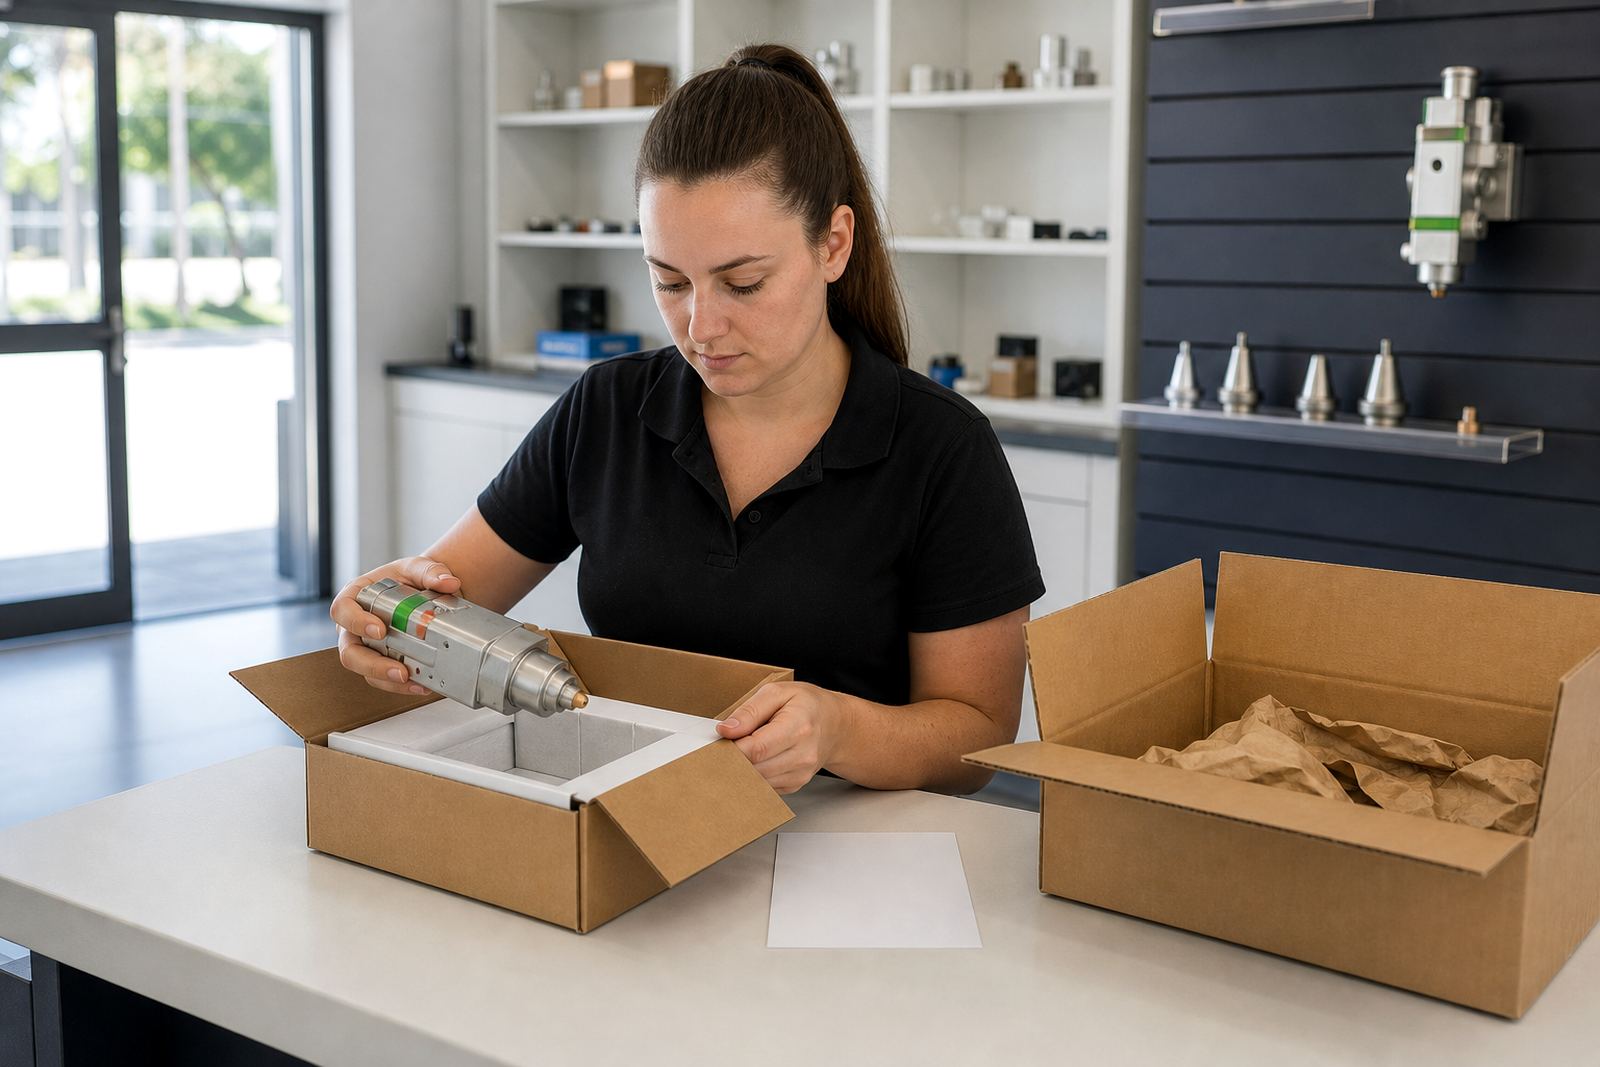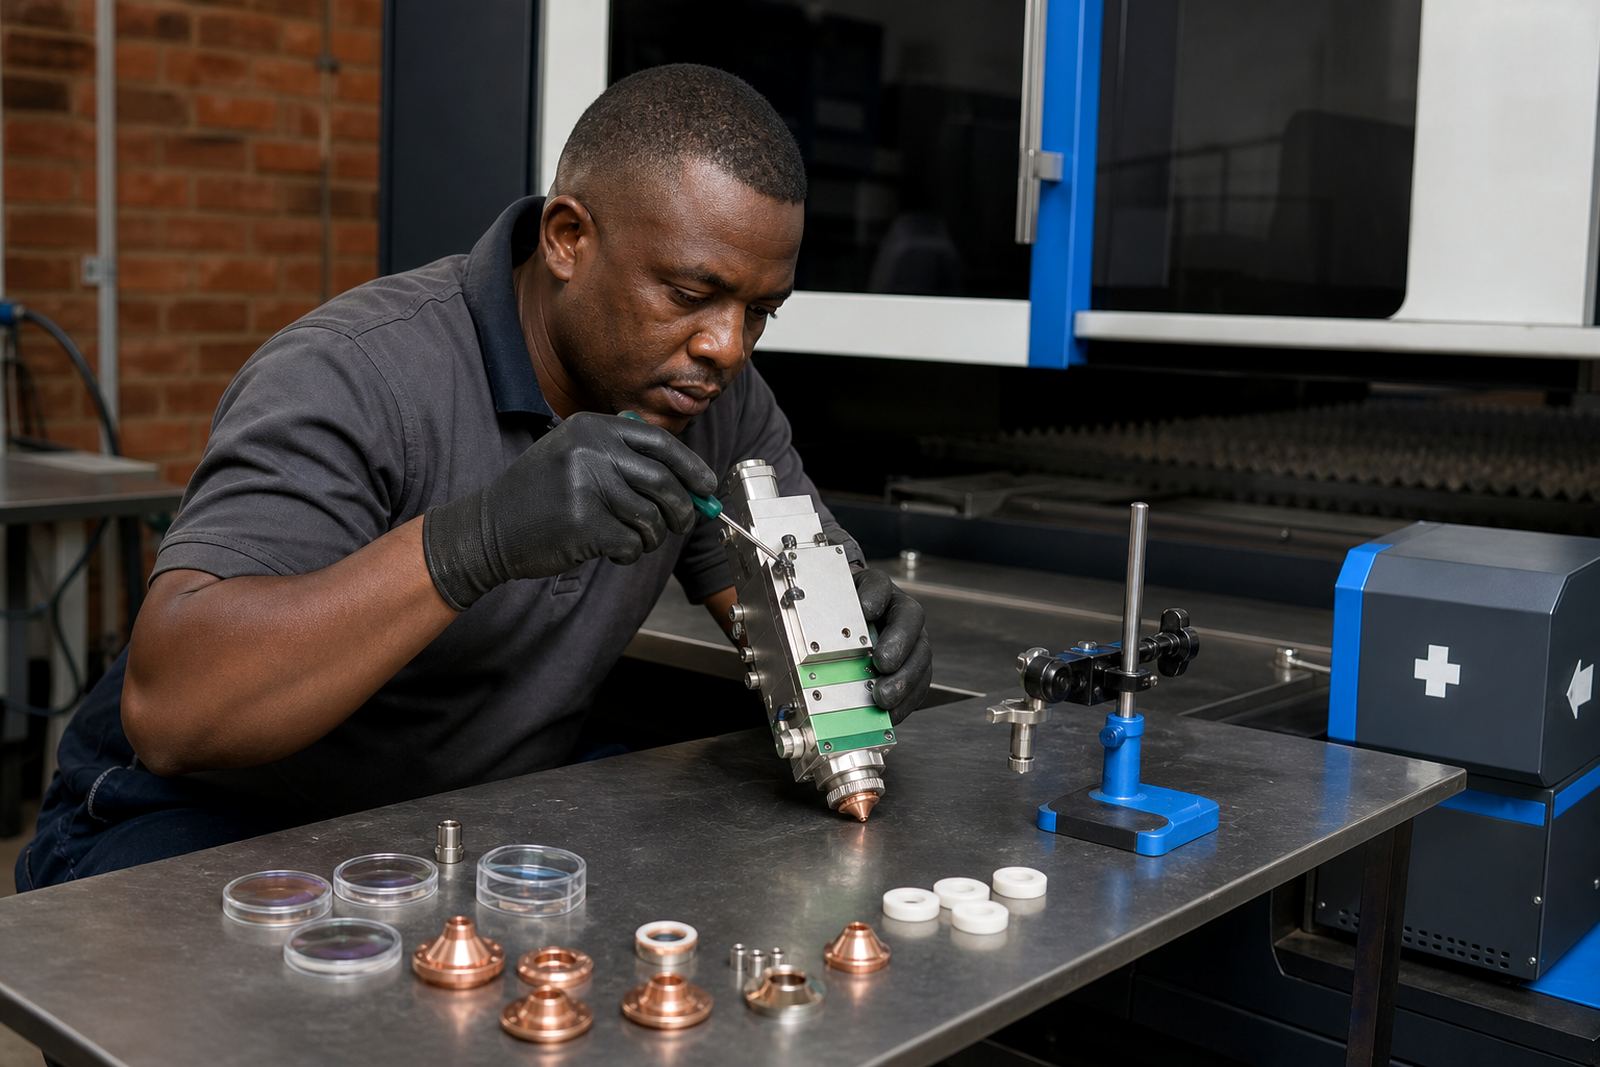

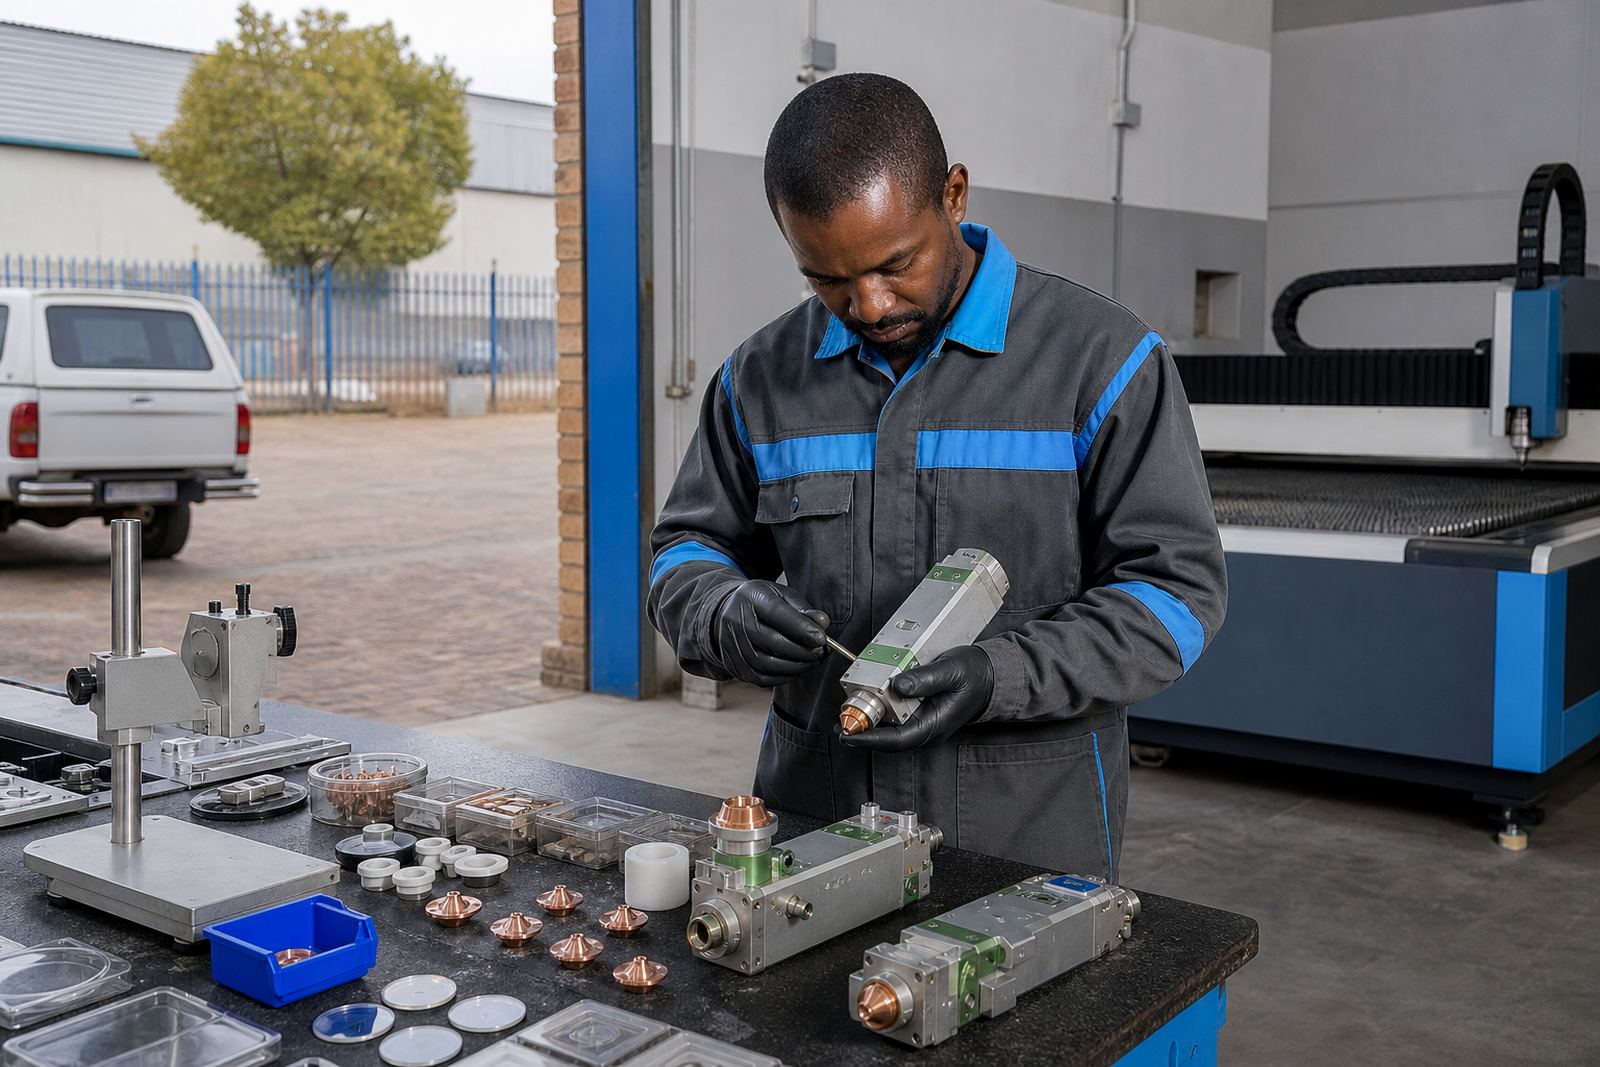
Start with a clean bench and steady hands
Before you open a cutting head or handle a spare part, clear the bench and keep lint-free wipes, clean gloves and sealed containers close by. Dust, oily fingerprints and metal fines move faster than people expect, especially in Johannesburg and the East Rand where shop floors gather fine grit from daily cutting work.
Put each removed part in a marked tray. A nozzle or lens that rolls across the bench can pick up a tiny nick, and that is enough to disturb the cut or the sensor reading. Keep liquids away from the work area unless they are meant for optics or metal cleaning, because the wrong solvent can leave a film behind.
Nozzles need more than a quick wipe
Single layer and double layer nozzles must stay round, clean and free from burrs at the orifice. If the hole is oval, chipped or heat stained, gas flow changes and the cut edge can suffer. For stainless steel and mild steel work, a small change at the tip often shows up as dross, wider kerf or unstable pierce marks.
- Clean the outer body with a lint-free cloth only.
- Use approved cleaning methods for the bore, never a hard pin that enlarges the opening.
- Check the nozzle seat for soot and fine slag before refitting.
- Replace nozzles that show visible damage, even if they still thread in cleanly.
Match the nozzle type to the material and thickness being cut. A nozzle that is suitable for thin sheet may not hold the same gas flow on heavier plate, and that can push the head into extra wear.
Keep lenses clear, but never touch the glass face
Focus lenses and collimator lenses are sensitive to dust, vapour and condensation. Hold them by the edges only. A fingerprint on the optical face can burn in quickly once the machine is back in service, and the result is often a soft beam, poor pierce quality or early lens damage.
Use a clean optical tissue or a proper lint-free swab with a suitable cleaning fluid. Move in one direction, then inspect the surface under good light. If you see a haze after cleaning, stop and check whether the cloth itself is shedding fibres. In coastal places such as Durban and Cape Town, moisture may leave a light film that must be removed carefully before the lens returns to the head.
Protective windows take the first hit
The protective window is there to take the dirty work first. It shields the main optics from spatter, vapour and smoke, so a marked or cloudy window should be changed before it starts scattering the beam. A scratched window can look minor from one angle and still create a poor cut or repeated fault alerts.
- Inspect the window against a bright light for spots, pitting and coating burn marks.
- Keep replacement windows sealed until fitting time.
- Check the O-ring and seal faces for dust or cuts before closing the head.
- Do not reuse a window that has already picked up heat marks or edge chips.
If the machine is working in a sheet-metal shop with a lot of reflective scrap or oily plate, inspect the window more often. Heavy smoke loads leave a thin deposit that can be easy to miss until the beam quality starts changing.
Ceramic rings and sensor parts must stay true
Ceramic rings sit close to the cutting zone and help keep the head positioned correctly. They can crack from impact, overtightening or a minor crash that does not look serious at first. Once a ring is chipped, the head can sit slightly off and capacitive height sensing may drift from the expected reading.
Clean the ring gently and check that it seats squarely. Look for hairline cracks, carbon tracks and damaged threads or mounting faces. If the ring is loose or uneven, the head may struggle to keep a steady standoff over warped sheet or cut-outs that lift during the job. That is where a small physical defect turns into a bigger cutting fault.
Focus settings and cleaning routines work together
A clean head still needs the right focus setting. If the focus is off, the cut may look rough even when the optics are spotless. After cleaning or replacing parts, verify the focus position, nozzle height and centring before production cutting resumes. That check matters on thick material, narrow kerfs and jobs where edge finish matters to the next process.
Follow the same cleaning routine each time so nothing gets missed. A simple pattern helps the team spot damage early and avoid mixing good parts with worn ones.
- Inspect the nozzle, window and ceramic ring before opening the head.
- Clean optics only with proper lint-free materials and the right fluid.
- Check gas passages for soot, oil and loose particles.
- Confirm nozzle centring and focus setting after reassembly.
When the head needs bench service or site alignment
Some wear is easy to see, but not every fault shows on the outside. If you notice repeated crashes, unstable height sensing, poor pierce quality or unusual soot around the head, bench service may be needed. On-site alignment is useful when the machine is still in place and the issue sits in the head position, not only in the optics.
Raytool works with fibre laser cutting heads, nozzles, focus and collimator lenses, protective windows and ceramic rings for sheet-metal cutting machines. The team also carries out nozzle centring, lens cleaning, protective window replacement, capacitive sensor checks, gas path inspection and crash damage inspection across Spartan, Kempton Park, Johannesburg, Pretoria, Rustenburg, the East Rand, Durban and Cape Town