
The thin barrier that takes the first hit
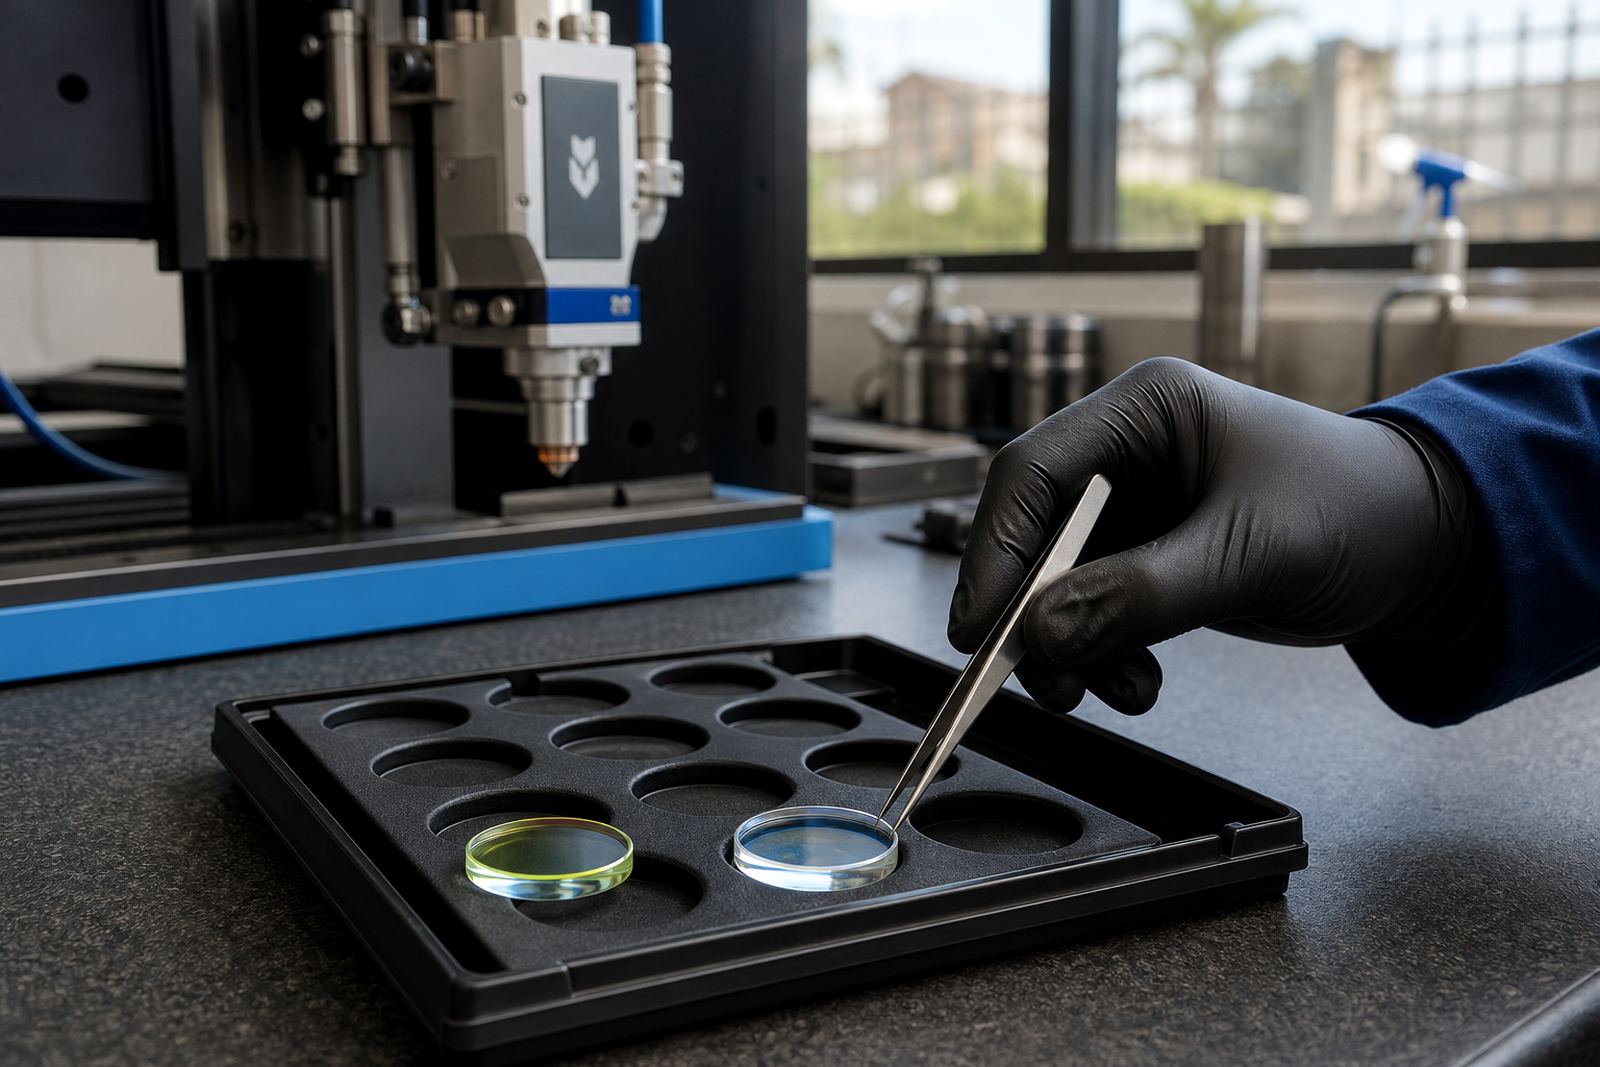
The protective window sits in the front of the optical stack and takes the dirt first. It is there to stop spatter, dust and fumes from reaching the focus lens and collimator lens, which cost more and are less forgiving when they get marked. On a busy cutting line, that window is the part most likely to haze over from fine residue, especially on stainless and mild steel jobs where the edge throws back grit and smoke.
The working lens does the beam shaping. The focus lens brings the beam down to a tight spot at the sheet, while the collimator lens helps keep the beam path in order before it gets to the focus stage. If either of those optical lenses is scratched, chipped or contaminated, the cut can show rough edges, more dross, or a shift in piercing behaviour that looks like a machine fault when it is really an optical fault.
- Protective windows are sacrificial items.
- Focus and collimator lenses are working optics.
- A clean window can hide a tired lens, so inspection matters.
What changes when the window goes cloudy
A protective window that has gone cloudy does not usually stop the machine at once. It starts with a small loss of beam energy, then the cut face becomes less tidy and the pierce can take longer than normal. On thick plate, that loss shows up in a way operators notice fast because the head sounds different and the spark pattern changes. In a humid coastal shop, moisture and fine oxide dust can make that window age faster than people expect.
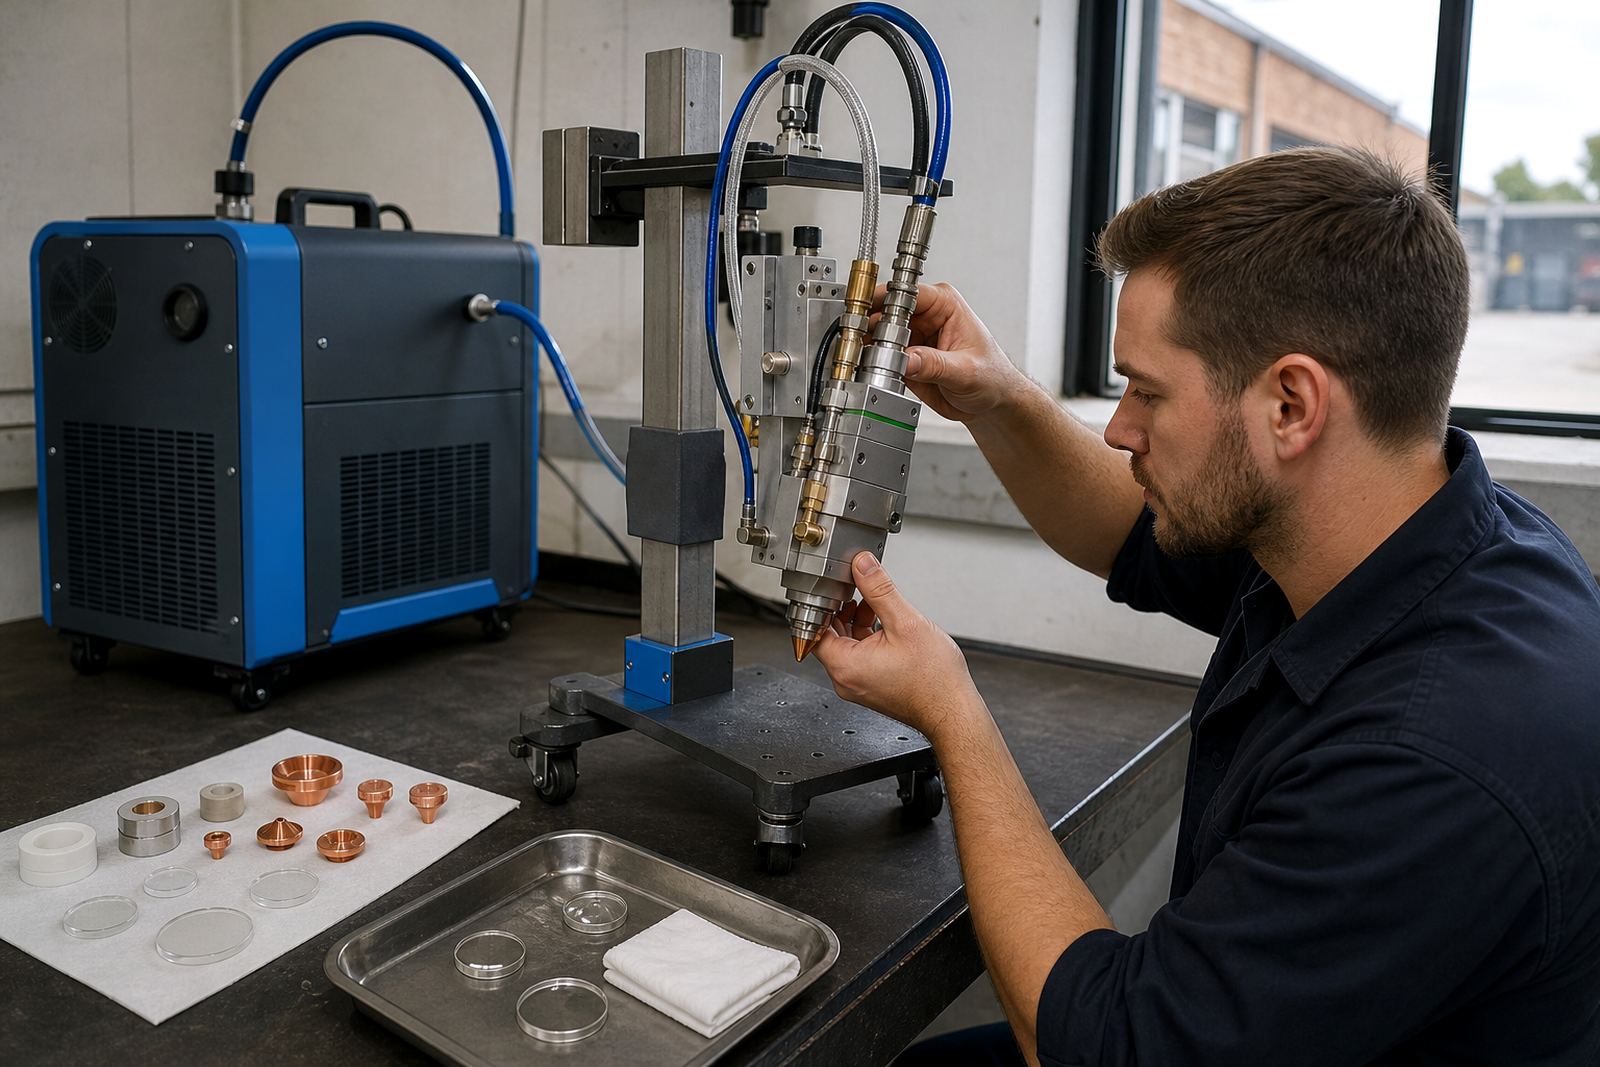
The trick is not to wait for visible burn marks. A window can look almost fine and still scatter enough light to disturb the cut. If the nozzle is centred properly and the gas path is clear, but the edge still looks ragged, the first thing to inspect is often the window. A quick lens cleaning routine with the right cloths and handling habits prevents fingerprints and lint from turning into a new fault the next shift.
- Look for haze, peppering and edge tint.
- Check the window after repeated pierces on heavy work.
- Use clean gloves and proper storage sleeves.
When a lens problem shows up in the cut
A lens fault behaves differently. Instead of a simple drop in clarity, the beam shape changes and the focus point moves. That can cause taper, burrs, wider kerf lines or uneven engraving marks, depending on the machine and the programme settings. A scratched focus lens may still pass light, but it does not pass it cleanly and that matters when cutting narrow gaps or fine detail.
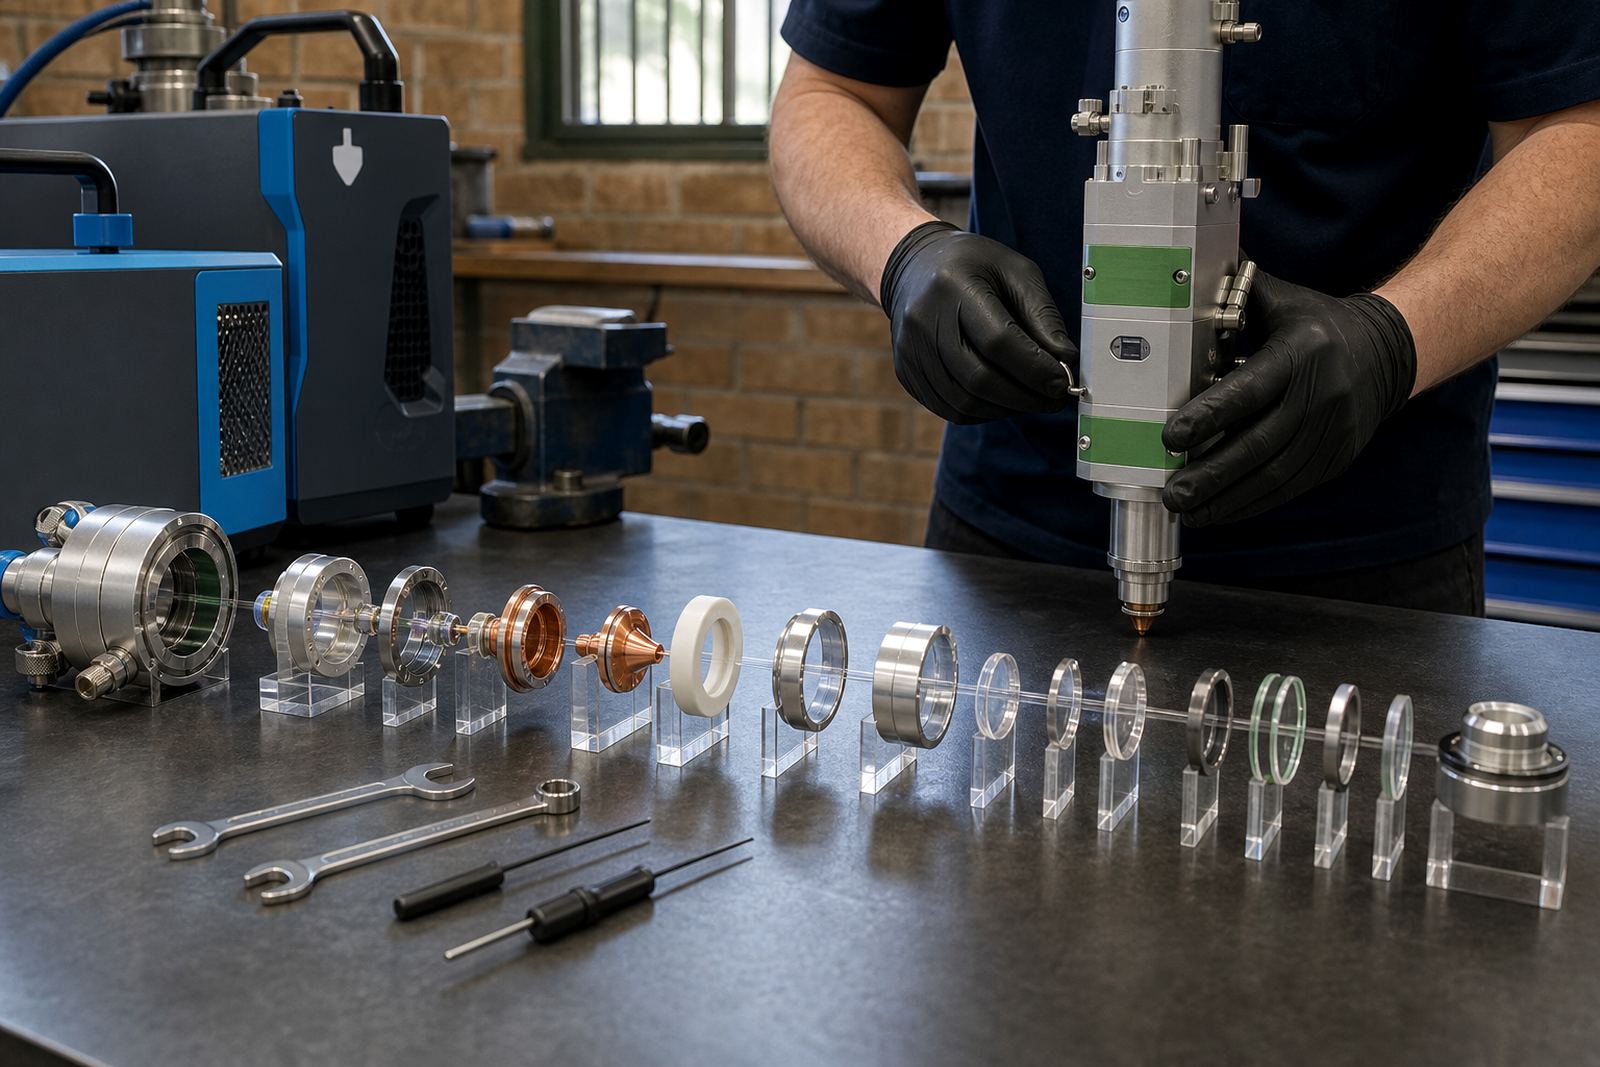
Collimator lens issues can be harder to spot because the problem starts before the beam reaches the focus stage. If the optical path is slightly out, the operator may keep adjusting focus settings to chase a fault that should have been found at the lens. That is where bench service helps, because a controlled strip-down gives the optics, ceramic ring, seal surfaces and head body a proper check rather than a quick wipe and guesswork.
- Lens marks often show up as pattern changes across the cut.
- Focus drift can look like a material problem.
- Bench inspection helps separate optics from setup faults.
Nozzles, ceramic rings and the optics above them
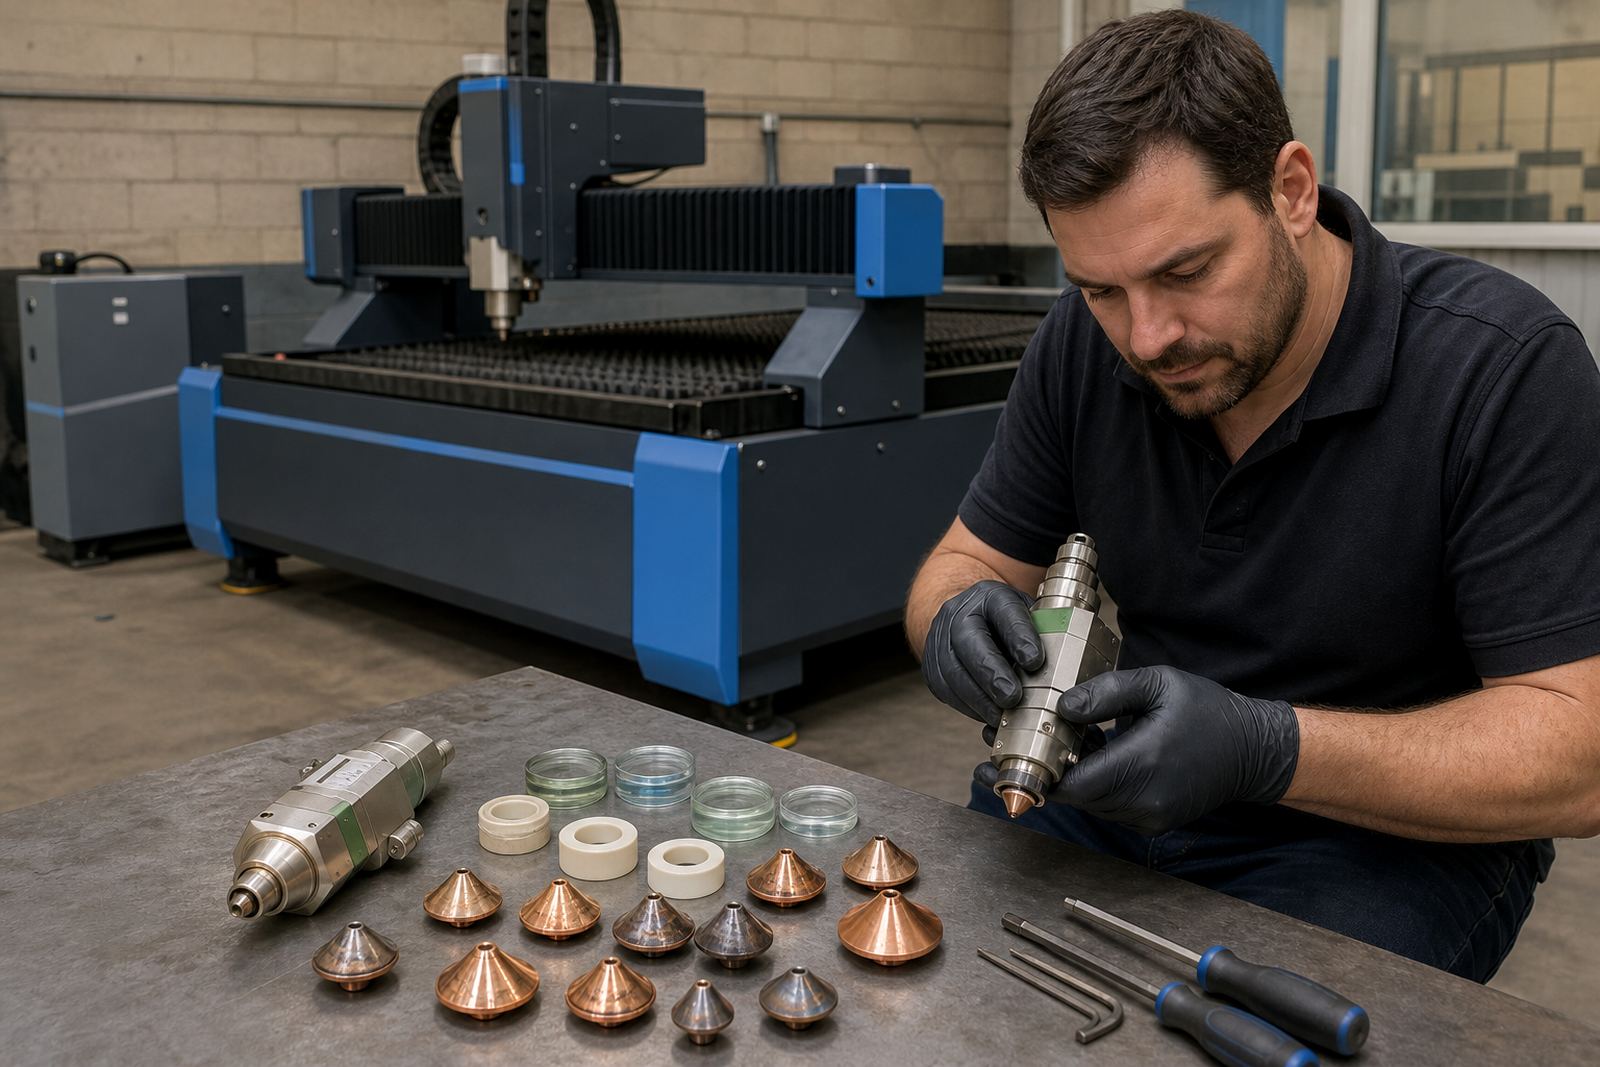
The nozzle sits closer to the sheet than the lenses do, but it affects both of them. A worn nozzle or a poorly seated ceramic ring can disturb the gas stream and let slag rise back into the head. That is one reason nozzle centring and ceramic ring replacement matter alongside lens care. If the gas flow is uneven, the protective window sees more debris and the working lens gets blamed for a problem that started lower down.
Single layer nozzles and double layer nozzles each have their place, depending on the cut style and gas setup. The choice affects how the assist gas behaves at the cut face, which then affects contamination inside the head. On a Rustenburg job cutting mixed sheet thicknesses, the operator may need to keep a tighter eye on nozzle wear than on a lighter job in Johannesburg where the material is more consistent and the dust load is lower.
- Nozzle centring protects beam quality.
- A tired ceramic ring can upset alignment.
- Gas path inspection should sit beside optical checks.
A local job where the difference mattered
A sheet-metal shop in Spartan brought in a head that was cutting clean on mild steel one day and throwing burr the next. The operator had already cleaned the window, checked the nozzle and adjusted the focus settings, but the edge still looked unstable. Bench inspection showed a protective window with fine peppering and a focus lens with a faint mark that only showed under proper light. The two faults were small on their own, but together they made the cut inconsistent.
After the window and lens were replaced, the head was aligned and the capacitive height sensing checked, the cut returned to normal behaviour. That is the useful lesson: a window problem can mimic a lens problem, and a lens problem can hide behind a dirty window. If the head has taken a crash, add a head seal rebuild and crash damage inspection to the list, because a bent body or poor seal can keep feeding contamination back into the optics.
A cleaning routine that respects both parts
Cleaning should follow the order of risk. Start with the outside surfaces, then move inward only when the head is safe and open for service. Never treat the protective window like a permanent part, and never assume a lens can be salvaged if it has a visible chip. The right routine keeps fingerprints off the glass, prevents residue from being rubbed into the coating and avoids dragging metal dust across the optical faces.
For busy workshops, a simple discipline helps more than a long checklist. Store spare windows and lenses in clean packaging, inspect the nozzle seat before reassembly, and keep an eye on the cut edge instead of waiting for a bigger failure. That approach saves time on the bench and on site, especially when the head has to hold position through long production runs and mixed plate batches.