

Small tools that protect expensive optics
Swabs and lens tissues do a narrow job, but it is an important one. On a cutting head, the protective window and focus lens sit close to heat, smoke and fine metal dust, so even a thin film can affect beam quality and cut edge finish.
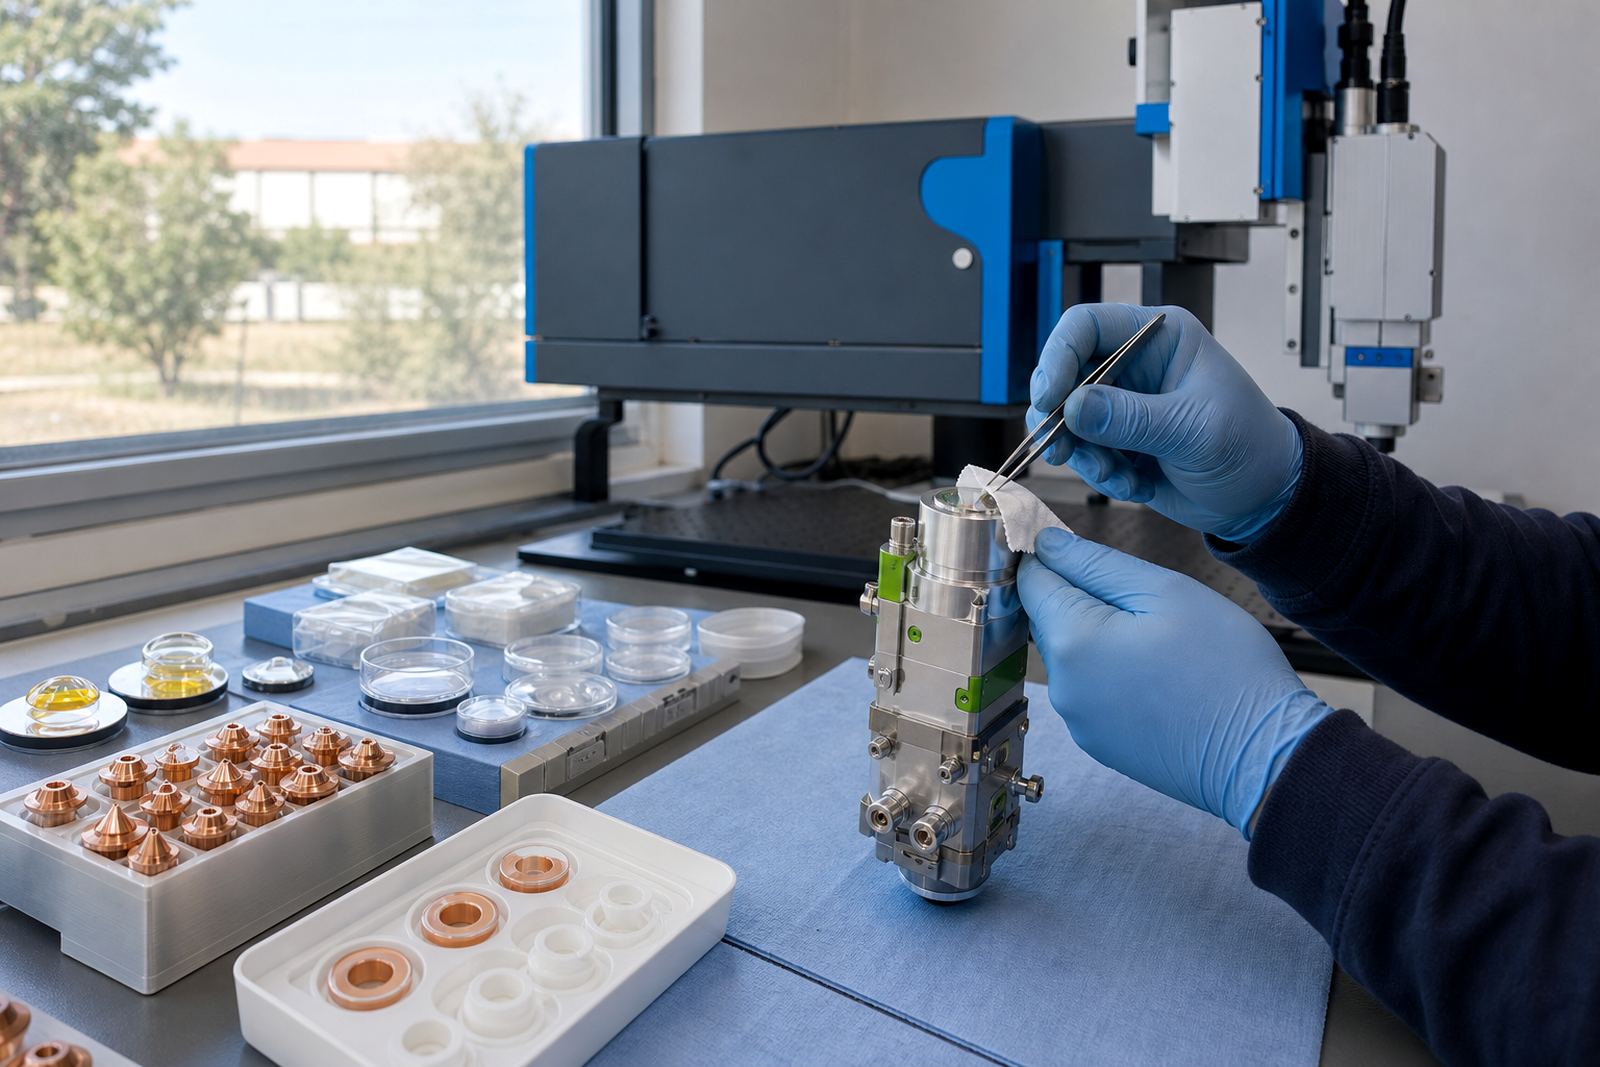
Routine cleaning is not about scrubbing. It is about lifting loose contamination before it turns into a smear, and doing it without leaving fibres behind. A clean swab reaches the corners around a ceramic ring, nozzle seat or lens housing where fingers cannot go. A proper lens tissue wipes in one direction and lifts away fine residue that would otherwise stay on the optic.
What they touch during a normal clean
In a sheet-metal shop, the cleaning sequence usually starts with the outside surfaces and then moves inward. Swabs are useful around the nozzle bore, sensor area and head seal, while lens tissues are better for the flat surfaces of protective windows and focus or collimator lenses.
- Protective windows collect dust, smoke stain and tiny spatter marks.
- Focus lenses need a clean surface for a stable beam spot.
- Collimator lenses must stay free of haze and fibre residue.
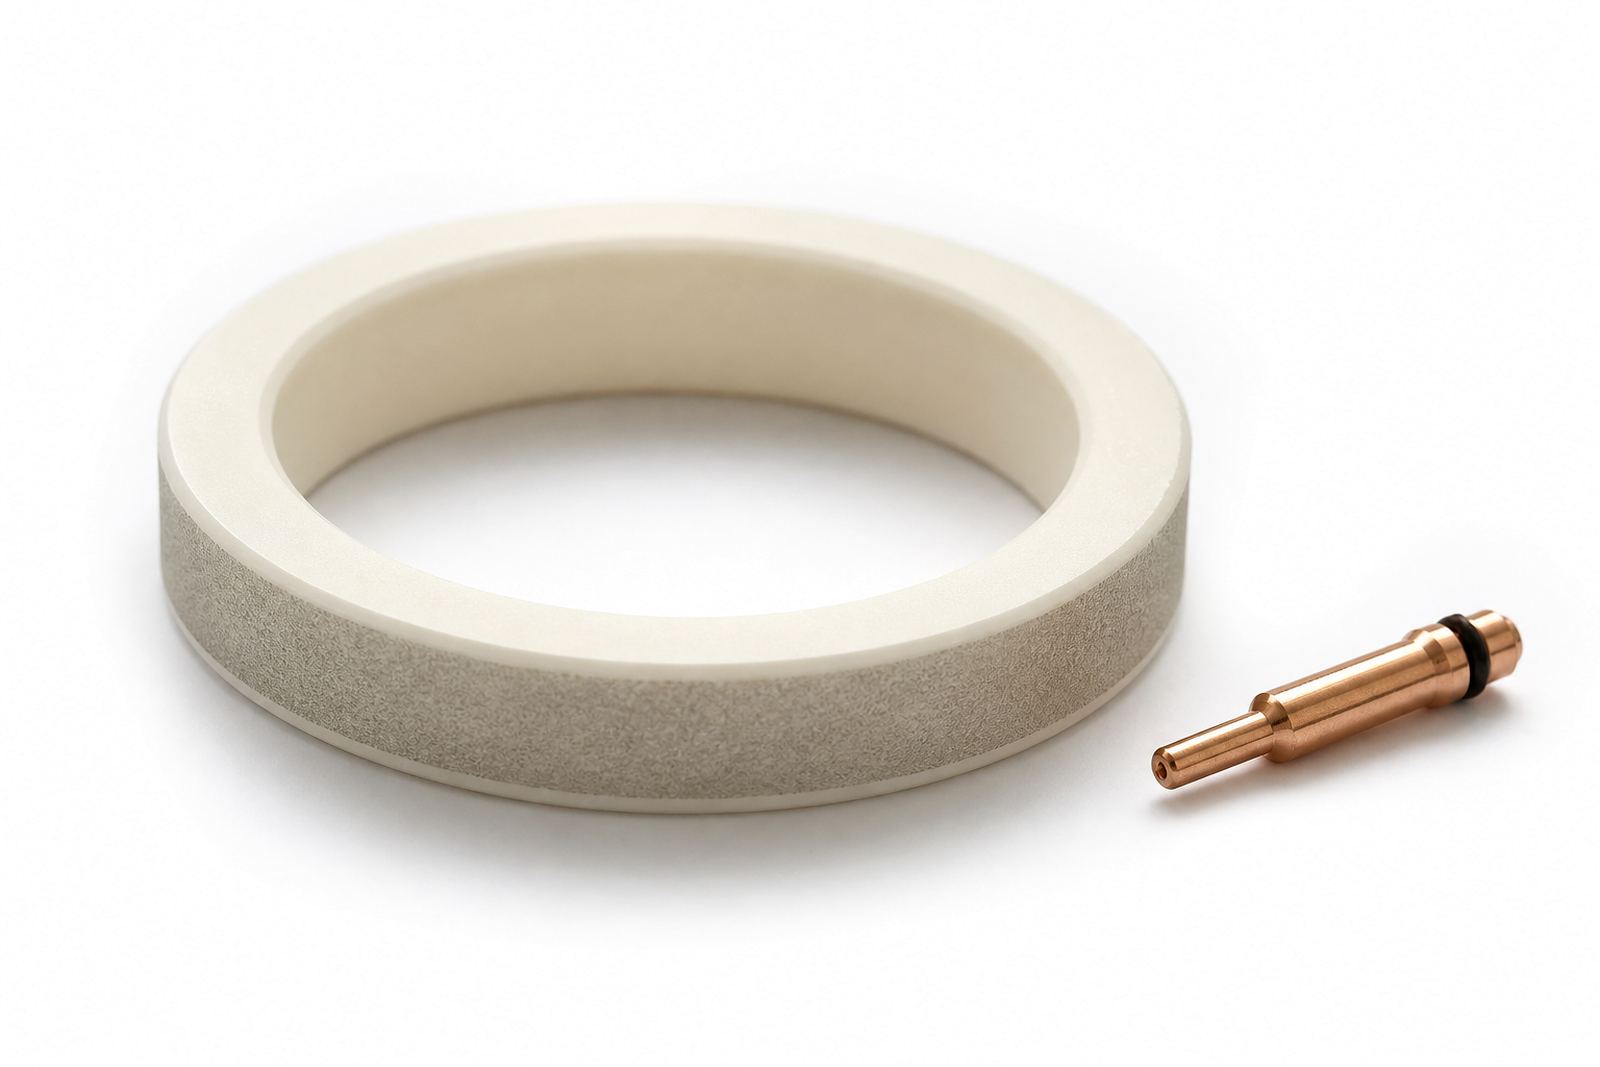
- Nozzles and ceramic rings need the area around them kept tidy.
- Capacitive sensing parts work better when dirt is removed from the contact zones.
For the right result, the tissue or swab should be matched to the surface. A rough cloth is too heavy for optics and can leave lint or scratches. Cotton buds from a general workshop tray are also a poor choice if they shed fibres or carry grease from earlier jobs.
The cleaning habit that prevents avoidable faults
Most optics damage does not begin with a big failure. It starts with a light mark on a window, a little dust in the lens path, or a nozzle face that was wiped with the wrong material. Once heat builds on a dirty spot, the stain can spread and the cut quality starts to drift.
Good cleaning routines use fresh swabs and tissues, a suitable solvent, and clean hands. The aim is to remove residue without pushing it deeper into the head. On a bench, the technician can work in a controlled space with proper light. On site, the same care matters but the environment is harder, especially where mild steel dust and grinder grit float around the bay.
- Use one swab for one area, not one swab for the whole head.
- Keep opened tissues covered so dust does not settle on them.
- Replace any tissue that feels damp, torn or gritty.
- Do not reuse wiping material that has touched a dirty edge.
- Finish with a visual check under clean light before reassembly.
Spartan work, Johannesburg dust, coastal air
In Spartan and the East Rand, many cutting shops work in busy industrial spaces where dust from grinding and handling settles quickly. In Johannesburg and Pretoria, the air may be dry, but that does not stop fine debris from building up on windows and seals. In Durban and Cape Town, humidity adds another problem because moisture can carry airborne particles onto optics and leave a light film that shows up fast in the beam path.
That is where the small consumables earn their keep. Swabs can clean the narrow recesses around the head, and lens tissues can wipe glass surfaces without dragging grit across them. For a local example, a sheet-metal shop in Rustenburg cutting covers and brackets may notice that a protective window starts to haze after a string of heavy jobs. A careful clean with the right tissue can make the next inspection far more meaningful, but if the window is pitted or heat-marked, cleaning will not repair it.
The point is to read the condition honestly. Cleaning is maintenance, not a cure for damaged optics.
Bench service and on-site alignment work together
When a cutting head comes in for bench service, swabs and tissues are part of the inspection routine. The technician can clean the lens path, check the nozzle seat, inspect the ceramic ring and look for signs of seal wear or crash damage. That controlled work helps separate surface contamination from deeper faults.
On-site alignment calls for the same discipline. Nozzle centring, focus setting checks and capacitive sensor checks all depend on clear surfaces. If the optics are dirty, readings can mislead the technician and the machine operator can chase the wrong setting. A clean lens surface and a neat nozzle face give the adjustment a fair starting point.
For spare head preparation, the same cleaning practice matters too. A prepared head should not leave the bench with dust in the optics area or lint caught near the sensor path.
What a careful optics kit usually includes
A sensible kit is small, tidy and easy to replace. The consumables should suit the head design and the cleaning method used in the shop. In practice, most teams keep separate items for glass surfaces, narrow spaces and residue removal.
- Lint-free lens tissues for flat optics and protective windows.
- Fine swabs for recesses, seals and sensor areas.
- Clean sealed packaging so dust does not settle on the material.
- Suitable cleaning fluid for optical surfaces, used sparingly.
- A covered tray or clean pouch for storage near the machine.
Cheap material can cost more in the end. If a tissue sheds fibres or a swab leaves a strand behind, that strand may sit in the beam path and create the next fault. On fibre laser cutting heads, the detail matters because the optics are small and the clearances are tight.