
What the window is doing above the cut
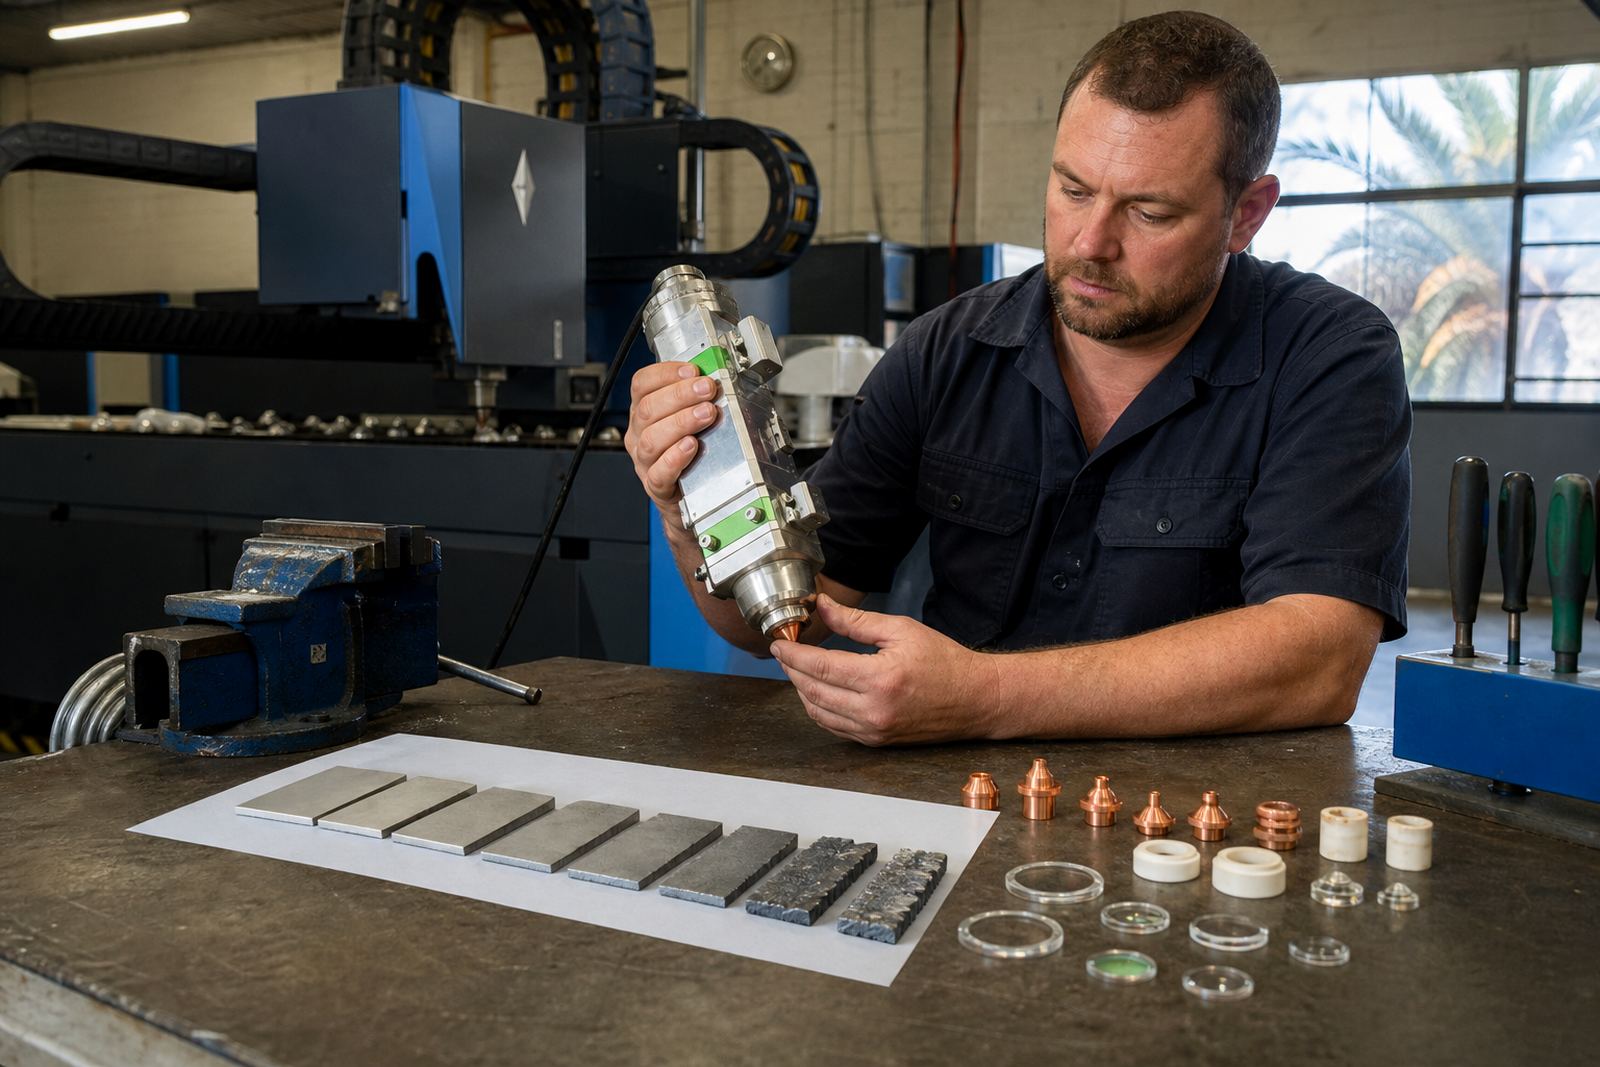
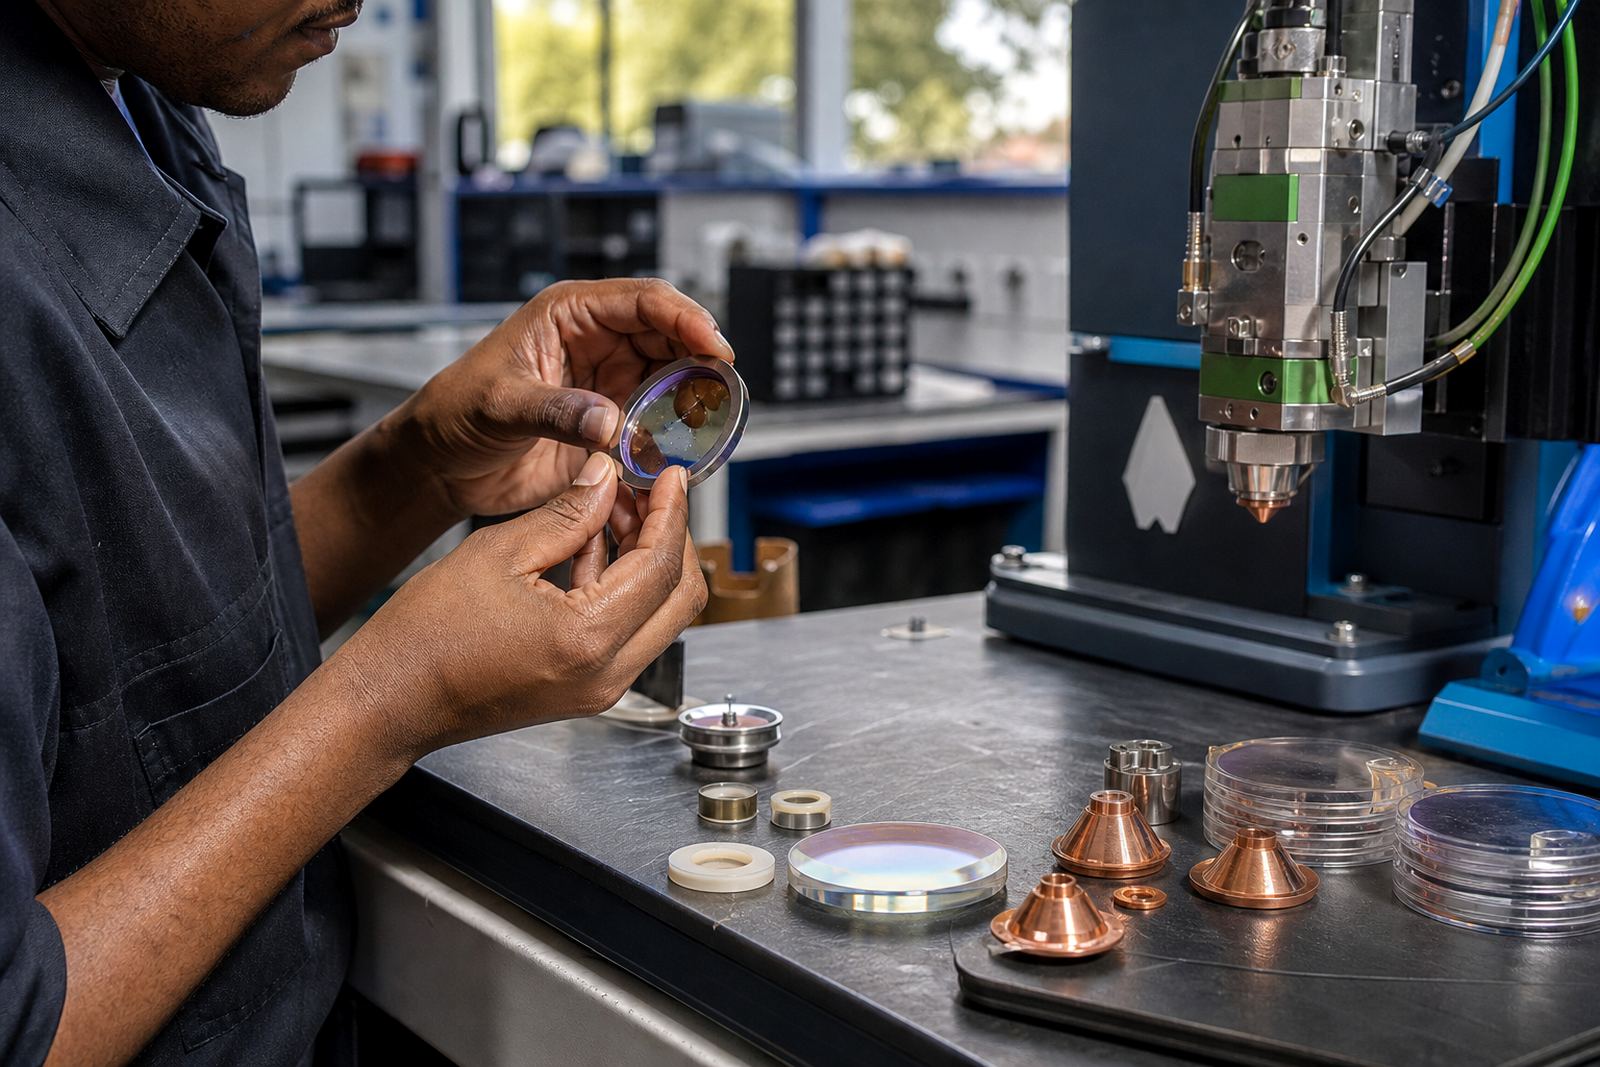
The protective window sits between the cutting optics and the cut zone, so it takes the first hit from fumes, vapour, fine dust and tiny splash-back. On sheet-metal jobs the glass may look fine at a glance, yet a faint haze can still disturb the beam and warm the lens stack behind it.
That is why window care is not only about visible damage. On a busy cutting table, contamination can build from poor airflow around the nozzle, a wandering focus setting, or a dirty sheet that throws dust up into the head. When the window starts to cloud, the machine often gives the operator clues before the cut fails completely.
The marks that usually show up first
Most windows do not fail from one dramatic event. The early signs are small rings, fine specks, a milky patch near the centre, or a brown tint at the edge where heat has been holding for too long. A serious crash can crack the glass, but more often the problem is a slow build-up from normal cutting.
- Grey film from fine smoke and vapour
- Dark dots from spatter or back-flash
- Edge staining from heat soak
- Patchy haze after repeated handling with bare fingers
- Small pits after a nozzle collision or poor gas flow
In many shops the window gets blamed for every cut fault, but the real cause may be a worn ceramic ring, a nozzle that is off-centre, or a focus setting that has drifted. Those parts work together, so one weak point often leaves a trace on the window.
When cleaning makes a difference, and when it does not
Cleaning is useful when the window has a light film and the surface is still intact. A proper lint-free wipe, the correct optical cleaner, and careful handling can remove dust and residue before it hardens. The trouble starts when operators keep polishing a window that already has pits or heat marks.
Once the coating is damaged or the glass has a permanent stain, more cleaning will not restore it. At that stage the window can scatter the beam and change the cut in ways that are hard to read from the outside. If the same mark returns after a short run, the head should be checked for the reason the contamination is reaching the glass in the first place.
- Clean only when the surface is still clear and intact
- Replace after pitting, cracking, or burnt staining
- Check for residue from the gas path and nozzle seat
- Inspect seals if dust keeps entering the head
What makes dirt build up faster on real jobs
Contamination grows faster when the cut is running hot, the nozzle is worn, or the assist gas is not flowing cleanly. A poor pierce can throw fine debris upward and a weak gas shield can leave more soot on the window. On stainless and mild steel alike, the head often shows the results before the sheet does.
Spartan and the East Rand see plenty of mixed production, from short batches to long shift runs. In that kind of work, the head may cut thin sheet in the morning and thicker plate later in the day. If the operator does not keep an eye on centring, cleaning routines and height sensing, the window can pick up contamination long before the job card is finished.
Where the machine is set to run close to the sheet, a damaged ceramic ring can also let splash or dust creep higher into the head. That is one reason bench service often includes a look at the full stack, not only the glass itself.
Spartan shop window fault job
A sheet-metal shop in Spartan may notice that its parts start showing rough edges on long runs, while the machine still appears to cut normally on short test pieces. After the head is opened, the protective window shows a dull halo and tiny black specks near the centre. The nozzle was slightly off-centre and the ceramic ring had a hairline crack, so the gas stream was no longer protecting the optics properly.
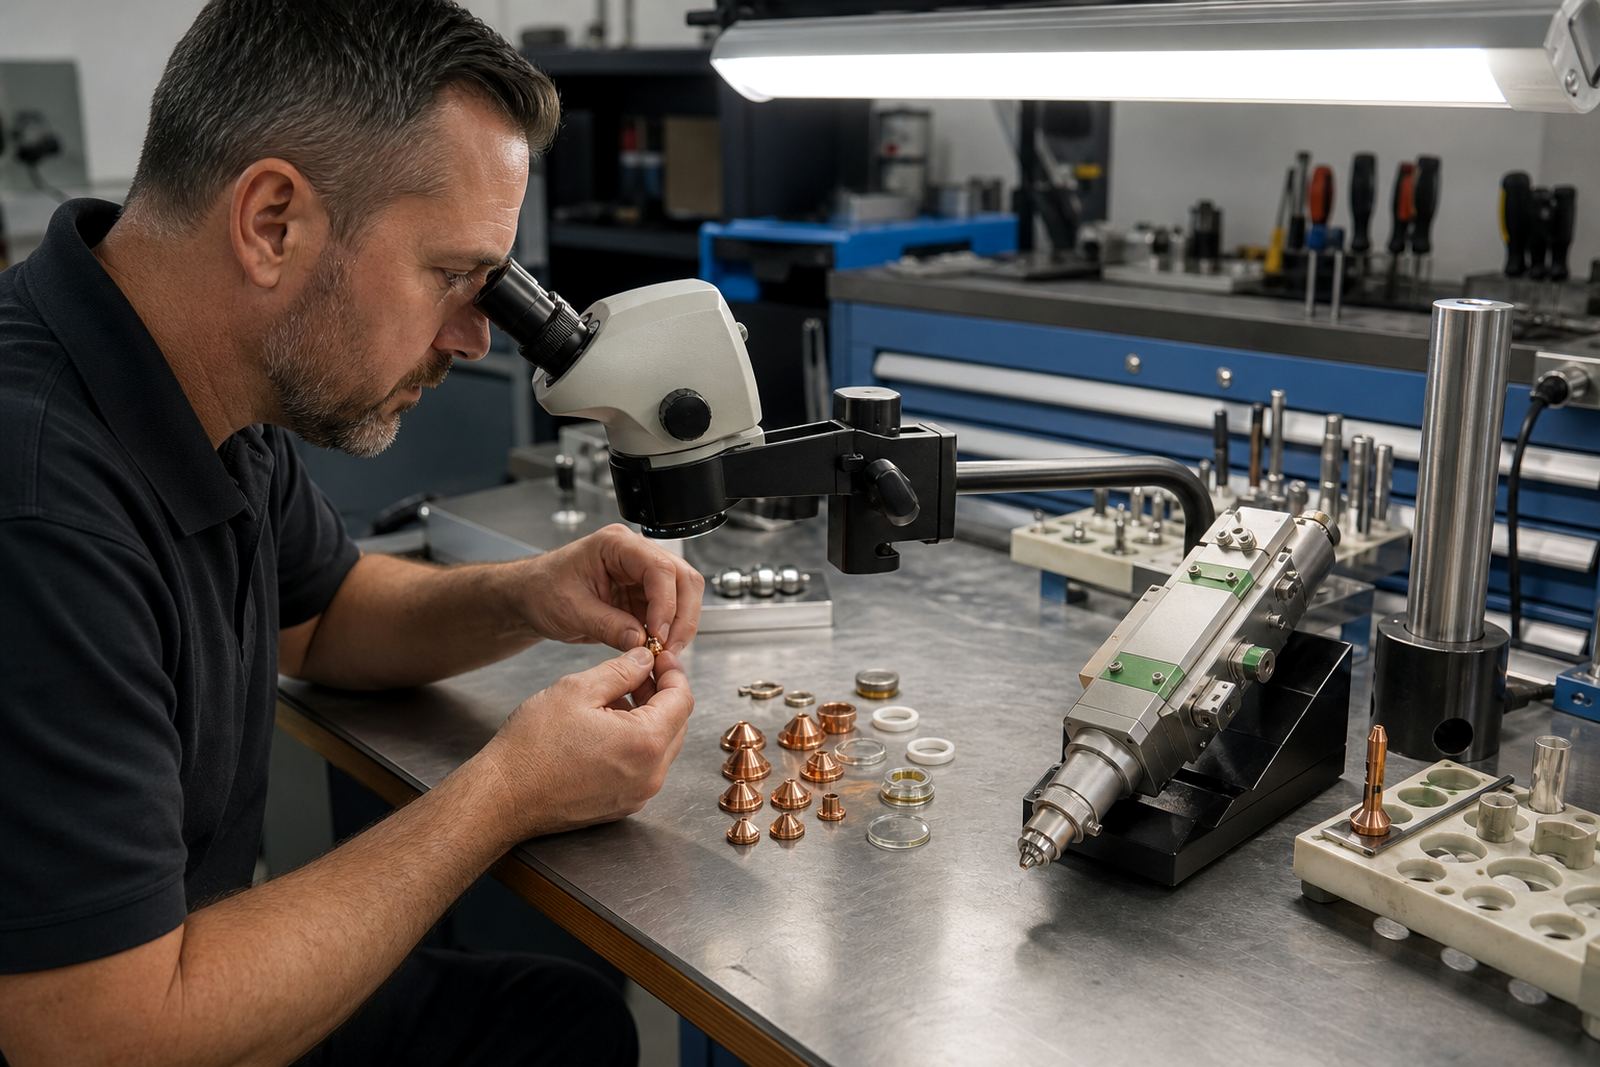
In that sort of case, changing only the window solves part of the problem but not all of it. The better fix is to inspect the nozzle, check focus, clean the lens stack where needed, and confirm that the capacitive height sensing is keeping the head at the right stand-off. That is usually the point where a small fault stops turning into repeated window loss.
A practical change-out routine for busy cutting rooms
Good window control is mostly about discipline. The people running the machine do not need a complicated process, only a repeatable one that fits the shop floor. A quick visual check at shift change, careful handling during refits, and a clean place for spare parts can prevent a lot of wasted stock.
- Inspect the window when the first cut quality change appears
- Keep spare windows sealed until the day they are needed
- Handle optical parts with clean gloves and proper storage
- Log nozzle wear, focus changes and repeated contamination
- Schedule head checks after any crash or gas irregularity
If the same window keeps clouding, the head may need a fuller bench inspection or an on-site alignment visit. That lets the technician look at seals, focus setting, nozzle centring and the condition of the ceramic ring as one set of parts rather than a single fault.
What to watch before a window becomes a bigger repair
The safest time to change a protective window is before it reaches the point where the beam starts to suffer. A stained window can create unstable cutting, more heat in the head and a shorter life for the optics behind it. Operators usually spot the warning signs first in edge quality, pierce behaviour or a need to keep raising power for the same result.
For shops cutting in Johannesburg, Pretoria, Durban, Cape Town and Rustenburg, the overall pattern stays similar even when the material changes. Dust, fumes and busy production all leave a trace. If the window keeps showing the same marks after cleaning, it is time to treat it as a wear item and not a part to nurse along.
Protective windows are small, but they sit at the front line of the cutting head. Once they start carrying dirt, the rest of the optics are only a step behind.