
Where gas leaks usually start
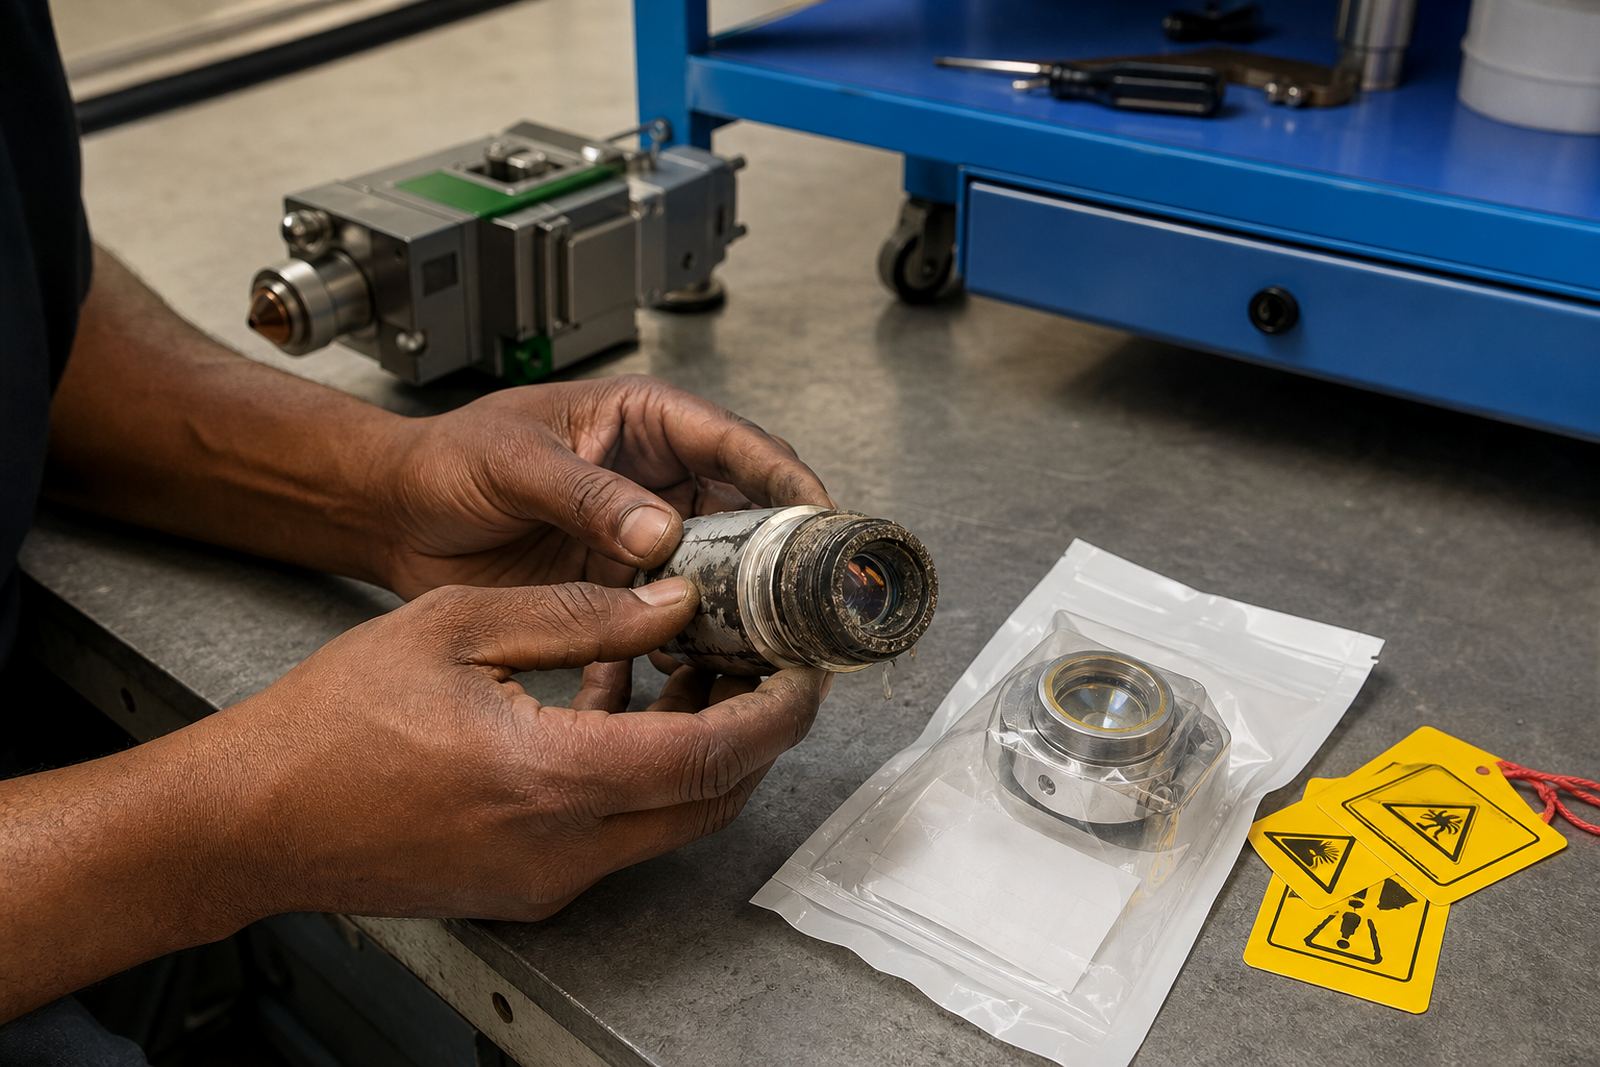
In a fibre laser head, gas leaks rarely begin with one dramatic failure. More often they creep in through worn O-rings, a chipped seat, a loose nozzle face, a dirty ceramic ring, or a protective window that was fitted with dust trapped under the seal.
In sheet-metal shops around Spartan and the East Rand, the first signs are usually practical rather than dramatic. The cut starts to sound uneven, dross builds at the bottom edge, and the gas pressure reading does not match the feel of the stream at the nozzle.
Seal points worth checking first
A proper inspection starts at the parts that actually contain the gas path. On a fibre laser cutting head, the nozzle interface, ceramic ring seating, focus lens chamber, collimator lens housing, and protective window holder all need attention. A small nick in any one of those points can change flow far more than operators expect.
- Nozzle seat for burrs, oval wear, or carbon dust
- Ceramic ring for cracks, heat marks, and loose fit
- Protective window edge for dust bands and gasket damage
- Lens chamber seal for lifting, twisting, or trapped swarf
- Loose couplings and vibration wear at line joints
At site, these checks often make the difference between a quick fix and a fault that keeps coming back. A head that was aligned well can still leak if one seal surface was not cleaned properly after a crash or lens change.
What noisy gas flow is telling you
Gas should move in a steady way, without a harsh whistle or pulsing chatter. If the sound changes, look at both the supply side and the head itself. Sometimes the issue is upstream pressure control, but a dirty or distorted seal can make the same noise and waste gas at the same time.
Where the cut edge has become rough, the nozzle may not be centring properly on the beam path. That shifts the assist gas pattern, especially on thinner sheet where the stream needs to stay tight. A quick focus setting check also matters, because a head that is slightly out can mimic a seal problem.
Cleaning routines that protect the seal stack
Cleaning needs a light hand and the right sequence. Wiping around the nozzle without checking the ceramic ring can push grit into the seat, and a hurried lens change can leave a fingerprint or dust line on the protective window. In humid coastal conditions, that residue can bake on faster than people expect.
- Use clean swabs and lint-free cloths only
- Inspect the seating face before any part is refitted
- Keep dust away from the lens chamber while the head is open
- Check the nozzle bore for spatter and carbon film
- Confirm that the window clamp sits evenly all round
For a shop in Durban cutting mild steel and stainless on the same shift, the routine matters because moisture and fine grit can settle into the seal path overnight. A quick daily clean is better than facing a long repair later.
Bench service versus on-site alignment
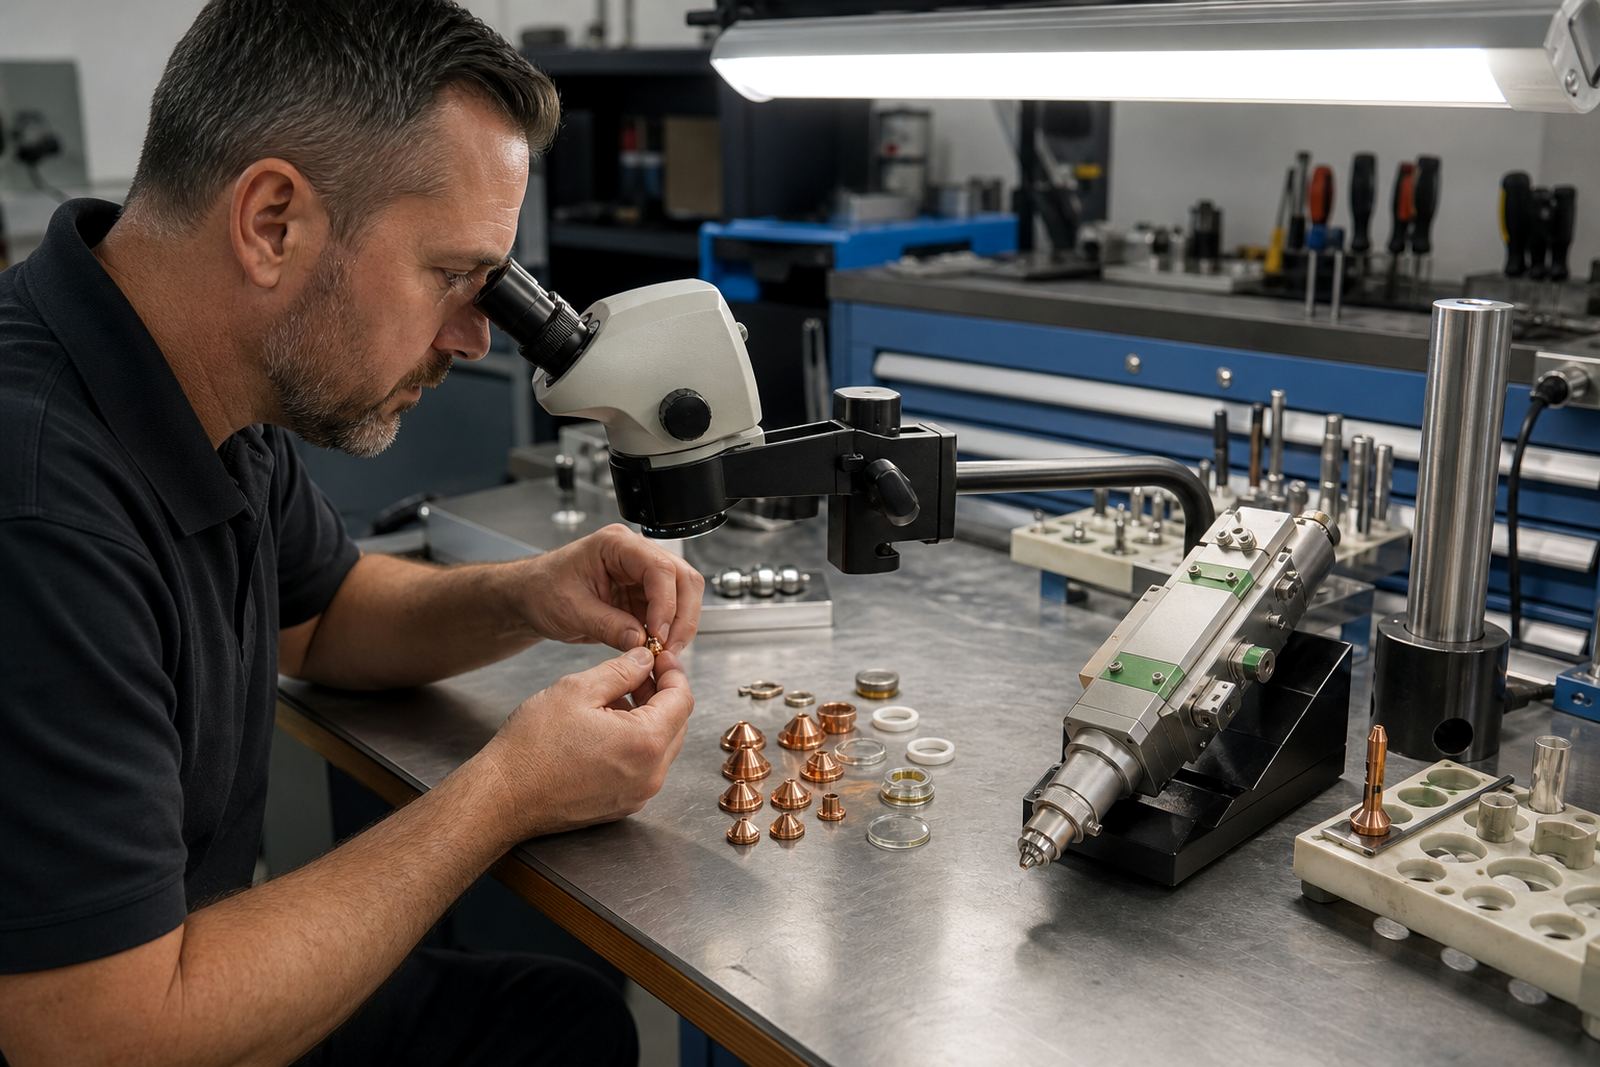
Some seal faults are best dealt with at our Boksburg bench. That is where a technician can strip the head, test the fit of the nozzles and lenses, inspect the ceramic ring, and rebuild the head seal in a controlled way. It is the cleaner option when the problem follows a crash, a lens contamination issue, or repeated gas instability.
On-site alignment is useful when the head has drifted, but the rest of the machine is sound. A field check can confirm nozzle centring, focus position, and the way the capacitive height sensing behaves around real sheet conditions. If the sensor is misreading height, gas delivery can look faulty when the real issue is set-up.
In Johannesburg, a fabrication team cutting bracket packs from 3 mm and 6 mm sheet noticed the head sound change after a knock. The bench check showed a damaged ceramic ring and a nozzle sitting slightly off-centre, then the field alignment put the cut lines back on track without replacing the whole machine.
A practical inspection sequence for shop floors
When a head fault shows up, a fixed sequence keeps the job under control. Start with the nozzle, then move to the ceramic ring, then the protective window, then the lens chamber and line joints. That order catches the wear points before the more expensive parts are disturbed.
- Listen for hiss, whistle, or pulsing flow at idle
- Check cut quality on a short test part
- Inspect the nozzle bore and seat
- Confirm the window is clean and seated flat
- Verify the lens chamber seal and ring condition
- Look for pressure loss at fittings and joints
If the head has had a crash, add a closer look at the focus lens, collimator lens, and the surrounding seals. A tiny tilt in one section can change the gas cone enough to disturb the cut, even when the machine still appears stable.
When a seal issue should not be ignored
Some faults get shrugged off because the machine still cuts. That is a costly habit. A leaking seal can pull in dust, overwork the gas supply, and leave the protective window exposed to contamination. Over time the cut gets less predictable, and the operator starts compensating in ways that hide the real fault.
For shops in Pretoria, Rustenburg, Cape Town and across South Africa, the point is plain: noisy gas flow is rarely just noise. It is usually a sign that one or more seal points needs attention, and the sooner the inspection starts, the less damage spreads through the head assembly.
At our Spartan, Kempton Park team, the usual pattern is familiar. Check the seal stack, clean the working faces, confirm the head settings, and test the gas path under real cutting conditions before the job moves back to the floor.