
Open the head in the same order every time
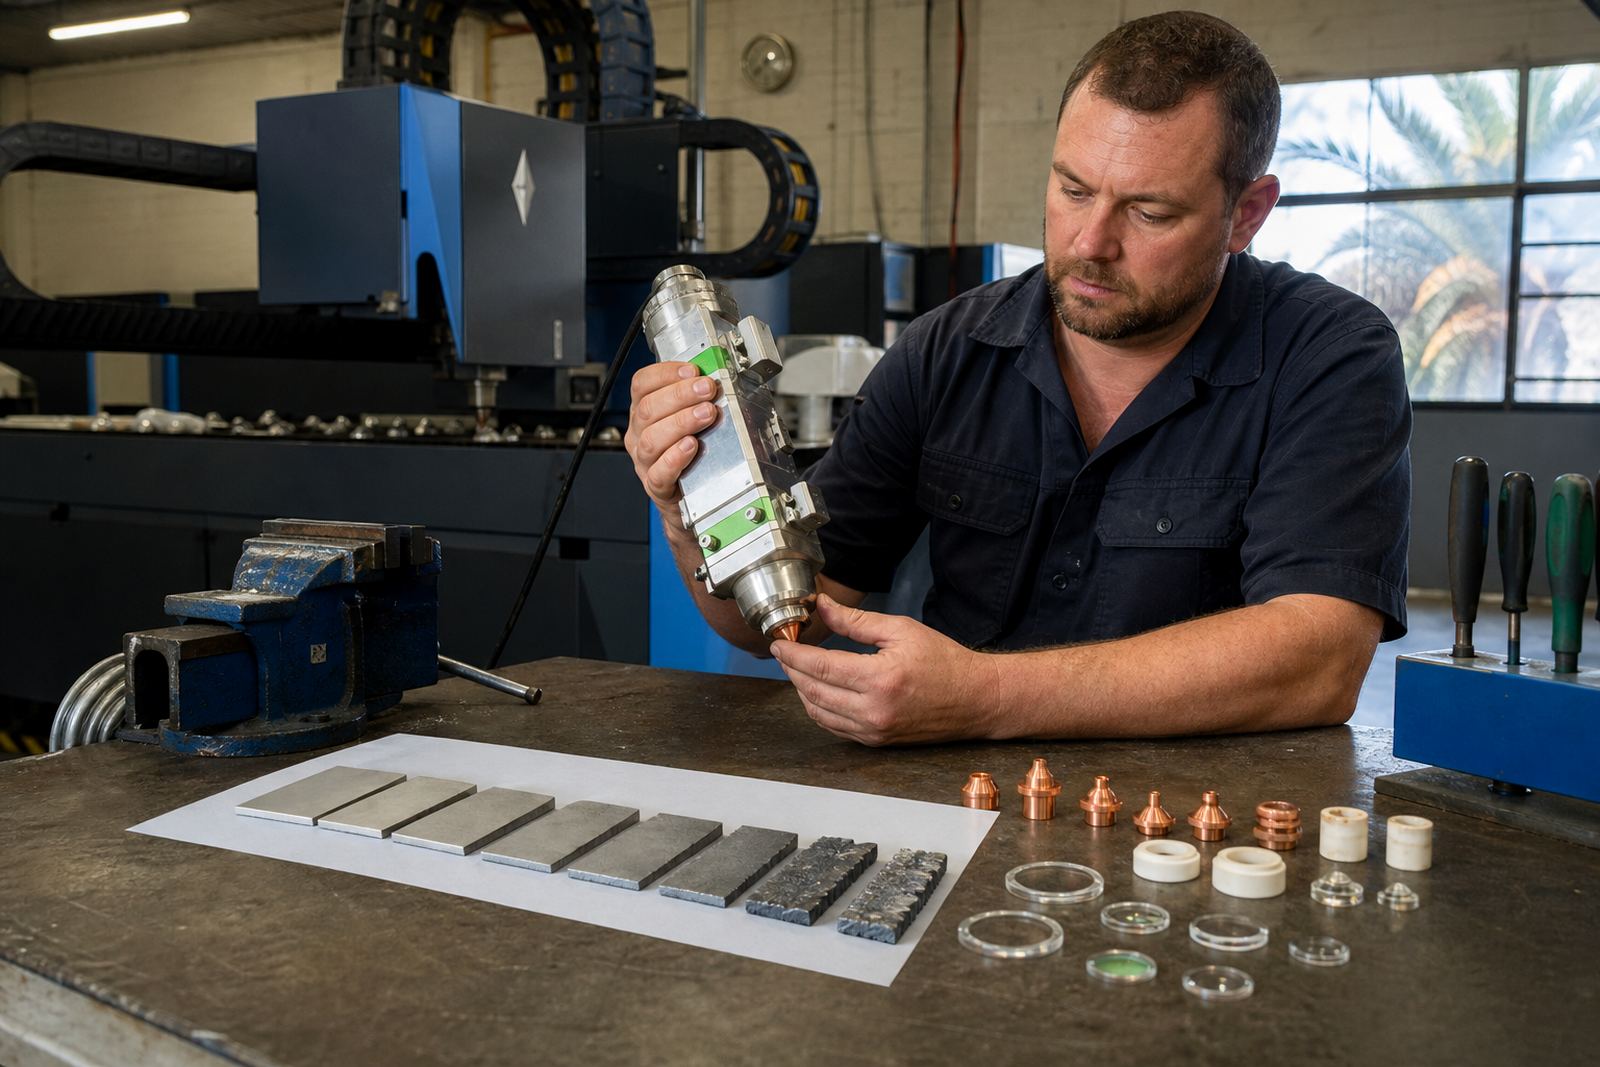
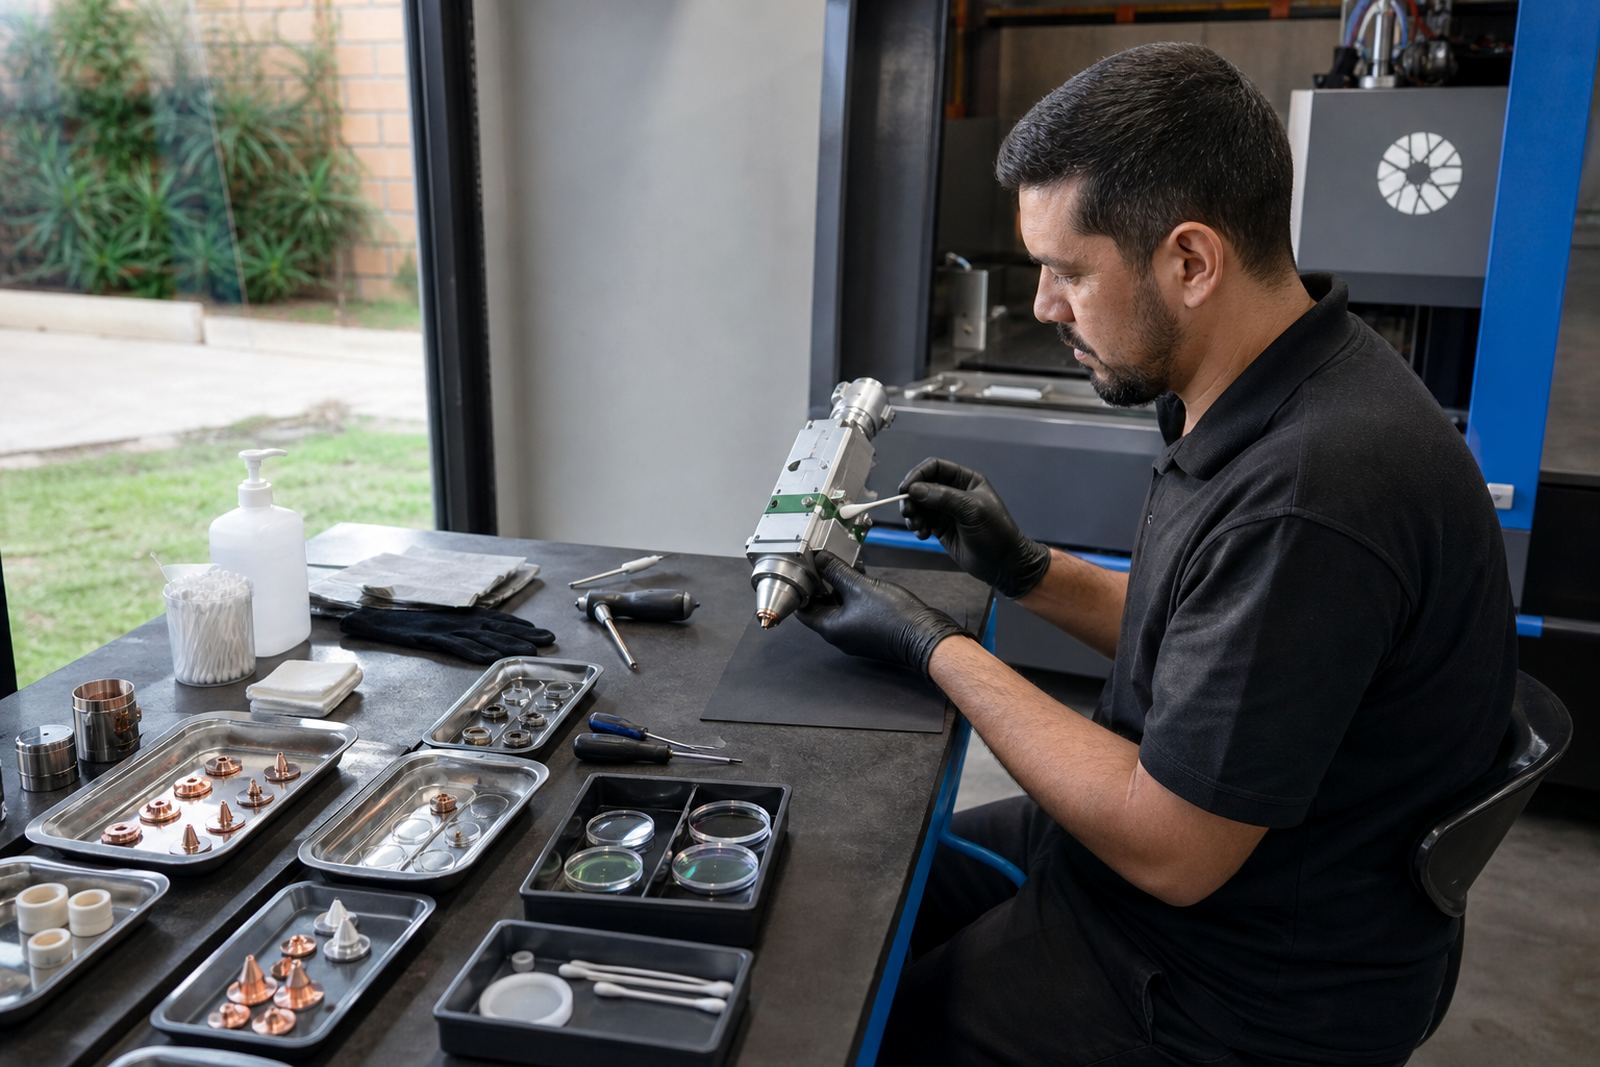
A bench clean works best when the outer parts come off in a fixed sequence. That usually means nozzle first, then the ceramic ring, then the protective window, followed by the lens group if inspection shows contamination or heat marks.
Keeping the order steady matters because each part protects the next one. A nozzle with burrs can throw gas off line, while a dirty window can hide early marks from a weak seal or a tired O ring.
- Isolate the machine and let the cutting head cool before opening.
- Lay each removed part on a clean lint free cloth in order.
- Check the head body for soot, metal dust and scratched seats.
- Note any crash marks before cleaning starts.
Clean the optics without chasing fingerprints
Focus lenses, collimator lenses and protective windows need careful handling because small marks can change the beam path. The cleaner the cloth the better, but the real trick is light pressure and one pass at a time. Heavy rubbing can leave a haze that looks harmless until the first test cut shows a rough edge.
Use optical cleaning fluid that suits the lens coating and fresh wipes that do not shed fibres. Never blow hard across the glass, because damp dust can settle back onto the surface or move into the seal groove. If a lens shows pitting, edge chips or a milky patch, cleaning will not fix it.
- Inspect each lens against a strong white light.
- Wipe from the centre outward in a single direction.
- Replace any window with a burn ring or cloudy film.
- Keep lens caps and wraps clean until refitting.
Read the nozzle before it goes back on
Single layer and double layer nozzles do different jobs, but both depend on a crisp orifice and a true seat. A worn nozzle can send assist gas off centre, which shows up as dross, a wider kerf or a rough corner on thicker plate. After cleaning, hold the nozzle up to the light and look for a round opening with no flare or burr.
Threaded surfaces need to be clean and dry, not polished with abrasive cloth. If the nozzle screws in with a wobble, the seat or ceramic ring may need closer inspection. On stainless jobs in East Rand workshops, that small misalignment often shows first on the underside of the cut, especially when the shop runs thin sheet and narrow tabs in the same shift.
- Separate single layer and double layer stock during inspection.
- Check for oval wear, spatter and heat tint around the tip.
- Replace nozzles that no longer centre cleanly.
- Confirm the gas flow path is free of dust and scale.
Keep the ceramic ring and seals honest
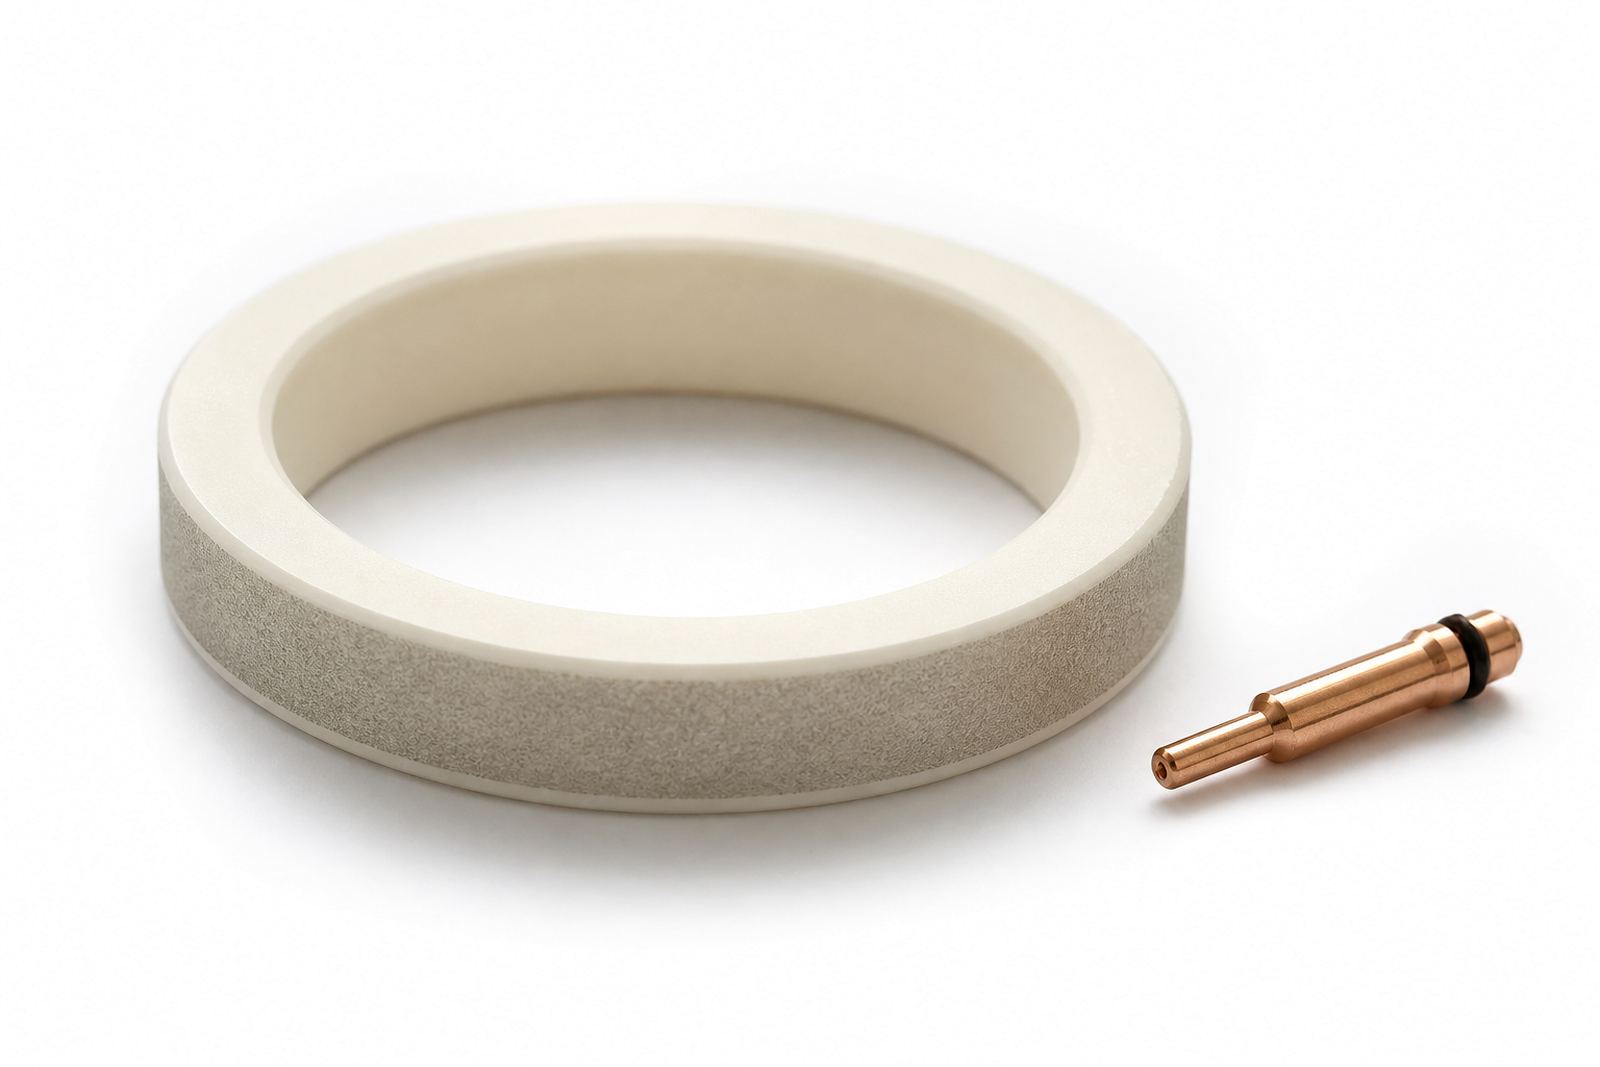
The ceramic ring is often treated as a small part, yet it carries alignment and insulation work that affects the whole cutting head. If the ring is chipped, cracked or stained by heat, the head may sit out of line even when the outer parts look fine. The same is true for worn seals around the window and lens chamber.
When the ring is off, clean the mating faces with a soft lint free wipe and check that nothing has lodged in the groove. Do not force the ring into place. If it does not seat naturally, something is dirty, bent or damaged. A neat fit here saves a lot of wasted time later on the machine.
- Look for hairline cracks and glazing on the ring.
- Check the seal groove for dust and dried residue.
- Inspect the head body for signs of a recent crash.
- Replace seals that have flattened or hardened.
Check focus setting and capacitive sensing before closing
A bench clean is the right moment to confirm the focus setting and the capacitive height sensing parts that guide cut distance on the machine. If the sensor face is dirty or the cable end is loose, the head may track unevenly over warped sheet or near cutouts. Cleaning the sensor area is a required step.
Before the head goes back into service, confirm the optics sit square, the lens stack is the correct way around and the moving parts travel freely. On thicker mild steel in Pretoria or Durban workshops, a small focus shift can be enough to turn a sharp edge into a stubborn burr line.
- Verify the sensor face is clean and undamaged.
- Check focus position against the machine setup notes.
- Move the head through its range to feel for drag.
- Confirm all covers and retaining parts are seated evenly.
Close it cleanly and log what changed
The last step is closing the head with the same care used in opening it. Every part should be seated square, every thread should start by hand and every cover should sit without strain. That is the point where many jobs go wrong, because a rushed closure can trap dust or pinch a seal that looked fine moments before.
A short service note helps the next technician, whether the head returns to a line in Johannesburg or goes out to a shop in Cape Town. Record what was cleaned, what was replaced and what showed wear. If the head had a crash mark or a damaged nozzle seat, note it plainly so the next bench check starts with the right fault.
At our Spartan, Kempton Park bench, that closing step is included in the clean. The head should leave the bench ready for proper alignment and cutting, with no loose part left to find its way into the next shift.