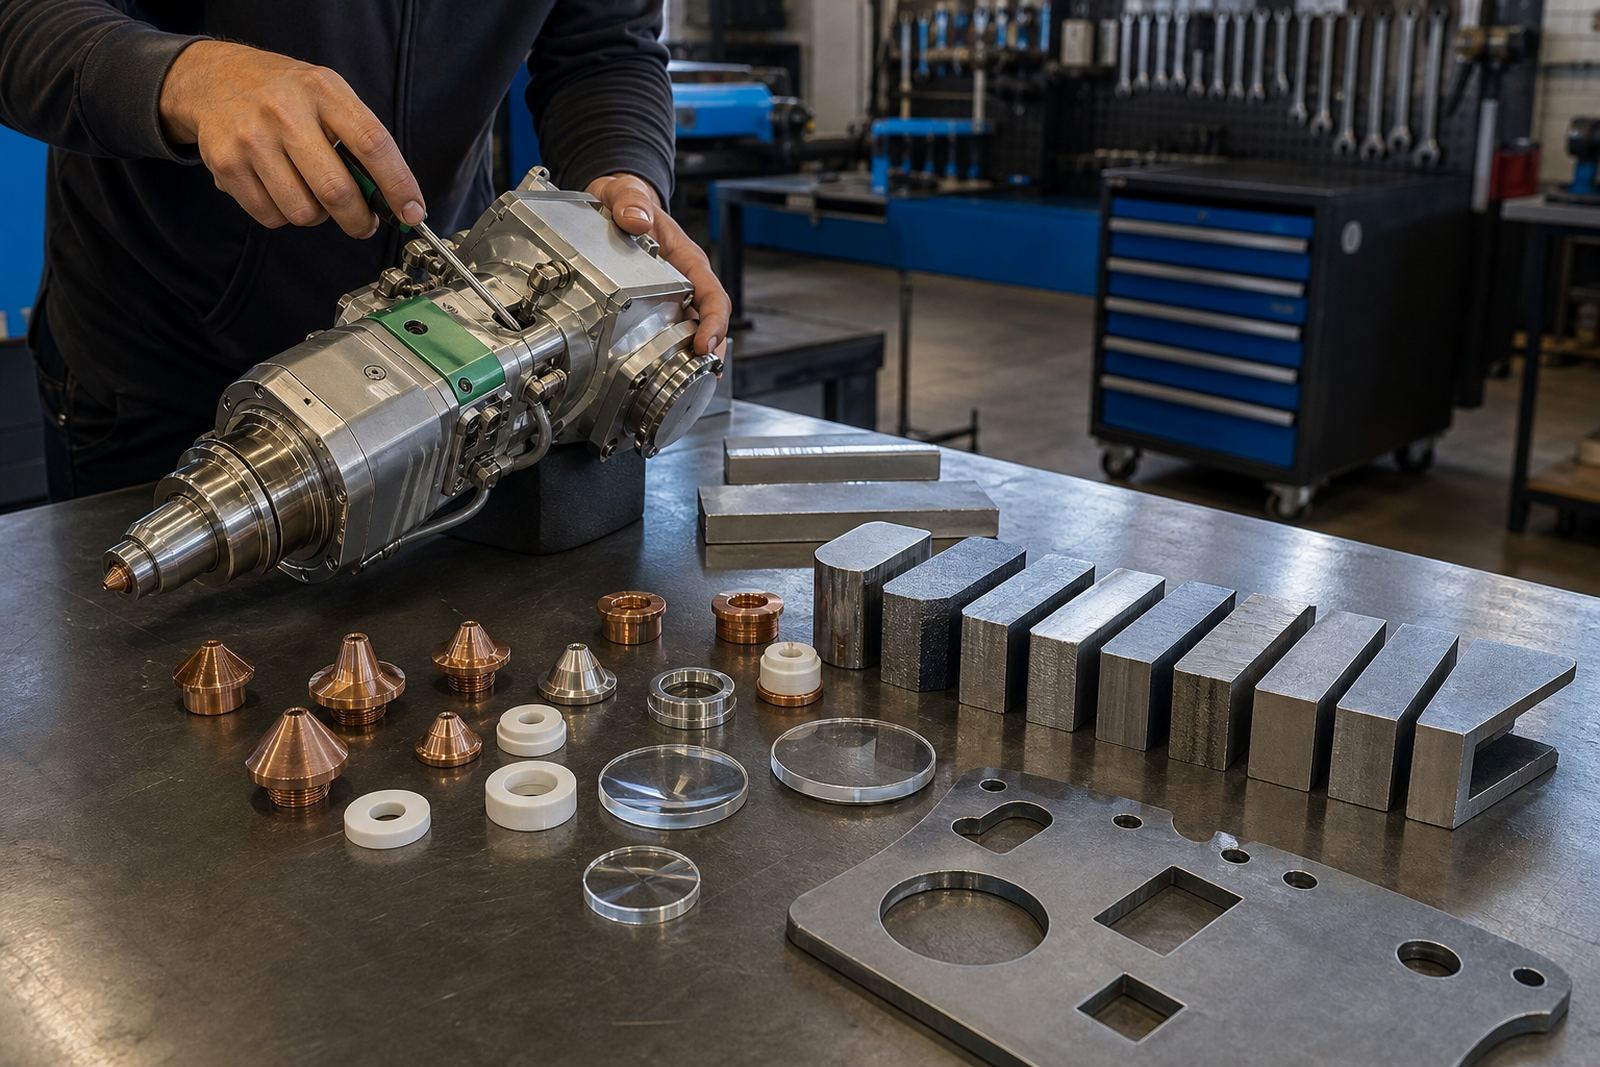


What motorised focus should do on the cut
In a fibre laser cutting head, auto focus moves the focal position to suit material thickness and cut quality. The movement should feel controlled, not jumpy, and the reading should hold steady when the machine parks at the same setting more than once.
When the repeat position drifts, operators usually notice it in edge angle, dross, or a clean cut that suddenly needs more power than usual. The fault can sit in the focus drive, a dirty protective window, a worn ceramic ring, or a sensor signal that is not being read properly.
- Check that the head homes to the same point after each cycle.
- Look for rough movement when the focus axis travels through its range.
- Note any change in sound or hesitation near the top and bottom limits.
- Confirm that the lens path is clean before chasing deeper faults.
Clean optics make the focus reading less confusing
Auto focus systems can only work with the light path they are given. If the protective window has spatter marks, fine dust or heat staining, the beam can scatter and the cut may look like a focus fault when the real issue is contamination.
On busy mild-steel and stainless jobs, we see a simple pattern in the workshop. The machine starts to lose cut consistency, the operator nudges focus settings, then the head is opened and the protective window or focus lens shows a light film that should not be there.
- Inspect the protective window under good light and replace it if marks will not wipe clean.
- Check the focus and collimator lenses for haze, edge chips or residue.
- Keep the nozzle seat and ceramic ring free of soot and spatter.
- Use a proper cleaning routine, not a rag and guesswork.
Nozzle centring and focus movement go together
A nozzle that is off-centre can make the best focus setting behave badly. Gas flow then pulls unevenly across the kerf, and the cut can lean to one side or throw extra burr on the lower edge. The focus drive may be working fine, yet the result still looks unstable.
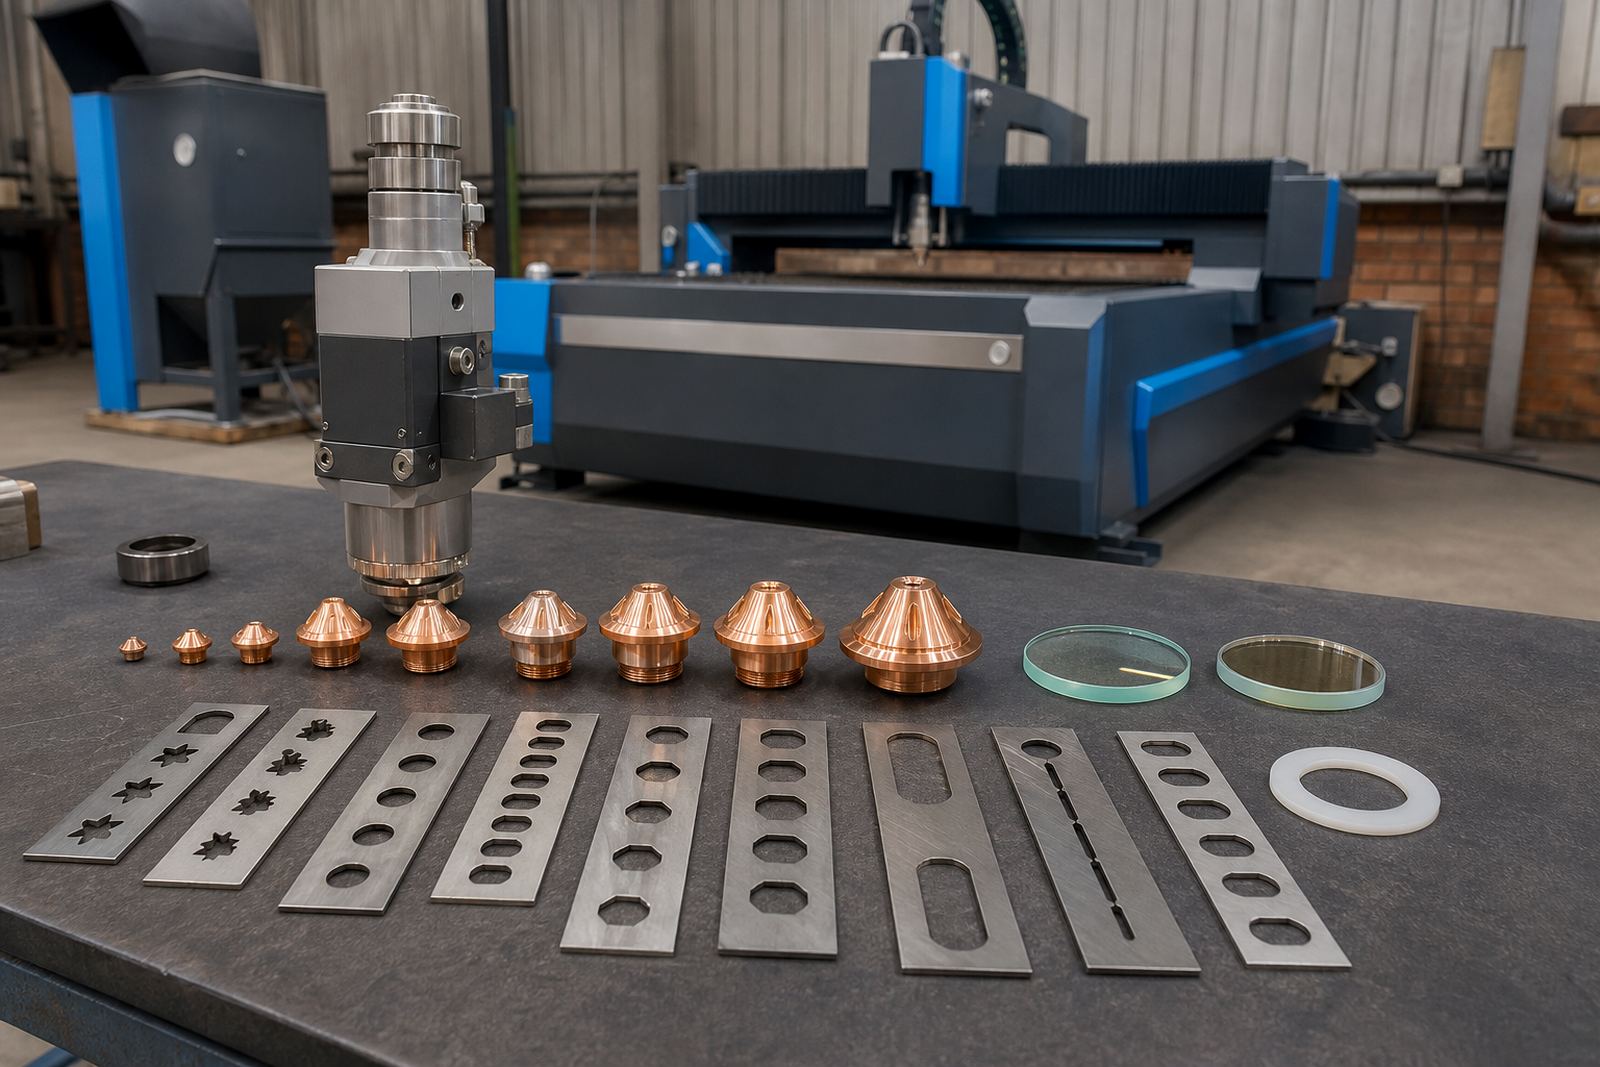
Single layer and double layer nozzles each need the same discipline. The tip must sit true to the beam, the ceramic ring must hold the head straight, and the gas path needs to be clear enough for a stable stream.
- Check nozzle centring after any head knock or crash.
- Inspect the ceramic ring for cracks or heat damage.
- Listen for gas leaks around the head seal and nozzle seat.
- Recheck focus after changing to a different nozzle size.
Where repeat positioning fails on the shop floor
Repeated focus errors are often blamed on software first, but the root cause can be mechanical. A worn drive, a loose mount, or contamination inside the head can all change how the unit returns to its set point. In heavy use, even a small amount of play becomes visible on thin material.
On a run from Spartan to a sheet-metal shop in Johannesburg, the complaint is often the same: parts cut well in the morning, then edge quality moves off later in the shift. The fix was not a grand rewrite. It was a measured head service, a fresh window, lens cleaning and a proper alignment check.
- Watch for focus drift after warm-up.
- Check whether the head repeats the same position on test moves.
- Look for dust in the sensor area and around the moving assembly.
- Test with known material before changing more settings.
Capacitive sensing must stay honest
Capacitive height sensing helps the head follow sheet metal without scraping or floating too high. If the sensor is dirty, poorly aligned or reacting badly to surface finish, the focus system may keep compensating for a bad signal.
That leads to chasing the wrong problem. Operators adjust focus, but the real issue may be a noisy sensor reading, an inconsistent gas path, or a small build-up around the head that changes the stand-off distance.
- Keep the sensing face clean and free of residue.
- Check the reading against a known flat test sheet.
- Look for false triggers near cut edges and pierced points.
- Confirm the sensor cable and head connections are secure.
Bench checks before the head goes back to production
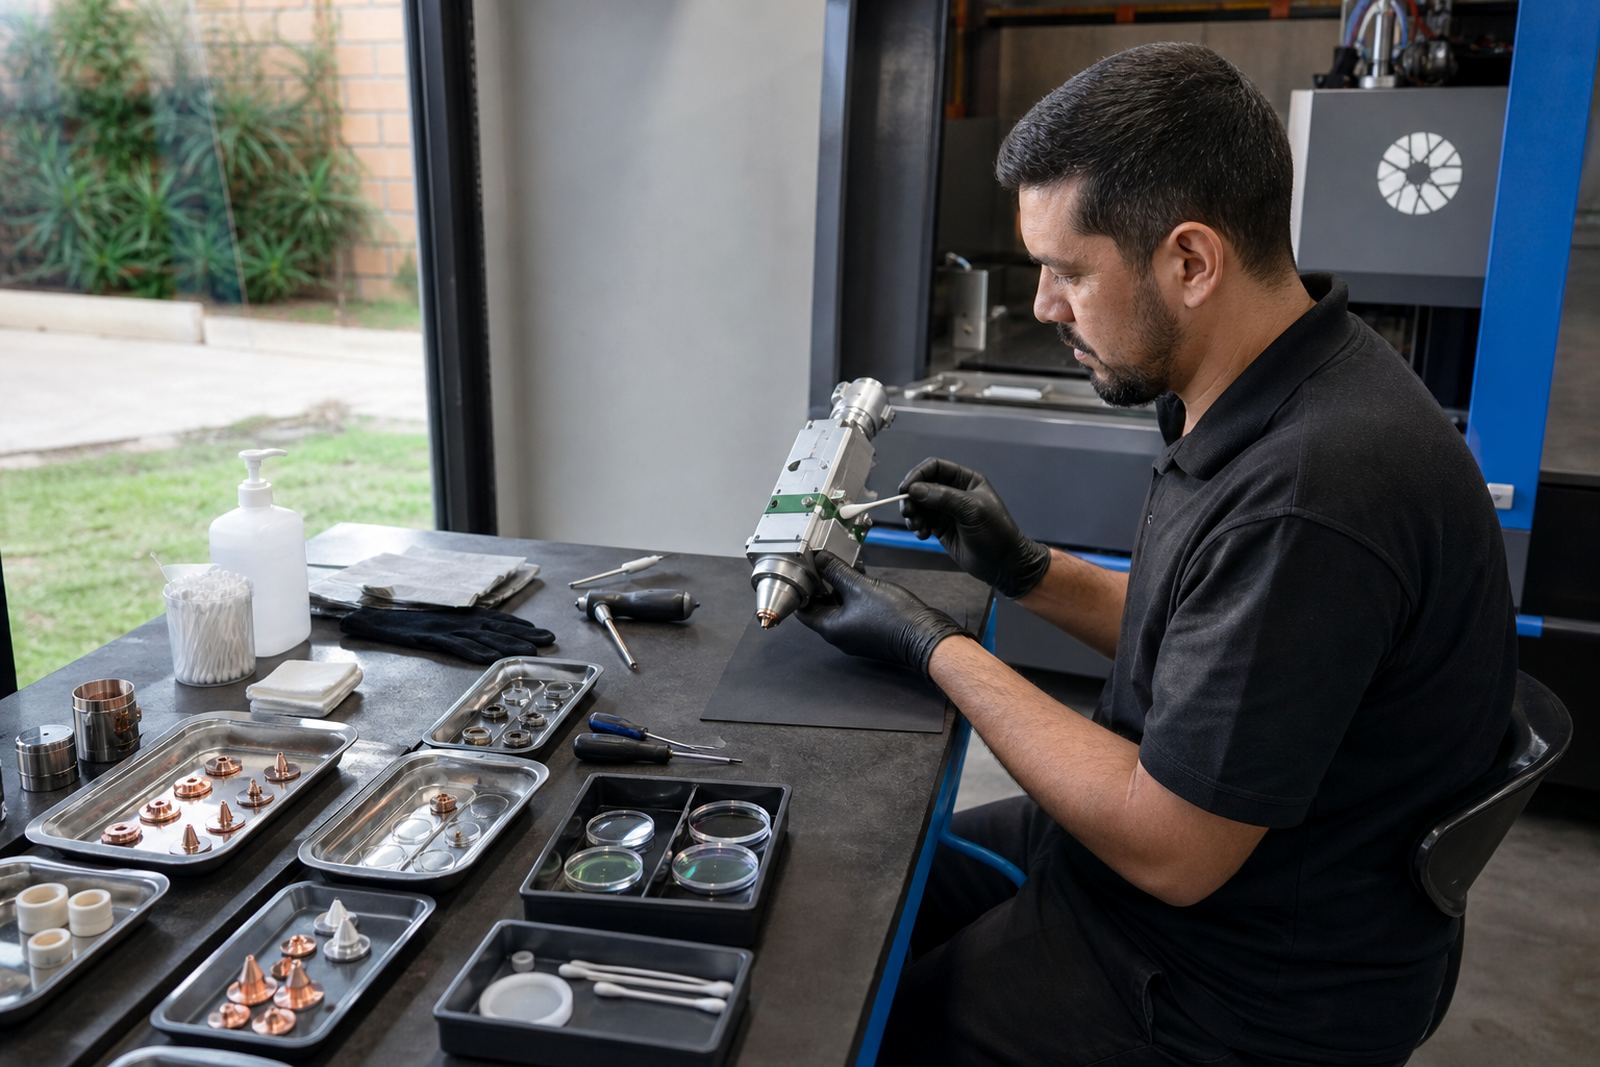
Bench service gives a cleaner view than a rushed field guess. Once the head is stripped and checked, it is easier to see whether the focus travel is smooth, the optics are clean, and the seal parts are still doing their job. That saves time on the machine and avoids swapping parts blindly.
In our Spartan, Kempton Park workshop, bench work often starts with the same sequence: clean inspection, lens check, ceramic ring replacement if needed, then alignment and focus setting verification. If the job points to a bent body or crash damage, the head is marked for closer repair before it goes back out.
- Confirm the focus movement through the full travel range.
- Check the protective window seat and sealing surfaces.
- Inspect for heat marks, cracks and distortion after impact.
- Prepare a spare head only after the service findings are clear.
Practical signs the focus setting needs attention
There are a few signs that usually point to focus trouble before a full failure shows itself. The cut may sound harsher, the pierce may leave more splash, or the edge may need a second pass when the same material used to cut cleanly. Those changes are worth checking before the job queue grows.
For Durban or Cape Town sites, humidity and airborne dust can add another layer to the problem. Clean optics and sealed parts matter more when the machine sits in a workshop with changing conditions and regular sheet handling.
- Watch for extra burr on thin sheet.
- Check whether the pierce mark has widened.
- Note if settings drift between material batches.
- Inspect the head after any crash, even a light one.
If the focus reading no longer matches the cut on the table, the head needs inspection, not more guesswork. That is usually where the real work starts for our laser cutting heads, nozzles, lenses, protective windows and service.