
Start with a clean bench and a strict order
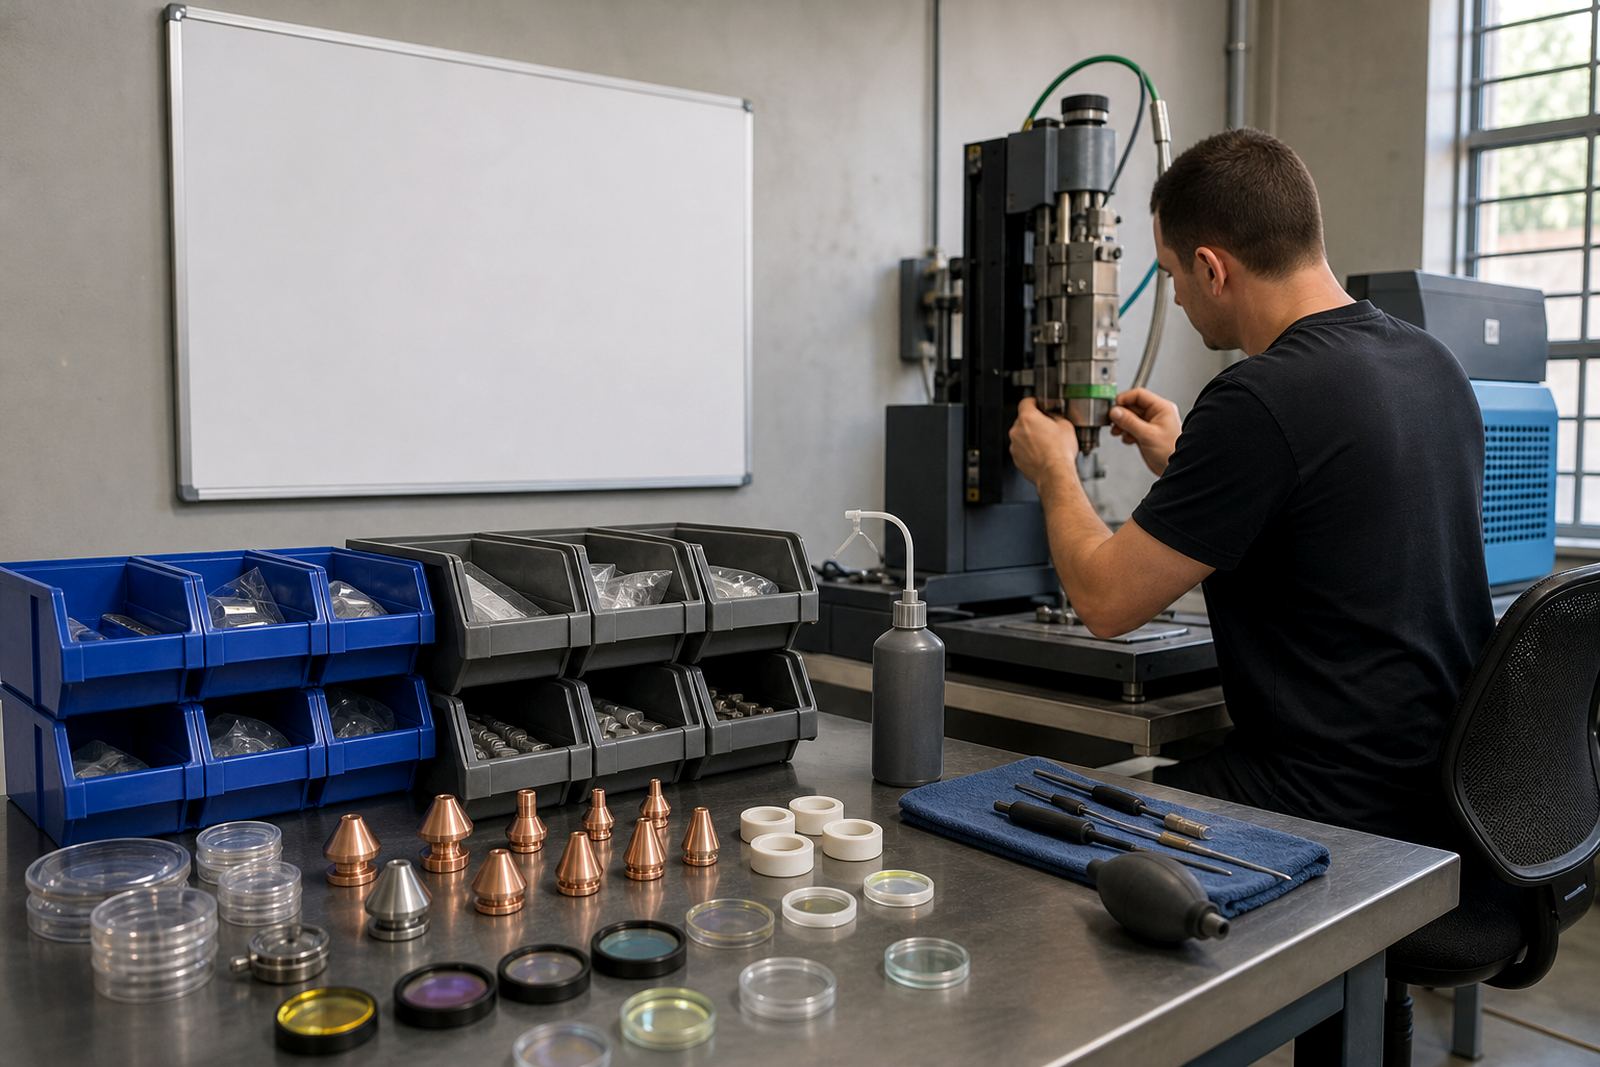
Cleaning should happen in the same sequence every time. A marked bench, lint free wipes, clean gloves and a covered tray for removed parts keep the work steady and cut down on mix ups. In a Spartan, Kempton Park shop the routine usually starts with the visible items first, then moves inward toward the optics and sensor parts.
Keep the bench dry and free of grinding dust, oil mist and offcuts. Even a thin layer of metal dust can end up on a lens seat or a ceramic ring and later show up as bad edge quality. If parts are removed and left open to the air, close them in a clean container while the rest of the head is being checked.
- Switch off the machine and isolate it before touching the head.
- Wear clean gloves when handling optics and sealing parts.
- Lay removed items out in the order they came off.
- Keep swabs, wipes and tools separate from cutting debris.
A daily wipe-down that does not disturb the optics
The daily routine should be light, not a deep strip down. The aim is to remove dust, splash marks and loose soot before they move into the nozzle seat or the protective window area. Operators can check the outside of the head, the nozzle tip and the visible face of the protective window without disturbing the internal alignment.
A small amount of grime on the outside is normal, but sticky residue is a warning. It often points to poor gas flow, spatter blowback or a damaged seal. If the same marks return after cleaning, the machine needs a closer look at the gas path and focus setting rather than another wipe.
- Wipe the outer casing with a clean, dry, lint-free cloth.
- Check the nozzle tip for burrs, soot and clogged openings.
- Inspect the exposed face of the protective window for haze or burn spots.
- Look for signs of slag splash around the ceramic ring and seal area.
How to clean nozzles, rings and sensor faces
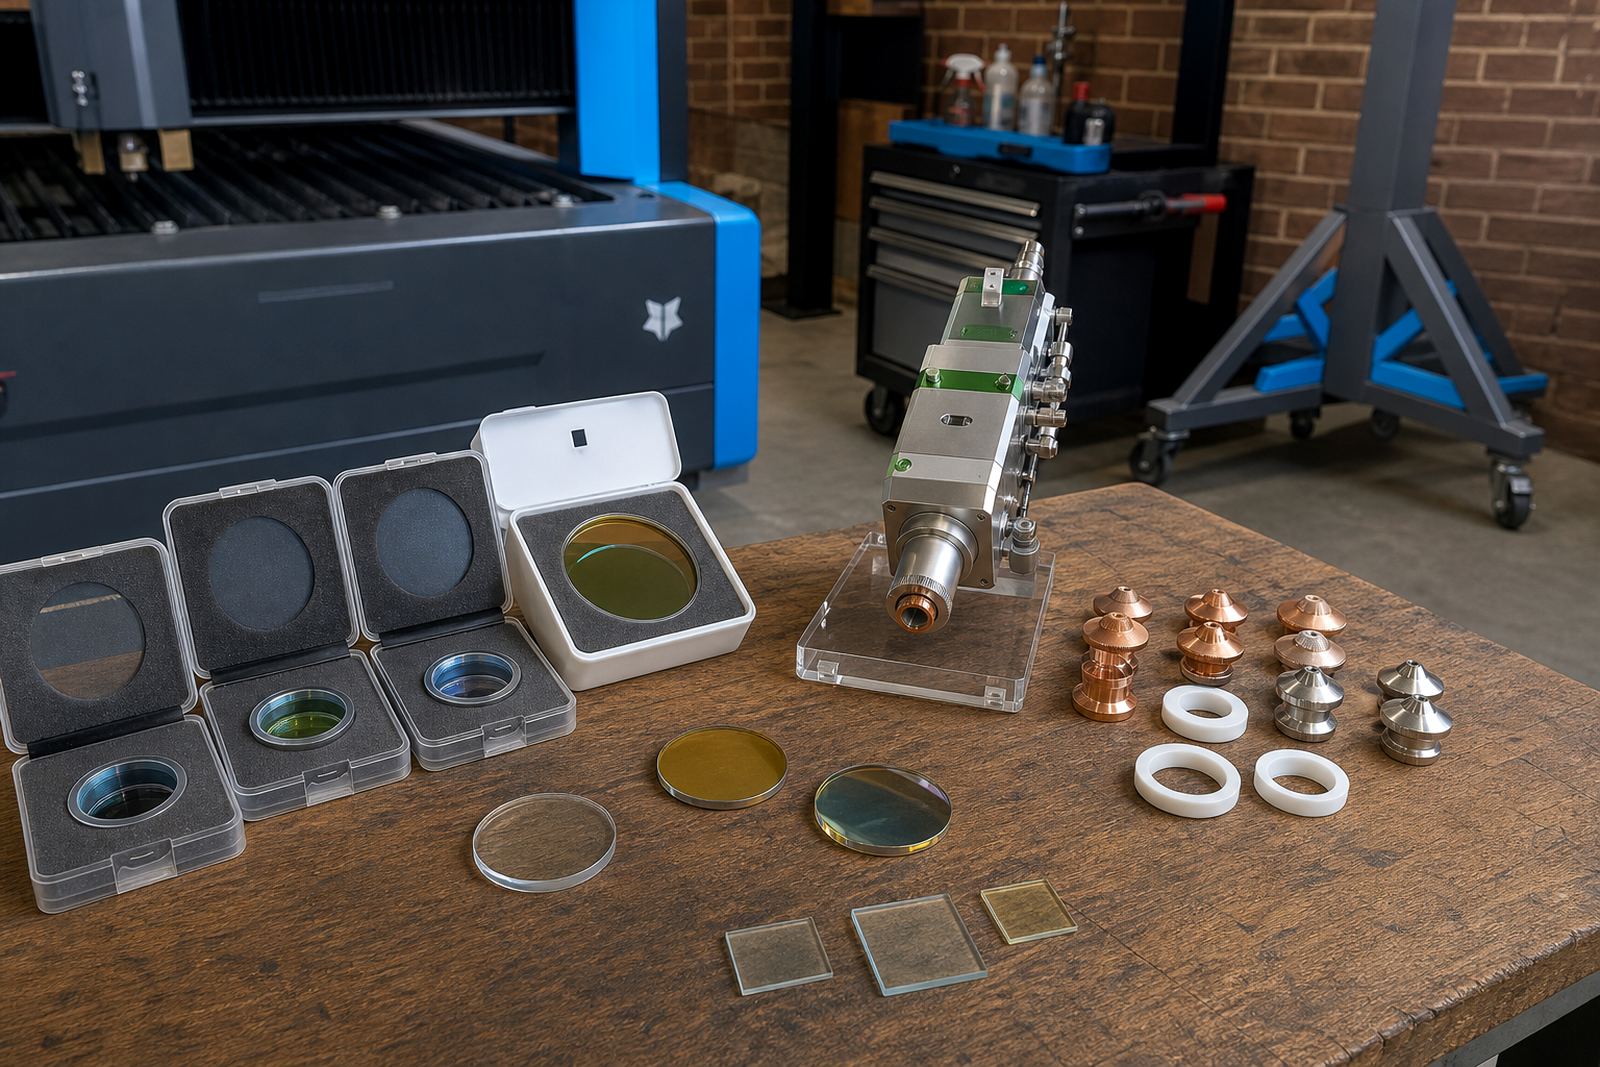
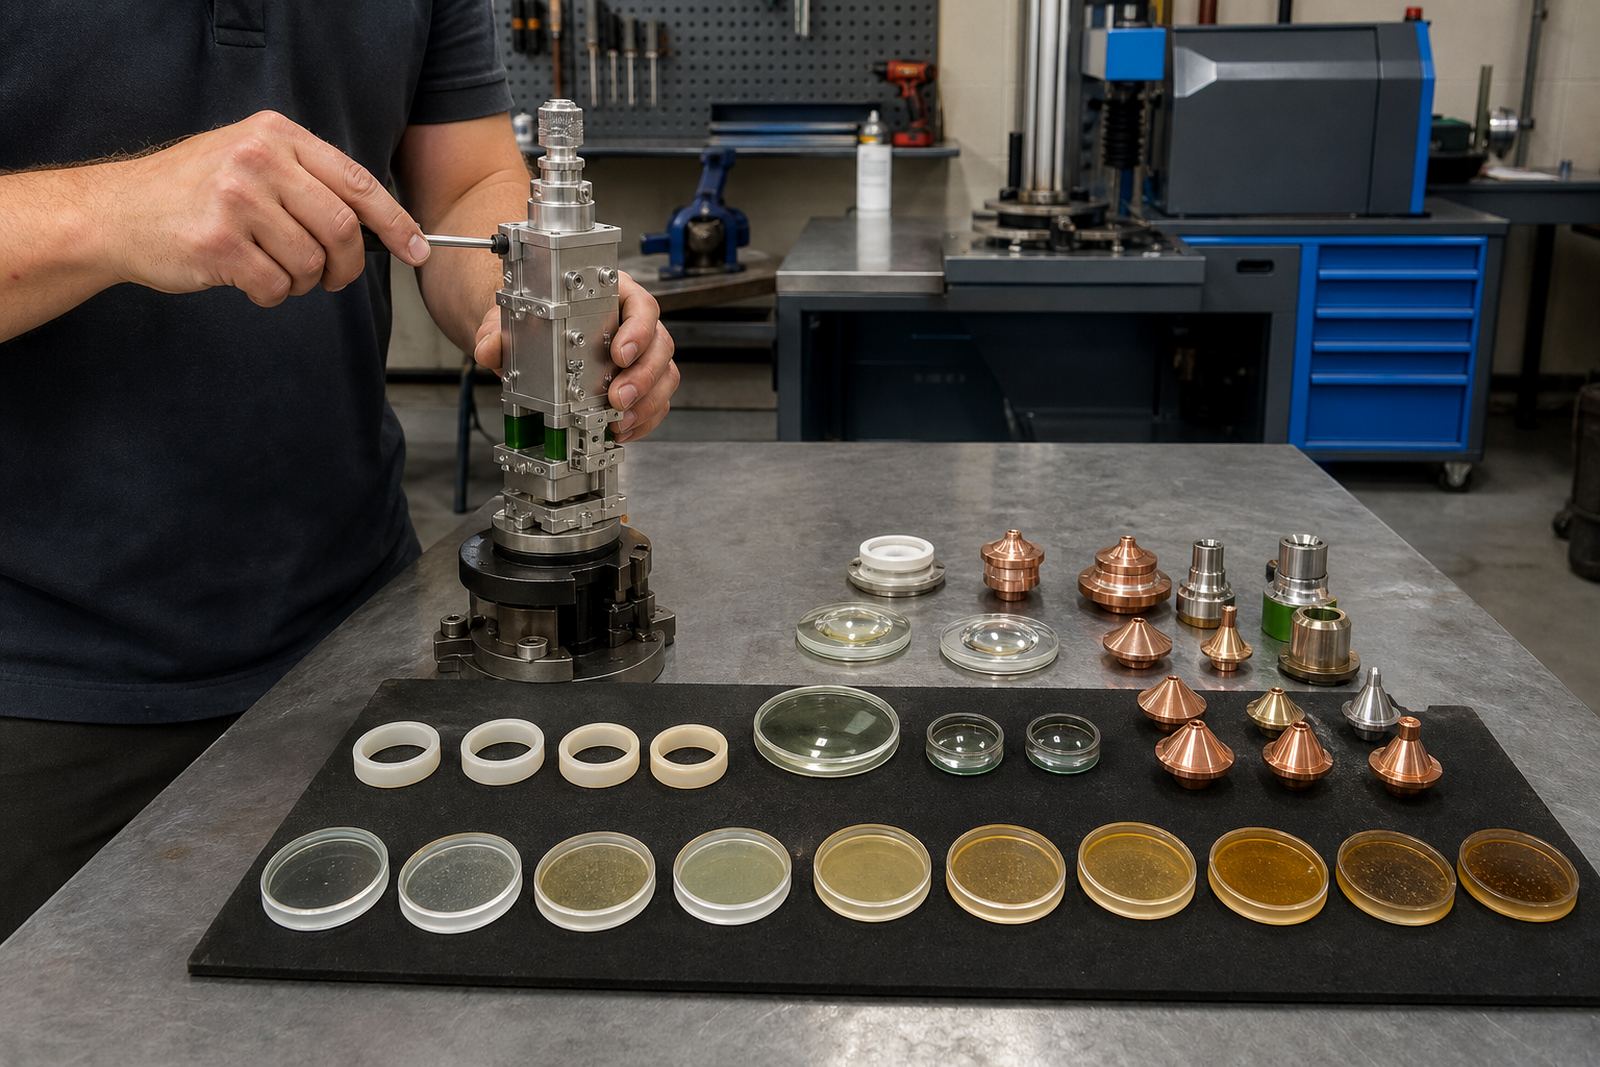
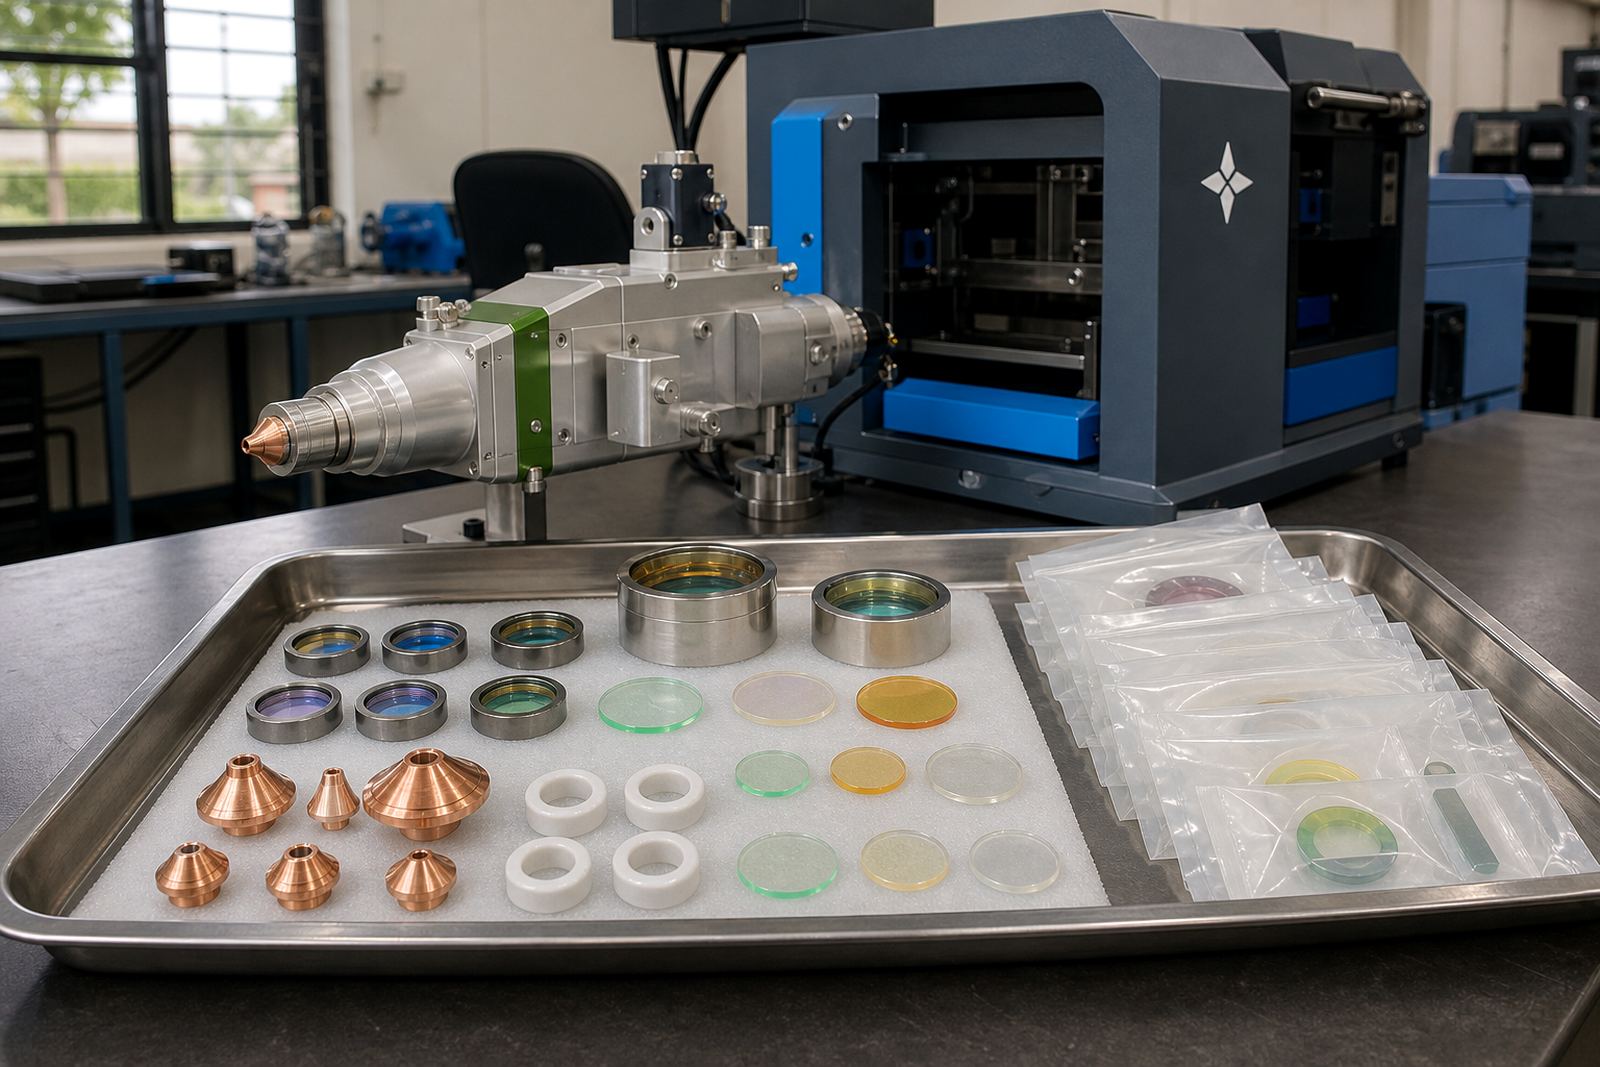
Nozzles need careful handling because the aperture is small and the edge shape matters. A damaged single layer nozzle can disturb the assist gas stream, while a double layer nozzle can trap fine dust between the layers if it is handled roughly. Clean them gently with approved solvent and a soft swab, then check the edge under good light. Do not scrape the opening with a hard tool.
Ceramic rings and capacitive sensing surfaces need the same sort of discipline. Dust on those parts can interfere with height sensing and make the head ride too high or too low. Wipe the mating surfaces clean and make sure the ring sits square before refitting. If the ring has a chip or hairline crack it is better replaced than forced back into service.
- Remove the nozzle only when the head is secure and cool.
- Use a soft swab on nozzle seats and sensor faces.
- Check ceramic rings for chips, cracks and burn marks.
- Keep the capacitive sensing area free from metal dust and oil film.
Protective window care that protects the rest of the head
The protective window is the part most often sacrificed when the cutting process gets dirty. When it clouds over, the beam path loses clarity and the head can begin to run hotter than it should. That is why the window should be checked as part of the cleaning routine, not only after a cut quality problem appears. A lightly marked window may only need cleaning, but pitting, burn spots or edge chipping point to replacement.
Handle windows by the edge only, and never wipe them with an abrasive cloth. Even small scratches can scatter the beam and shorten the life of the lens stack. In coastal work around Durban and Cape Town, damp air can leave film on optics quicker than operators expect, so windows need more regular checks where humidity is high.
- Inspect the window face under a bright angled light.
- Replace windows that show burn rings, chips or deep haze.
- Store spare windows in clean sealed packaging.
- Keep fingers off the optical surface and edge seal.
Focus setting checks belong in the cleaning routine
Cleaning is the right time to confirm that the focus setting still makes sense for the material and nozzle in use. A head that has been cleaned but not checked can still cut poorly if the focus has drifted or the lens stack has shifted. A brief check of the focus position, lens seating and nozzle centring helps keep the cut consistent across thin sheet and heavier plate.
Watch for repeated taper, heavy burr on one side, or a cut face that looks rough even after the optics are clean. Those signs often point to a focus issue, a centring fault or a gas path problem. If the head has taken a light crash, inspect the focus mechanism and the alignment before sending the machine back into production.
- Confirm the focus mark or setting after cleaning.
- Check nozzle centring before a long cutting run.
- Look for vibration marks on the lens carrier or seal area.
- Compare cut quality after cleaning with the earlier job sheet.
A weekly routine for operators who want fewer surprises
A weekly routine should go further than the daily wipe and focus on the parts where fine residue builds up over time. This is the time for a fuller inspection of the head body, seal condition, gas path and the parts that support the optics. It is also the point where cleaning records matter, because repeated dirt build up usually tells the real story. If the same nozzle, window or ring keeps failing, the cause is often upstream, not the part itself.
Field work across Johannesburg, Pretoria, East Rand, Rustenburg, Johannesburg, Durban and Cape Town often shows the same pattern. Shops that keep a fixed cleaning routine have fewer rushed changes and fewer surprise stoppages on a busy shift. It is not about polishing every part, it is about removing the faults that build up in plain sight.
- Strip and inspect the visible service parts on a fixed day.
- Check for seals that are flattened, torn or heat marked.
- Review gas path cleanliness and the condition of internal seats.
- Note any repeated crash marks, soot lines or lens haze.
A short checklist operators can follow at the machine
A short checklist keeps the work practical. Operators do not need a long manual at the machine, they need the same steps every shift and a clear point where the head is sent for bench service or on-site alignment. The checklist below suits a sheet-metal shop that wants routine cleaning to stay consistent without turning it into a major maintenance event.
- Head body wiped clean and dry.
- Nozzle checked for damage and blockage.
- Protective window inspected for haze or burn marks.
- Ceramic ring checked for chips or cracks.
- Focus setting confirmed for the current material.
- Capacitive sensing area cleared of dust and residue.
- Gas path and seals checked for dirt or wear.
If the same marks keep showing up after proper cleaning, the head should be assessed on the bench or aligned on site. That is usually where hidden issues in centring, focus, seals or sensing become visible.