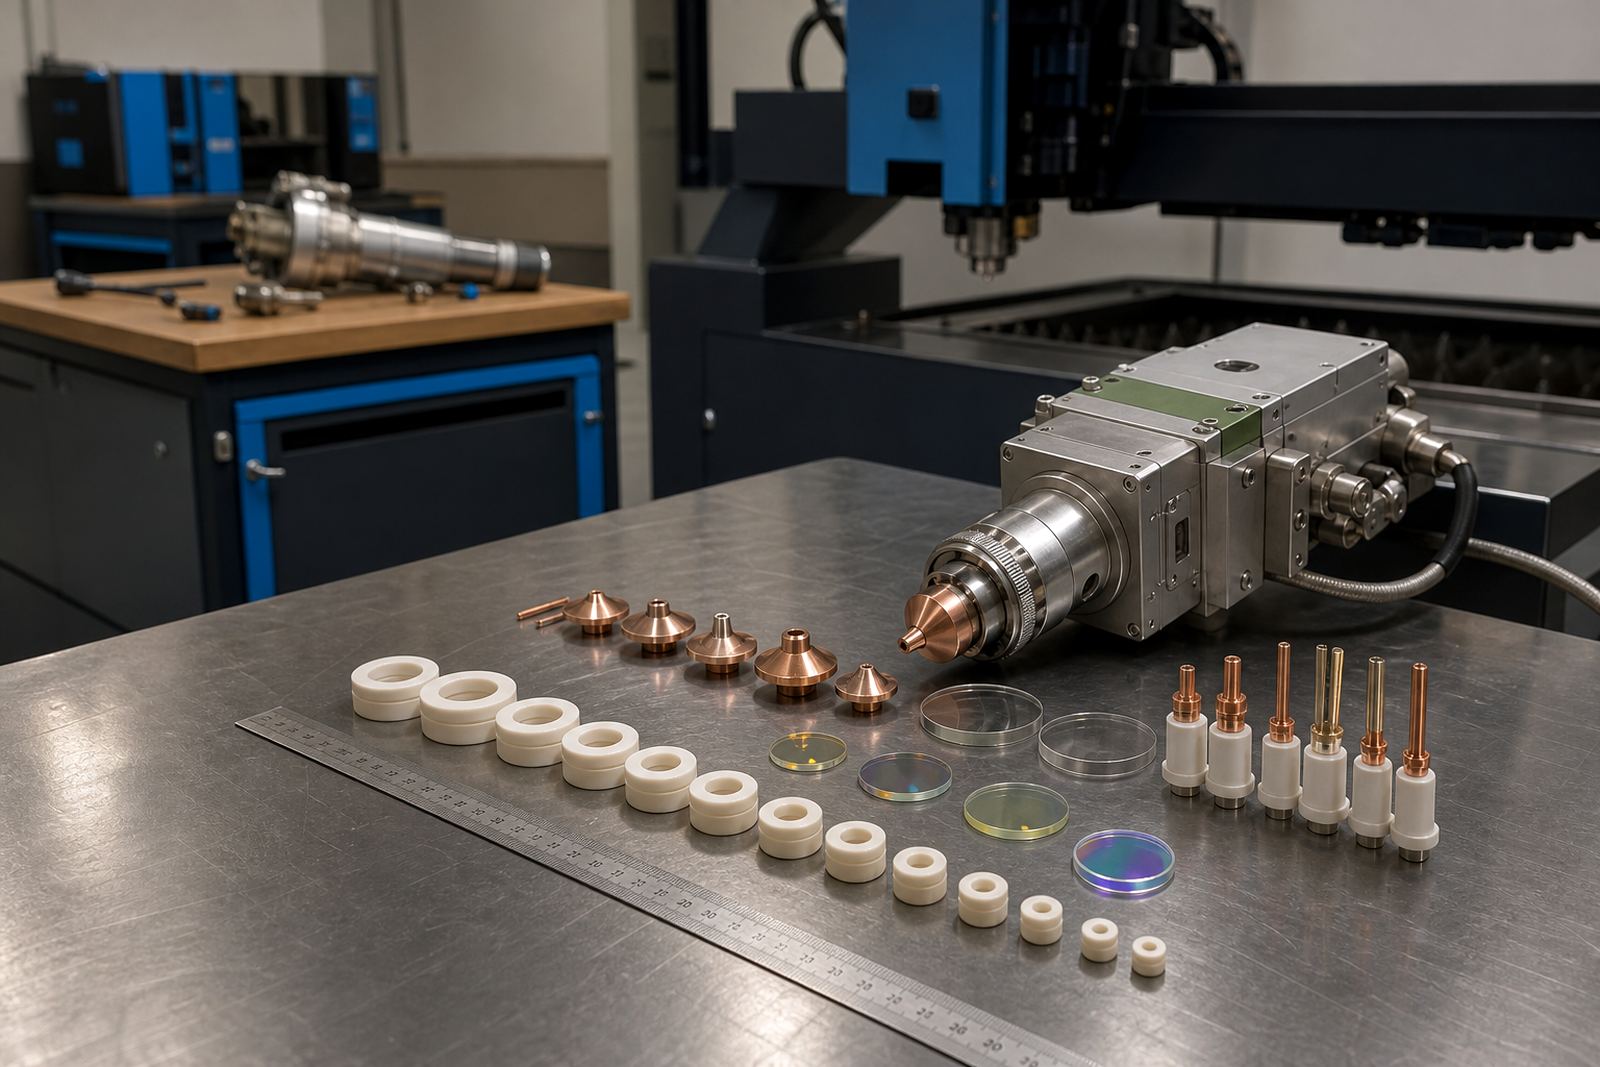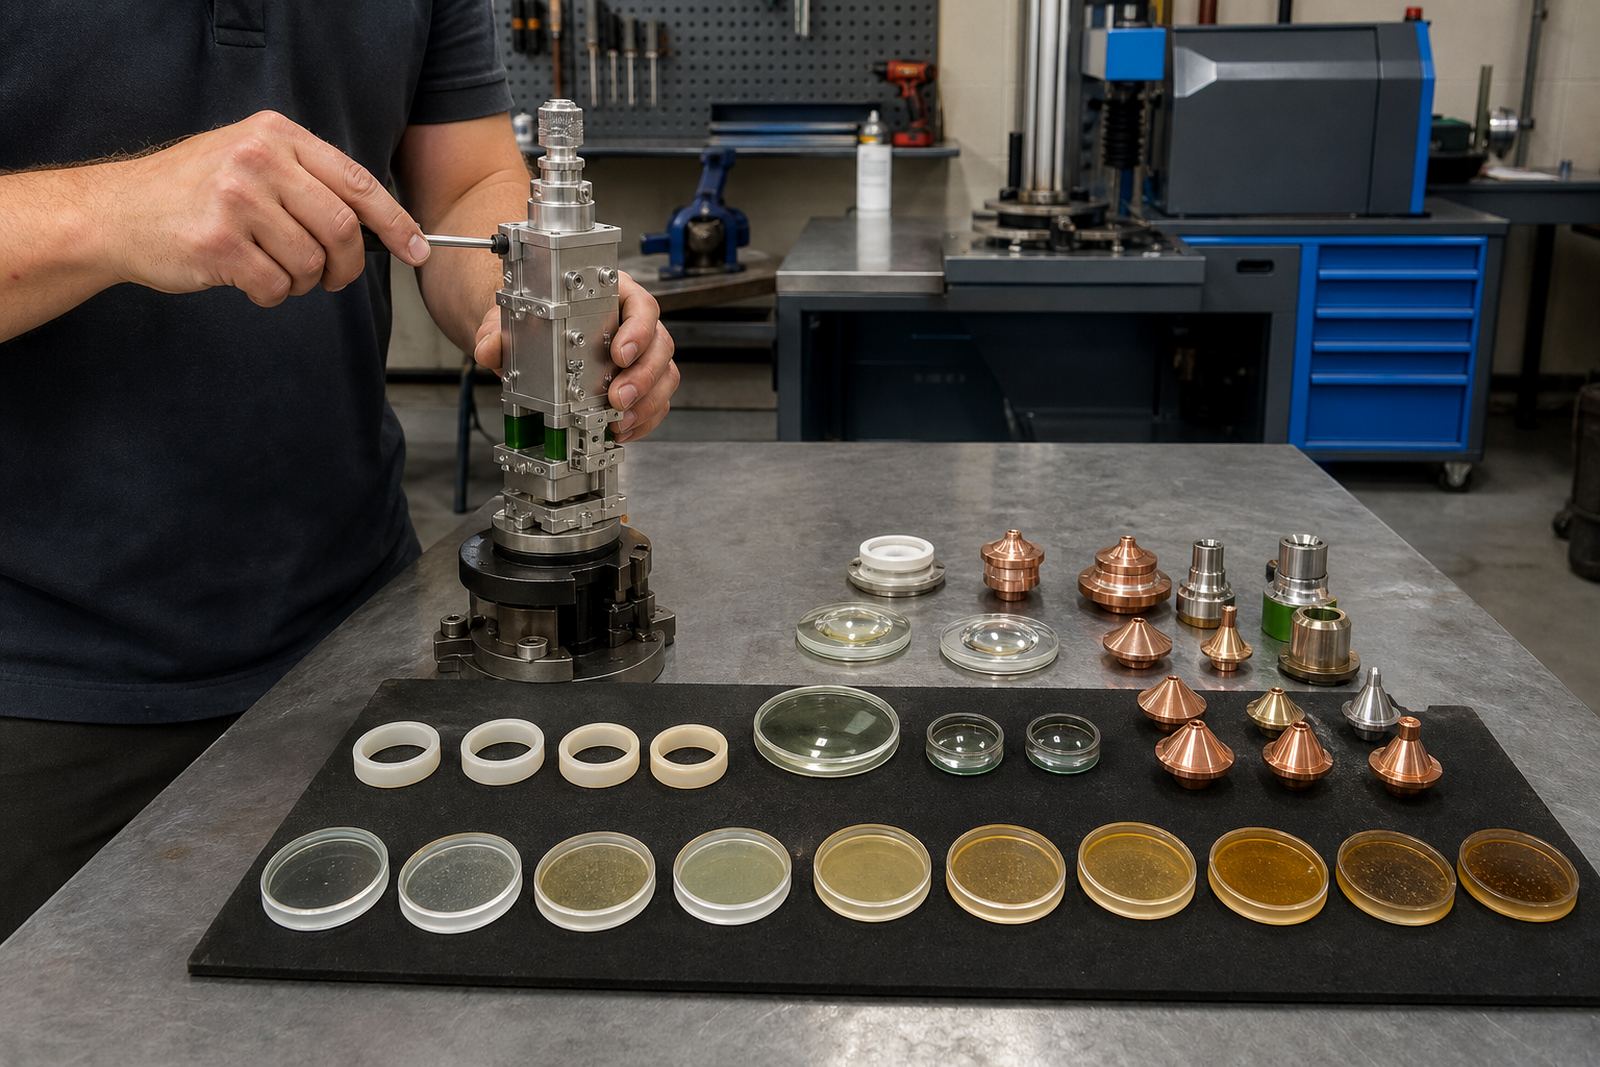

Start with the head frame, not the box of spares
The first check is the cutting head itself. Protective windows are made to suit a specific head body, clamping system and optical path, so the same diameter does not always mean the same fit. Look at the window seat, the retaining ring and the way the cover is held in place before you order a replacement.
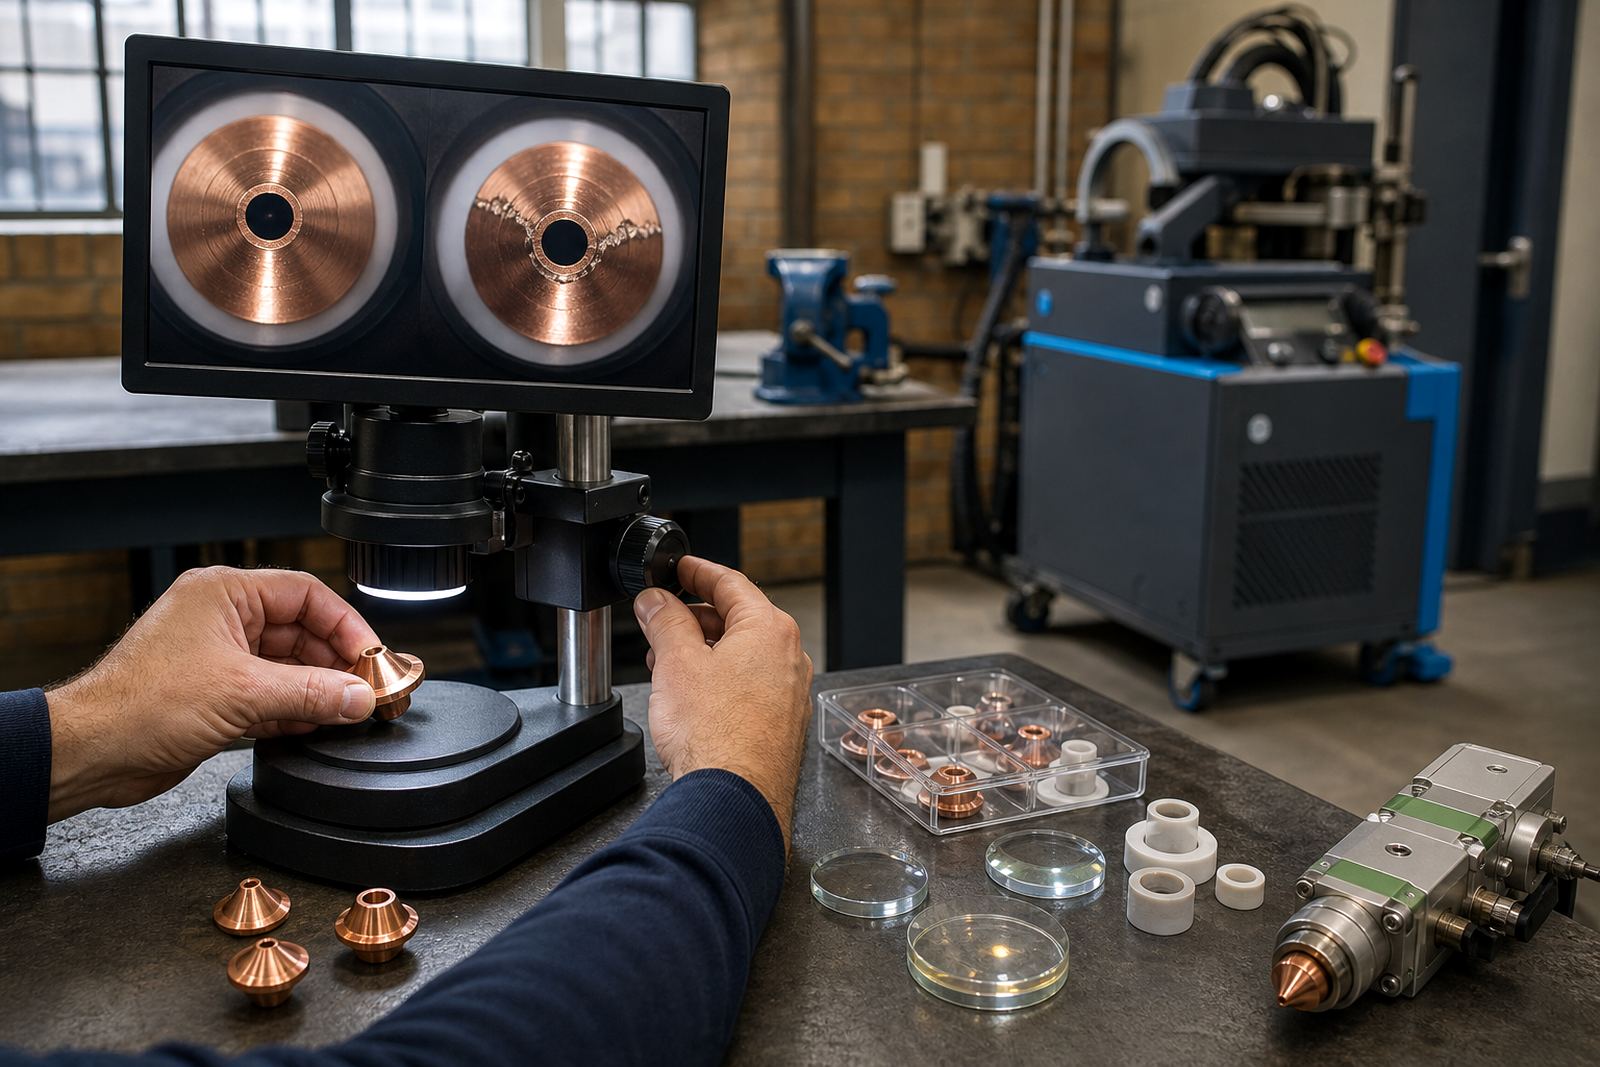
On sheet-metal jobs, a window that sits slightly loose can shift under heat and vibration, while the wrong thickness can upset the optical distance inside the head. That is where a quick visual check saves grief later. Compare the old part with the replacement and confirm that the edge profile, diameter and seating surface all match.
- Check the outer diameter and edge shape.
- Confirm the mounting form, including the retainer style.
- Look for marks that show heat stress or a poor seal.
- Match the part to the cutting head model, not only the machine table.
Window style, coating and thickness all work together
A protective window does more than hold back contamination. It must also pass the cutting beam cleanly, manage reflection and take the heat reflected from the cut. A coated window is often chosen where the optics need added protection from smoke and fine particles, while the base material and thickness help it stand up to handling on the bench.
Thicker is not always better. If the window is too heavy for the holder or too thick for the designed focus path, the head can lose consistency at higher cutting speeds. A clean, correctly specified window gives the beam a clear path and helps keep the focus settings steady across long cutting runs.
- Match the clear aperture to the beam path.
- Check the coating type against the material being cut.
- Confirm the thickness against the head specification.
- Inspect for edge chips before installation.
When marks on the old window point to another fault
A damaged protective window often tells a story. Brown haze may point to repeated smoke exposure, while pinholes or black specks can come from splashback or a poor gas path. If the window is failing often, the fault may sit higher up in the head, not in the window itself.
That is why we look at nozzle centring, gas delivery, ceramic ring condition and the state of the seals at the same time. A clean window can still fail early if the cut is throwing debris straight into the optics. A bent nozzle, blocked gas path or loose seal can all leave the next window carrying the same damage.
- Look for clouding, pitting or burn marks.
- Check for cut splash and dust trails on the face.
- Inspect the nozzle for a centred gas stream.
- Review the ceramic ring and head seal before fitting a new window.
Handling and cleaning without touching the wrong surface
Protective windows are easy to spoil during handling. A thumbprint or lint trail can become a hot spot, and a rushed wipe can leave a fine scratch that shows up in the beam. Use clean gloves, a dust-free surface and a soft lens wipe made for optical parts. Never scrape a window that still has abrasive dust on it.
If a window is being cleaned rather than replaced, work from the centre outward in one light pass, then inspect it under good light. Any mark that can be felt with a fingernail should be treated as damage. If the coating has lifted or the edge is chipped, fit a new window instead of trying to save it.
- Handle only by the edges.
- Use optical cleaning fluid and a clean wipe.
- Keep the cover open for as short a time as practical.
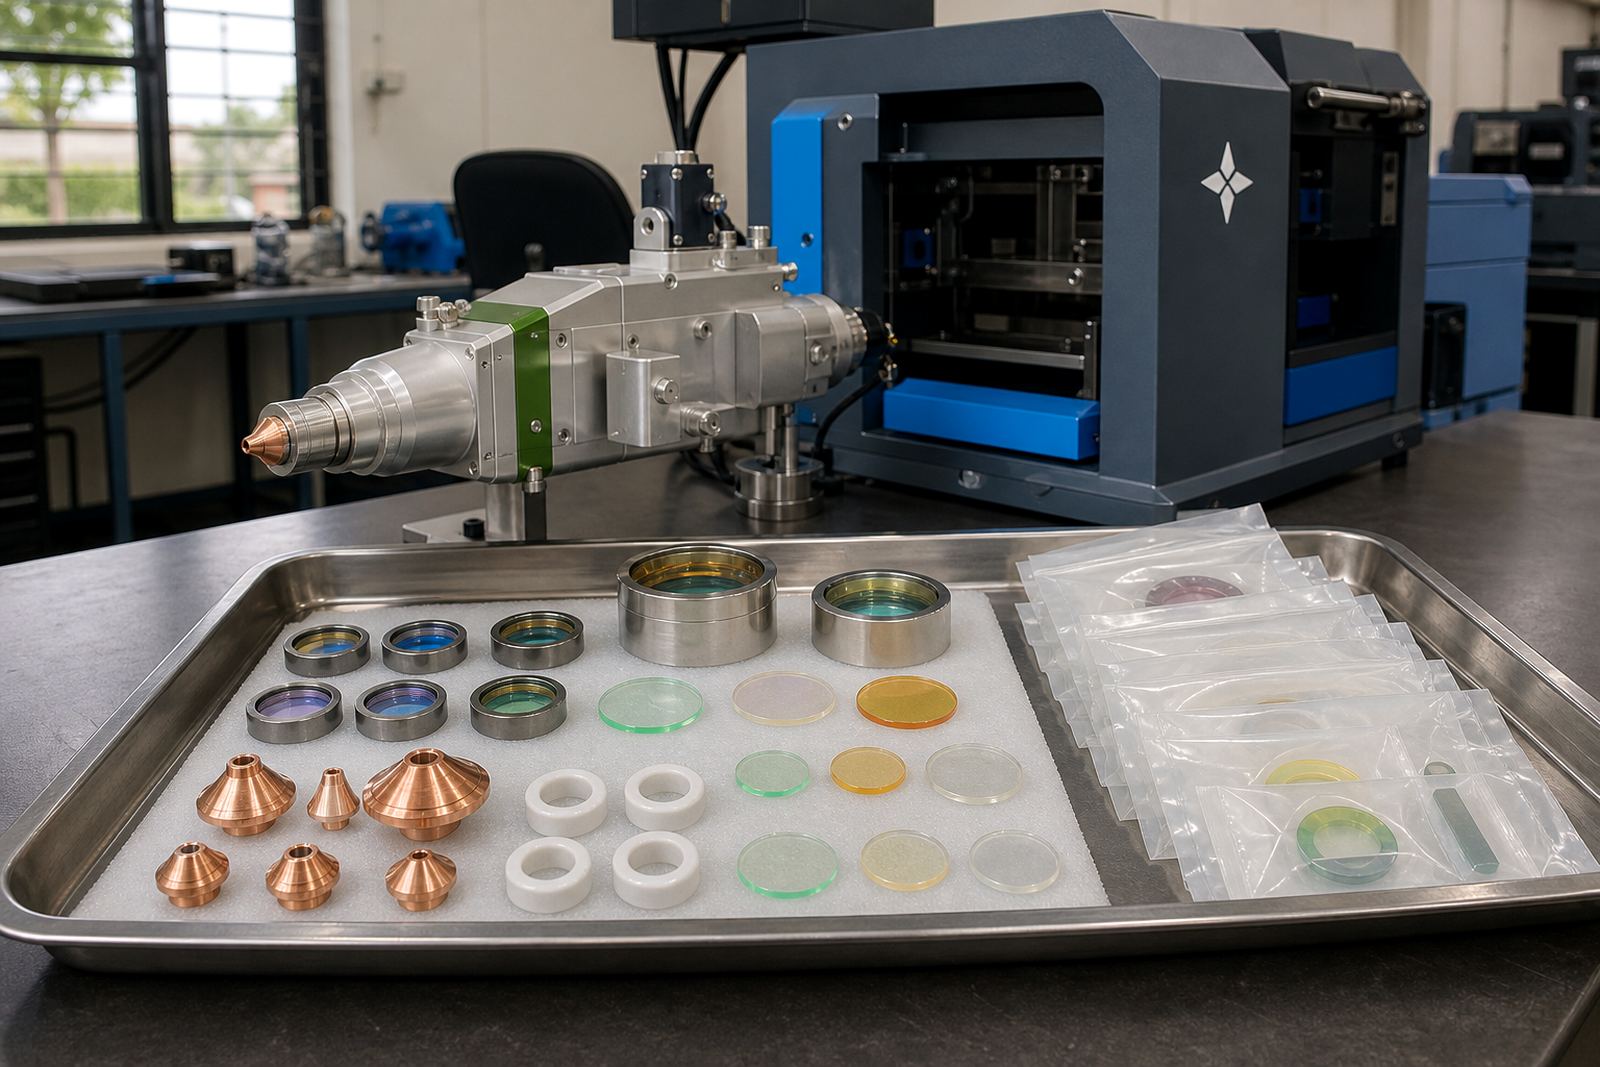
- Store spare windows in a dry case, away from workshop dust.
How fitment ties into focus, sensing and centring
Once the correct window is selected, the rest of the head still has to be checked. Focus setting, capacitive height sensing and nozzle centring all influence how much heat and debris reach the optics. A window that looks fine can still fail early if the head is running out of alignment or the sensor is giving a poor signal.
For that reason, bench servicing usually includes a close look at the focusing path, the sensor face and the gas channel. On site, the same checks are made around the installed machine so the window is not carrying a fault from another part of the head. If the cut quality has drifted, the window may be a symptom rather than the root cause.
- Check focus position after any head service.
- Confirm the capacitive sensor reading is steady.
- Inspect nozzle centring before a new window goes in.
- Keep the lens stack and window clean during reassembly.
A short job checklist before you fit the replacement
A disciplined fitment routine keeps the optics cleaner and the cutting head easier to service later. Before the replacement goes in, clear the seat, check the sealing surfaces and make sure no dust has collected in the cap or retainer. A clean seat matters as much as the new part itself.
For shops cutting mild steel, stainless and aluminium, the window should be checked again after the first run, especially if the machine has been working near fine dust, oil mist or heavy fume extraction loads. In the coastal belt, moisture can also leave light residue on stored optics, so dry storage matters from the moment the part leaves the packet.
- Confirm the correct diameter, thickness and mount.
- Clean the holder and sealing face before installation.
- Check the retaining ring for wear or distortion.
- Inspect the first cut and recheck the window condition after the run.