
Begin with the cut face, not the window glass
When a protective window starts to struggle, the first sign is usually not on the window itself. It shows up in the cut: more dross on the underside, rough edges on thin sheet, uneven piercing, or a cut that needs more attention from the operator to stay stable.
A clean window still lets the beam pass with far less scatter. Once spatter, dust or a film of vapour marks the surface, the cutting head has to work harder to keep focus steady. That is when you need to look at the window under good light, not just wipe the outside and move on.
- Check the cut edge for fresh burrs or dark burn marks.
- Look for random pierce faults after the same sheet type has been running fine.
- Inspect the nozzle and ceramic ring at the same time, contamination often travels together.
- Watch for heat marks around the head body or seal area.
What A Healthy Protective Window Looks Like
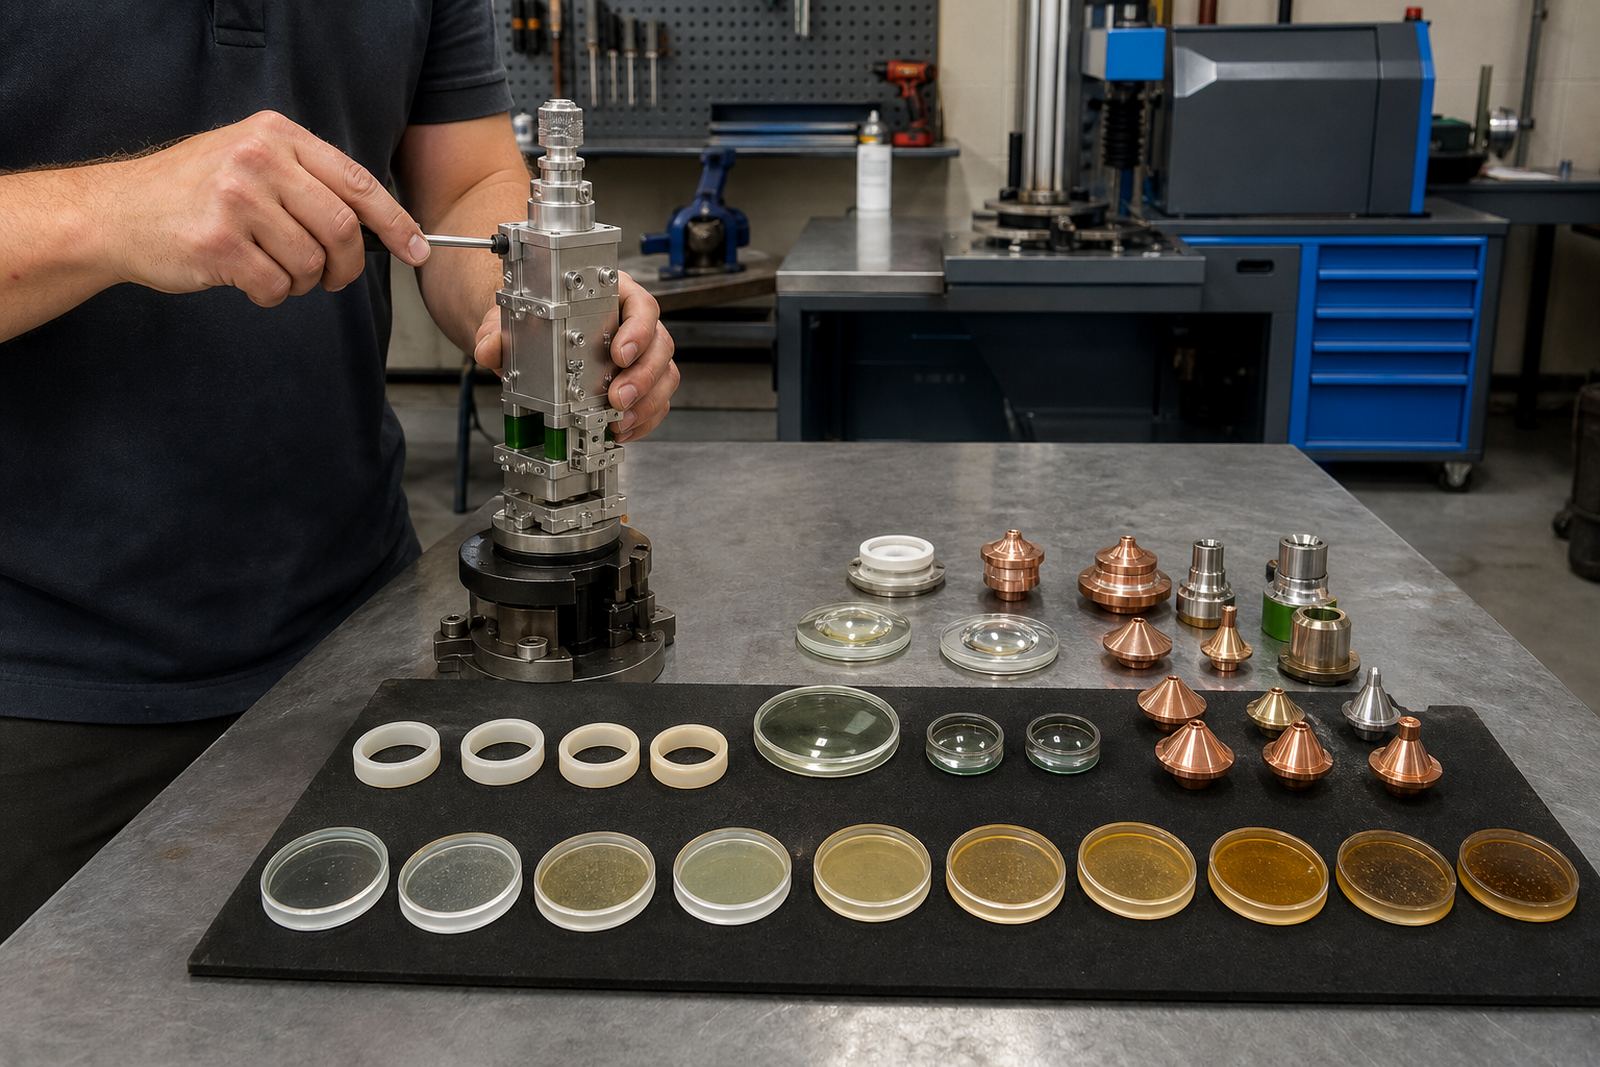
A serviceable window should look clear, flat and evenly coated if it uses a coated surface. Tiny dust specks on the outer face are not always a reason to change it, but any clouding, rainbow patches, pitting or etched spots are a warning. Those marks usually mean the window has been exposed to heat, spatter or cleaning done with the wrong cloth or solvent.
Hold the part under a strong lamp and tilt it slowly. If the reflection is crisp and the surface stays even, the window may still be usable after a proper clean. If you see a dull patch that does not wipe away, the damage is in the glass or coating, not just on top of it.
- Look for chips on the edge, especially near the seat.
- Check for misting between layers if the part is a sealed style.
- Watch for a brown or blue heat tint near the centre.
- Reject any window with a scratch you can feel with a fingernail.
Cleaning That Helps And Cleaning That Harms
Cleaning works when the contamination is light and dry. Use a clean lint free cloth, low pressure air and a suitable optical cleaner. Wipe from the centre outward in one direction, then stop. Repeating the same stroke over gritty dust can drag marks across the surface and turn a salvageable part into a replacement.
Do not reach for tissue, workshop rags or anything that has already touched oil. Those fibres leave residue, and residue can burn onto the window when the beam passes through. If the window still looks cloudy after proper cleaning, or if the coating has changed colour, it is no longer a cleaning job.
- Use fresh gloves before handling the optic.
- Blow away loose dust before any wiping starts.
- Avoid circular rubbing on coated surfaces.
- Keep the cleaning area clear of grinding dust and swarf.
Heat Damage, Spatter And Beam Stress
A window can fail even when it looks mostly clear. If spatter has struck the face, tiny pits or black dots may appear. Those marks create hot spots as the beam passes through, and the damage grows faster during piercing or long runs on thicker material. A window with this kind of marking may still sit in the head, but it is no longer safe to trust for production work.
Changes in the focus setting can also expose a window to more stress than usual. If the head has been crashing, or if the focus position has drifted, the beam path may no longer be clean. That is why a window check makes sense together with nozzle centring, ceramic ring condition and the capacitive sensing setup.
- Replace the window if pits appear in the beam path area.
- Check for repeated spatter marks after every crash event.
- Inspect seals if dust keeps entering from the same side.
- Review gas path condition when soot keeps returning.
A Practical Replace Or Keep Decision
If the window is clear after cleaning, has no chips, no etched spots and no heat tint, it can usually stay in service. If it still looks dull or the cut quality has gone off in a way that cleaning does not fix, replacement is the safer choice. A cheap save can turn into a damaged focus lens, a bad pierce or a head that needs more than routine service.
On production machines, the safest call is often the one that protects the rest of the optical stack. A tired window is easier to change than a focus lens, a collimator lens or a damaged ceramic ring seat. In busy sheet-metal shops, that matters when the same head has to keep running across mixed material gauges.
- Keep it if the surface is clear and the edge remains intact.
- Replace it if cleaning leaves haze, spots or streaking.
- Replace it after cracking, chipping or heat marking.
- Check the full optical path if faults return after a fresh window is fitted.
What To Tell The Bench Or Field Technician
Good information makes a diagnosis quicker on the bench or on site. Tell the technician what material was being cut, what gas was in use, whether the issue began after a nozzle change, and whether the head has taken a knock. A window problem can look like a focus setting problem, or a nozzle centring fault, so the full picture matters.
If a spare window is being prepared, keep the size, coating type and head model details together. A wrong fit can create leaks, poor sealing or poor beam quality. For site visits across Johannesburg, Pretoria, Rustenburg, the East Rand, Durban and Cape Town, clear notes cut down the back and forth at the machine.
- State when the cut quality changed.
- Make a note if the fault happens all the time or only comes and goes.
- Share any crash, splash or spatter event.
- List the parts changed before the problem started.