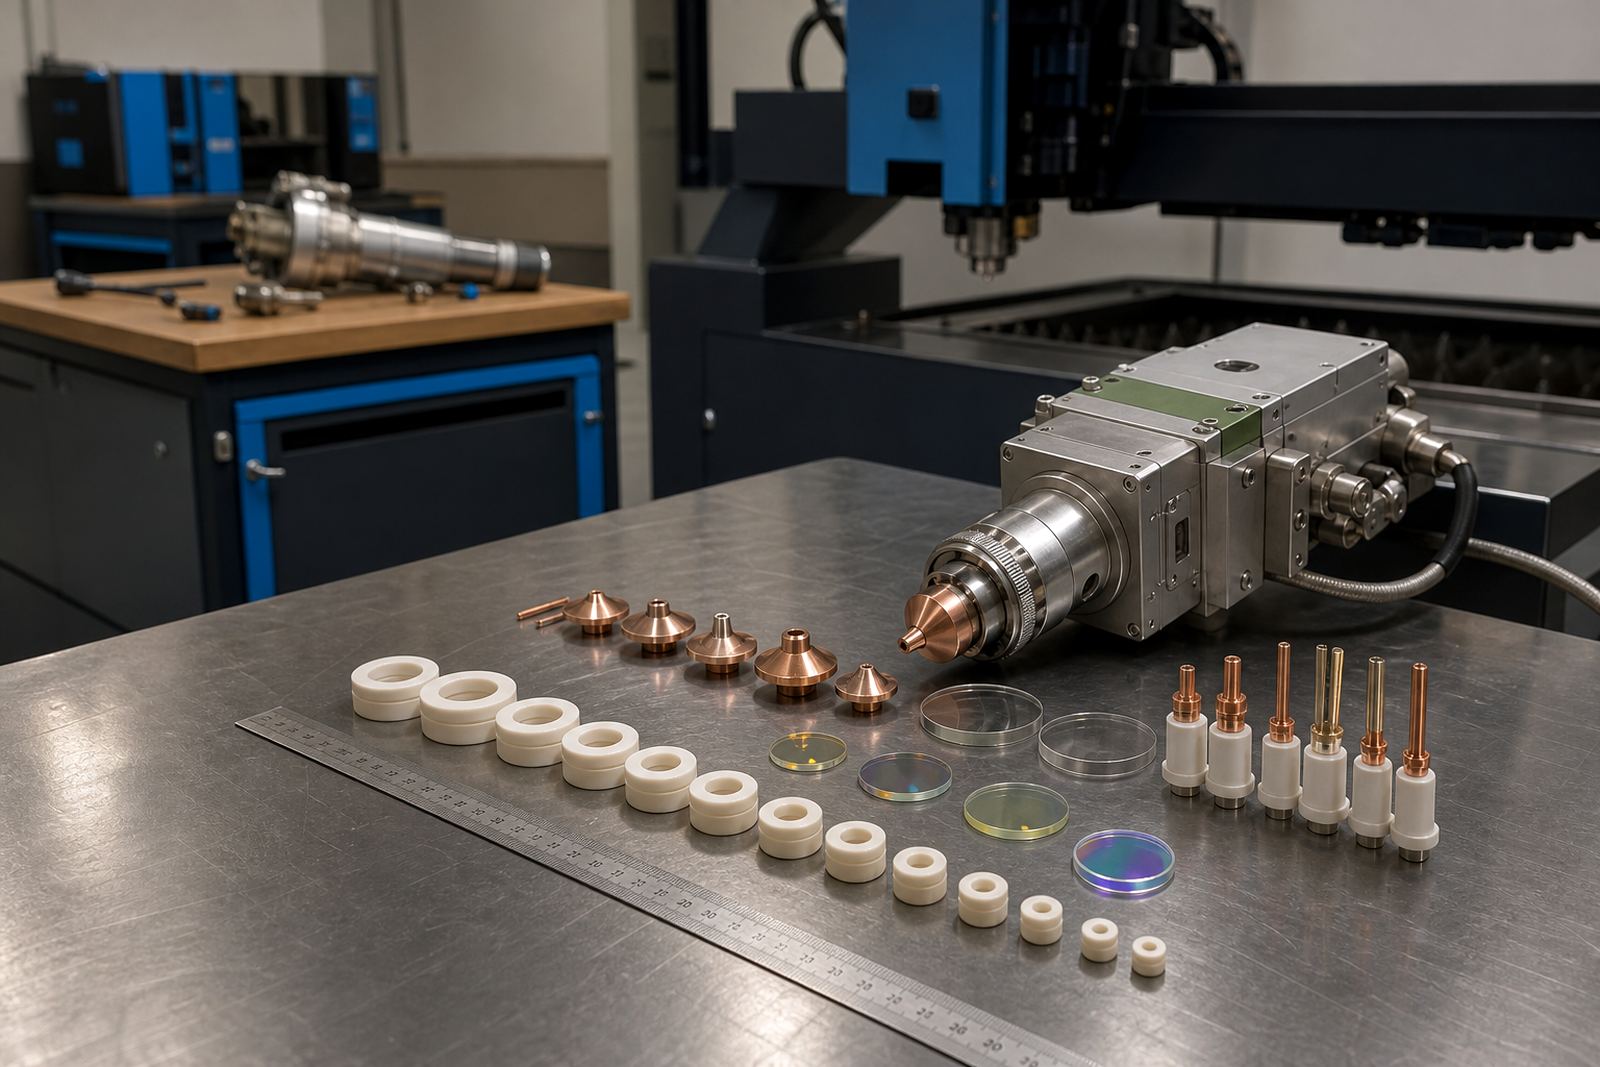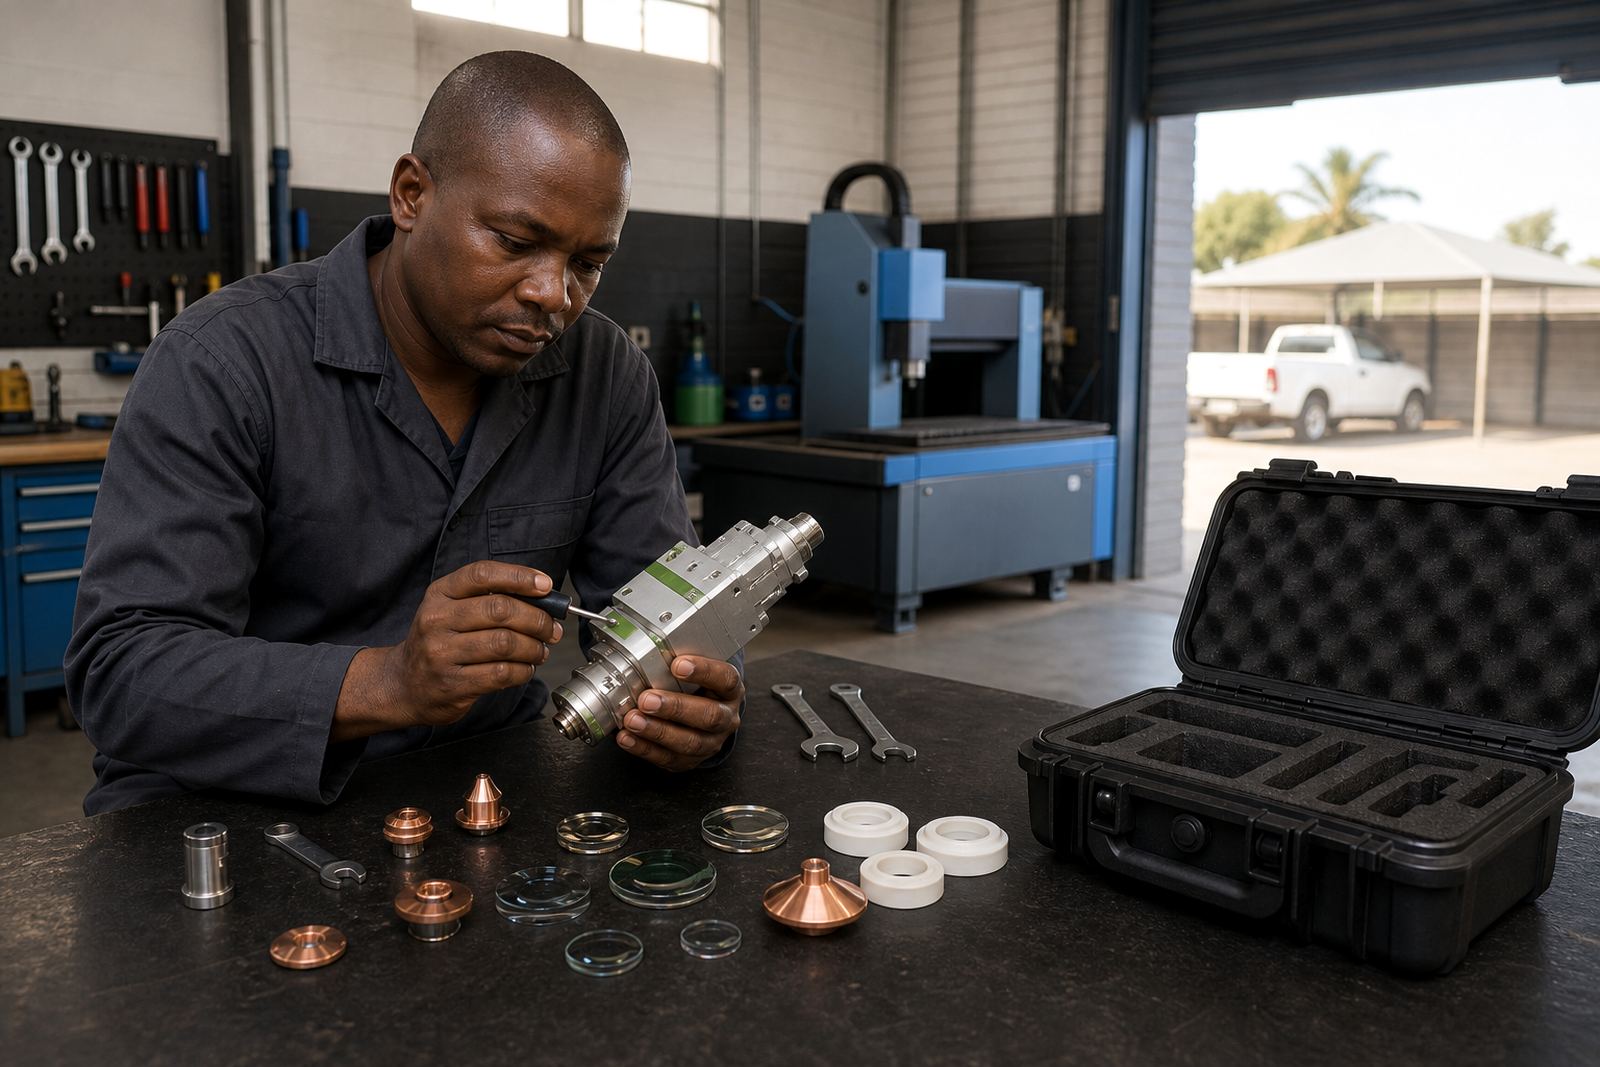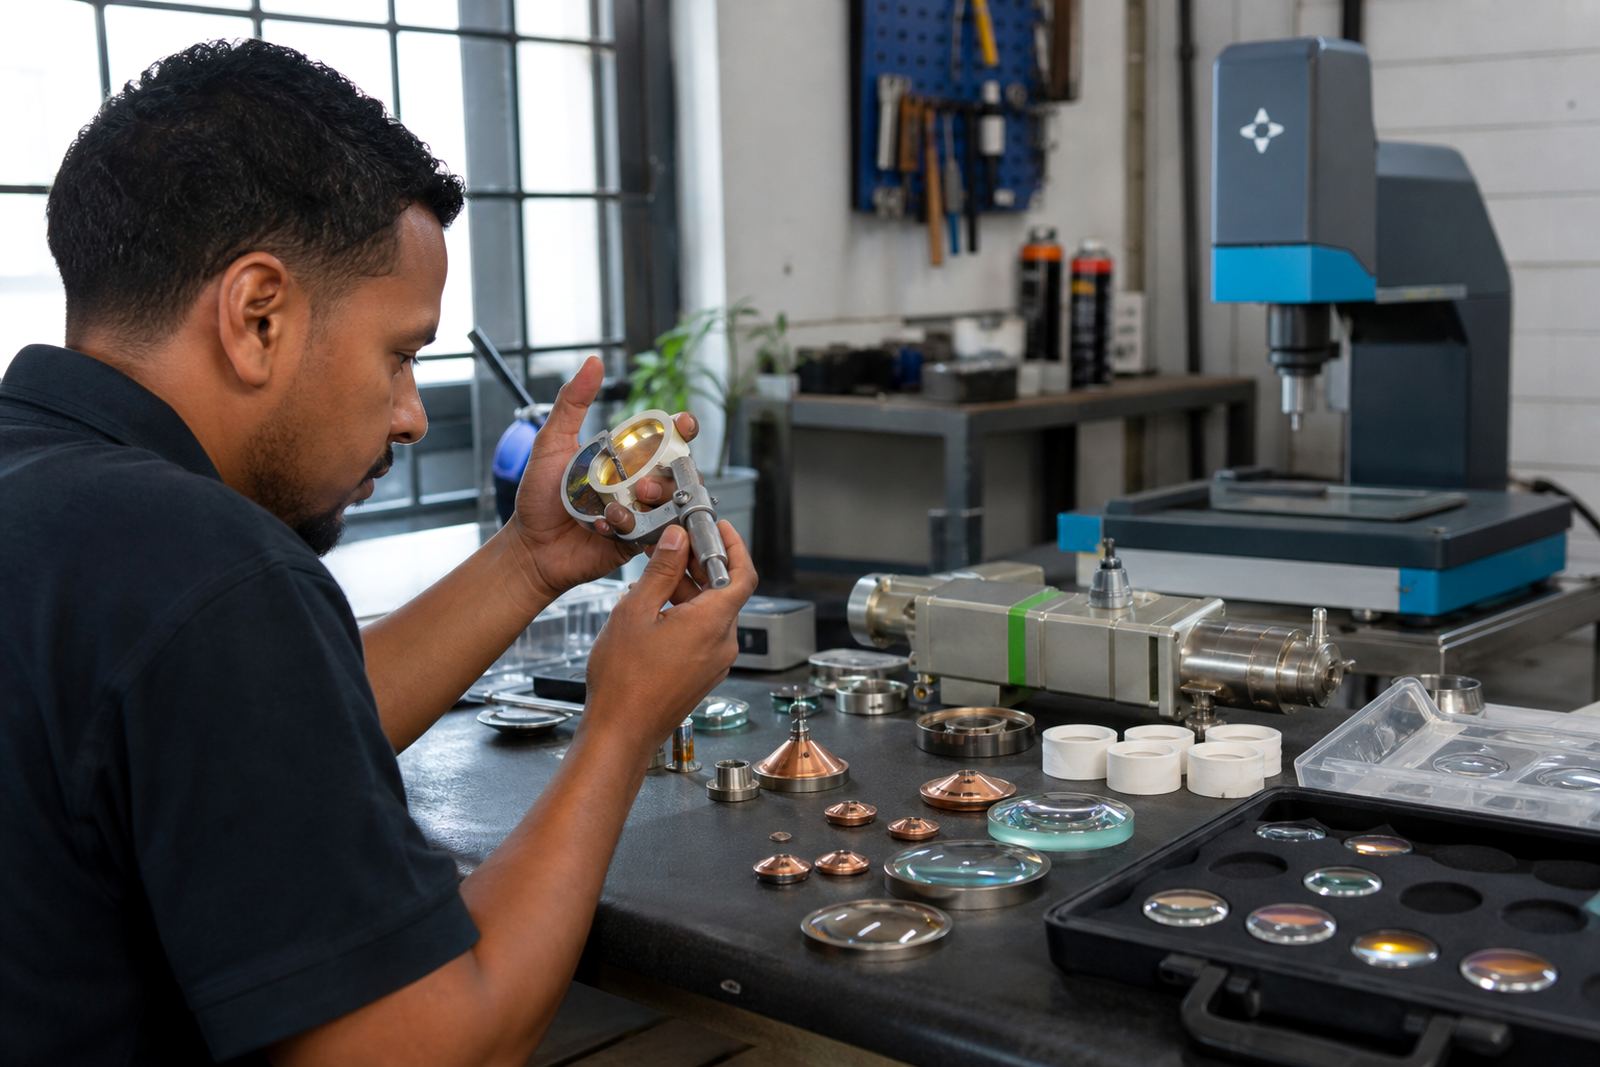

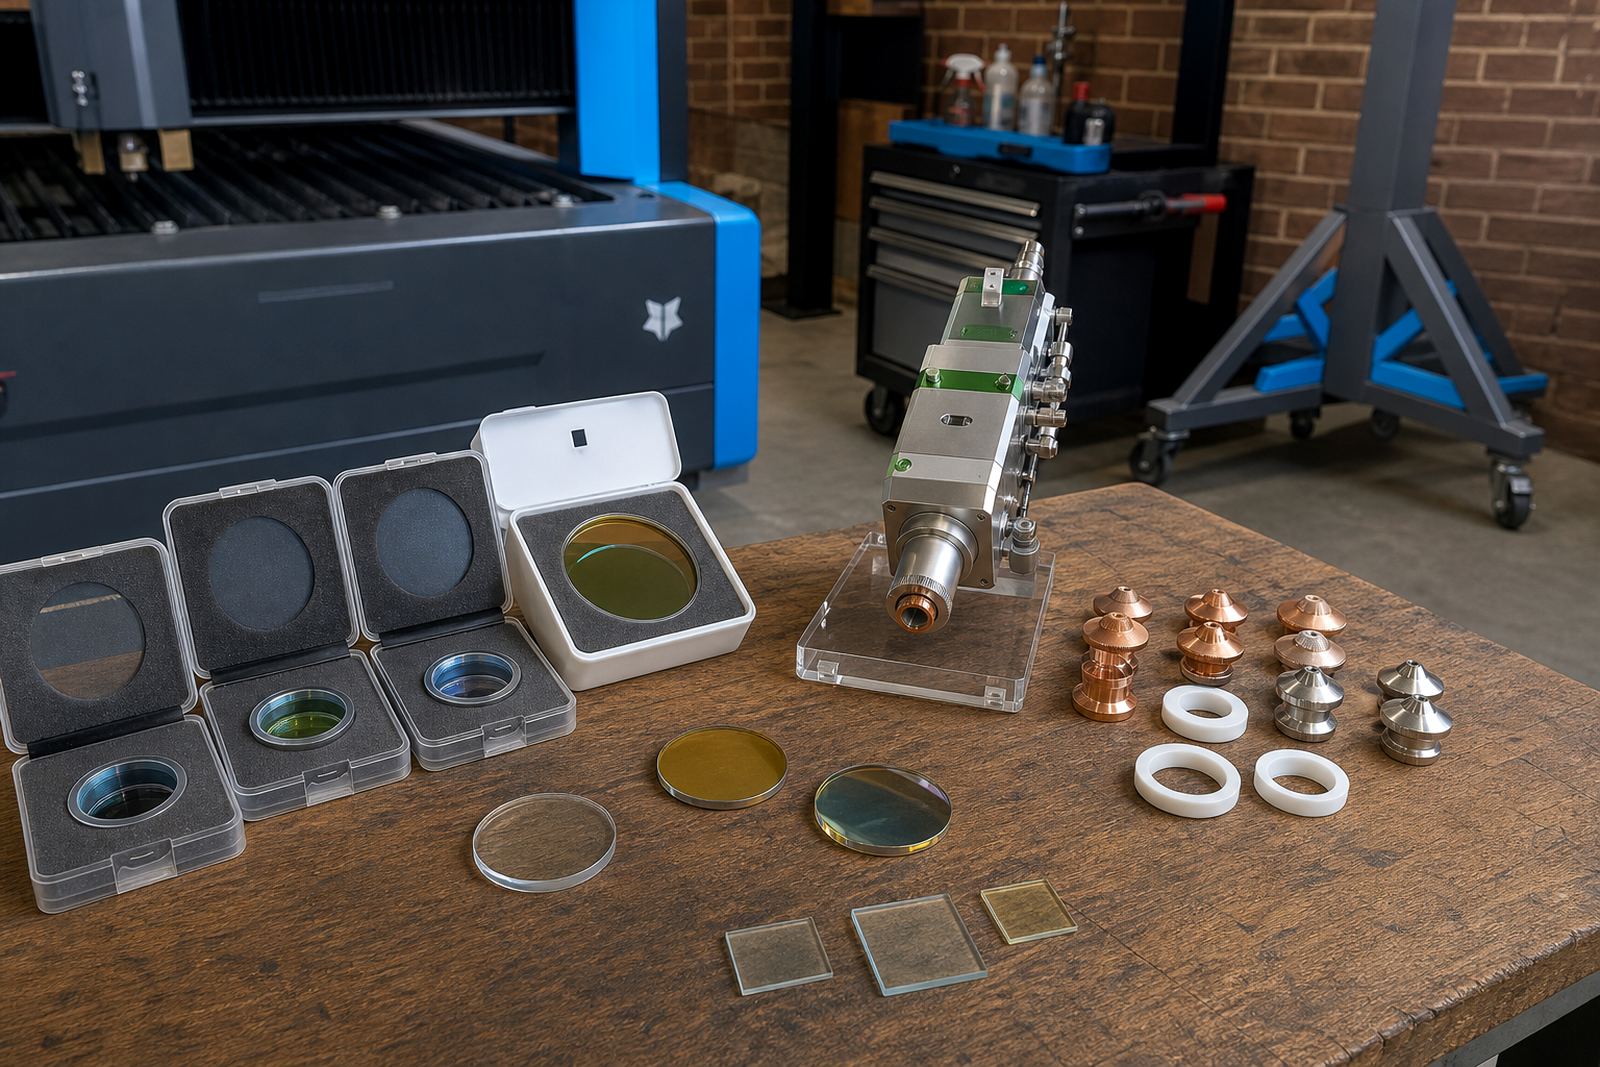
Start with the head arrangement, not the lens first
Our first check is the cutting head setup on the machine. A focus lens must suit the optical path, lens diameter, cell style and the way the head clamps into the body. If the lens seat, retaining ring and protective window stack are not aligned, you can end up chasing edge roughness, flare marks and unstable pierce behaviour on sheet that should cut cleanly.
On fibre laser cutting heads, the lens sits in a system that also depends on nozzle condition, ceramic ring fitment and the state of the gas path. A lens can appear fine on the bench and still cause trouble if the head has crash damage, dust in the bore or a moved focus reference. That is why the lens choice has to follow the whole head arrangement, not only the part number on the glass.
- Check the lens diameter and mounting style first
- Match the focal length to the cutting job profile
- Confirm the head body, seals and retaining parts are sound
- Inspect for dust, haze, chips and heat marks before fitting
What focal length does on sheet-metal work
Focal length changes where the beam comes to its tightest point. Shorter focal lengths are often used for finer detail and thinner material, while longer focal lengths give a different cutting window on thicker sheet and more forgiving standoff behaviour in some jobs. The right answer depends on the machine, the head design and the range of material that passes through the shop.
When the focus point is off, the cut face can show dross, taper or a wider heat affected line than expected. That is why a focus setting check matters after lens replacement, nozzle changes or a head service. Even a small shift in the optical stack can move the working point enough to upset the cut quality on mild steel, stainless or aluminium.
- Shorter focus can suit detail work and finer edges
- Longer focus can suit thicker sheet in many head set ups
- Keep the focus setting consistent with the machine chart
- Recheck after cleaning, crash repair or window changes
Clean lenses with care, not habit
Lens cleaning is part of normal care on a fibre cutting head, but it must be done with discipline. Finger marks, lint and fine metal dust can sit on the glass and reduce cut stability. If the lens is cleaned with the wrong cloth or too much pressure, the coating can be scratched and the part will fail long before it should.
Work from the cleanest method available to the shop. Use a dust-free surface, keep the lens capped when it is out of the head and inspect it under good light before refitting. If the coating shows fogging, pinholes or a dull patch that will not wipe away, the safer move is replacement rather than forcing the part back into service.
- Use lint-free handling and clean gloves
- Protect the coated side from accidental contact
- Do not clean over a dirty bench or near grinding dust
- Replace lenses with coating damage, not just surface dirt
Protective windows and ceramic rings carry more weight than people think
The protective window is the first barrier between the process and the optical parts. If it is contaminated or cracked, the rest of the head can suffer very quickly. Ceramic rings matter too because they hold the nozzle stack steady and support consistent capacitance sensing. A loose ring or a chipped seat can throw off nozzle centring and upset the cut start.
When a head is serviced on the bench, the window, ceramic ring and nozzle area should all be checked together. It is common to find more than one issue after a bad cut, a blowback event or a minor crash. A clean window with a poor ring fit still leaves the head vulnerable, so the parts have to be treated as one working set.
- Replace cracked or clouded protective windows
- Check ceramic rings for chips and poor seating
- Inspect nozzle centring after any crash event
- Look for contamination around the sealing surfaces
Use the shop notes before you order anything
Good ordering starts with the job notes from the cutting floor. Record the head model, lens diameter, focal length, protective window size, nozzle style and whether the machine uses single layer or double layer nozzles on the common jobs. Add the material mix too, because a shop cutting 1 mm mild steel and 12 mm plate will not use the same head settings in the same way.
If the machine has drifted, include the symptoms. A weak pierce, inconsistent edge quality or a gas flare at the nozzle can point to a focus issue, a capacitive sensor fault or contamination inside the head. Those clues are useful before anyone opens the box or starts swapping parts one by one.
- Head model and lens size
- Focal length and window size
- Nozzle style, single layer or double layer
- Material range and the cut fault seen on the floor
Bench service or on-site alignment, then a final cut check
A focus lens should be part of a wider head check, not a stand-alone swap. On the bench, the head can be inspected for seal wear, gas path restriction, lens condition and the fit of the ceramic parts. On site, alignment work helps when the machine has shifted or the head is giving mixed results across different sheets. That is where focus setting, nozzle centring and capacitive height sensing all need to line up.
After fitting the lens and checking the head, run a cut test on a known material and note the edge. If the cut shows dross at one end of the sheet or a wider kerf than usual, the setting still needs attention. Small changes in focus or height can alter the result more than most shops expect, especially on jobs that mix thin and medium gauge sheet.
- Use bench service for full strip and inspection work
- Use on-site alignment when the machine needs optical correction in place
- Test focus, height sensing and nozzle centring together
- Record the final settings for repeat jobs