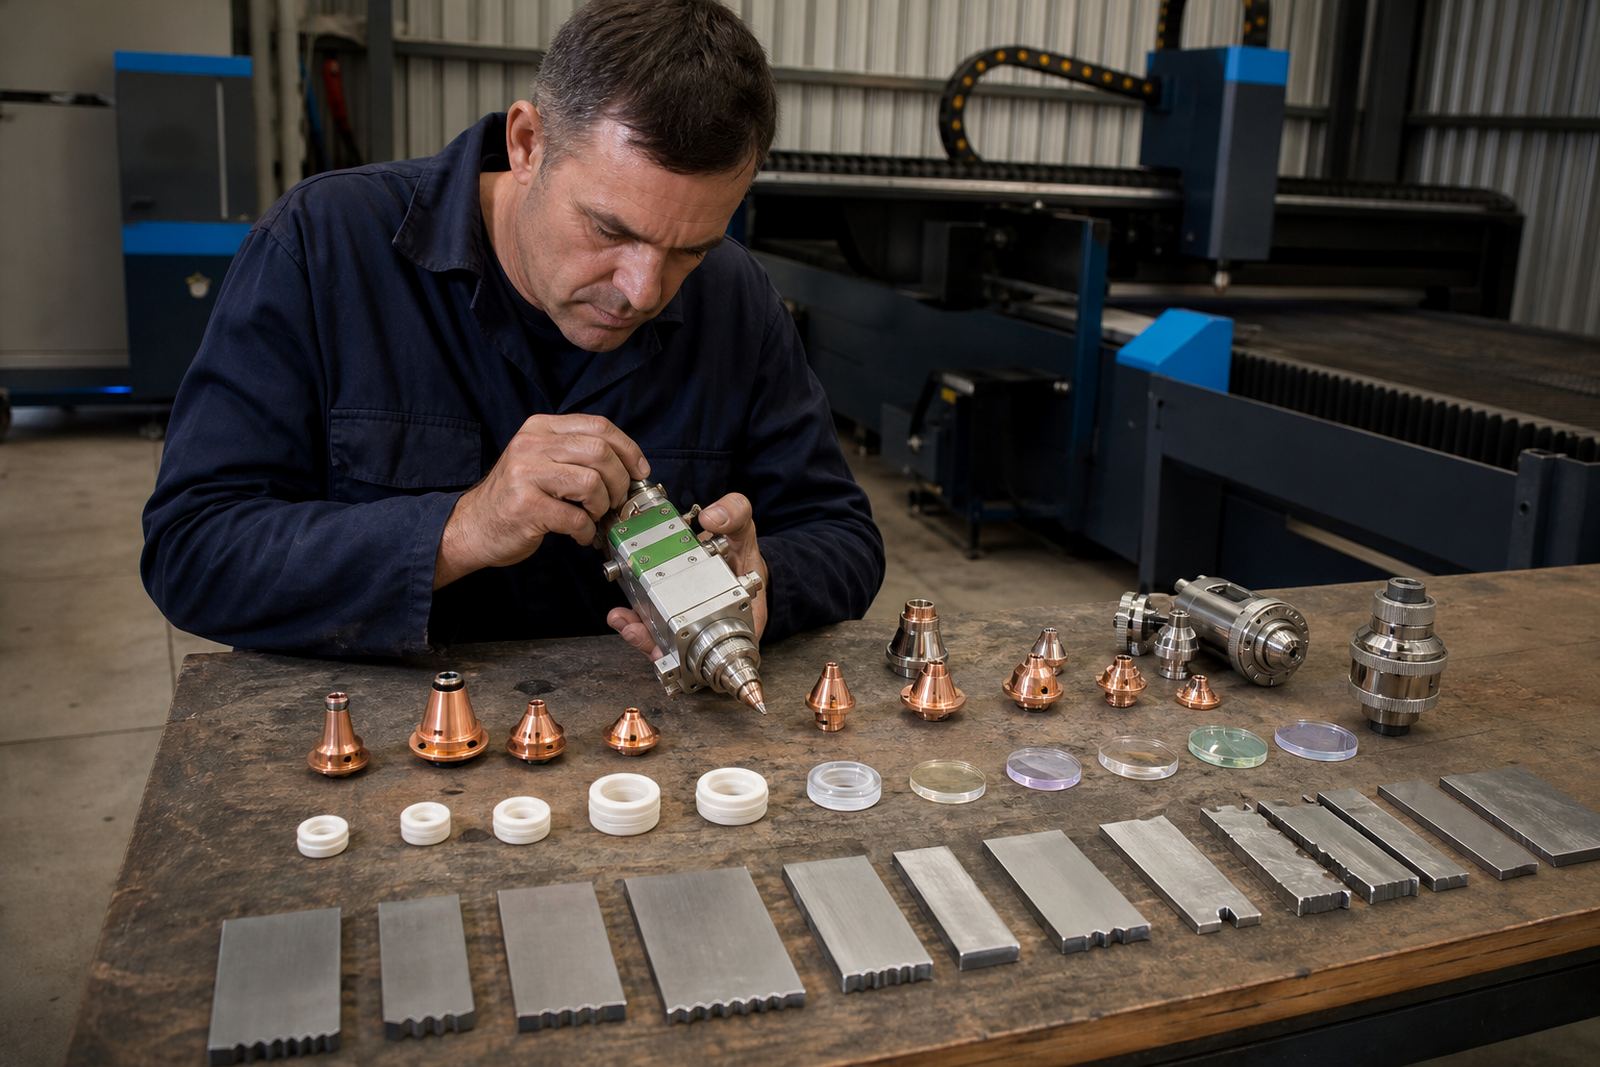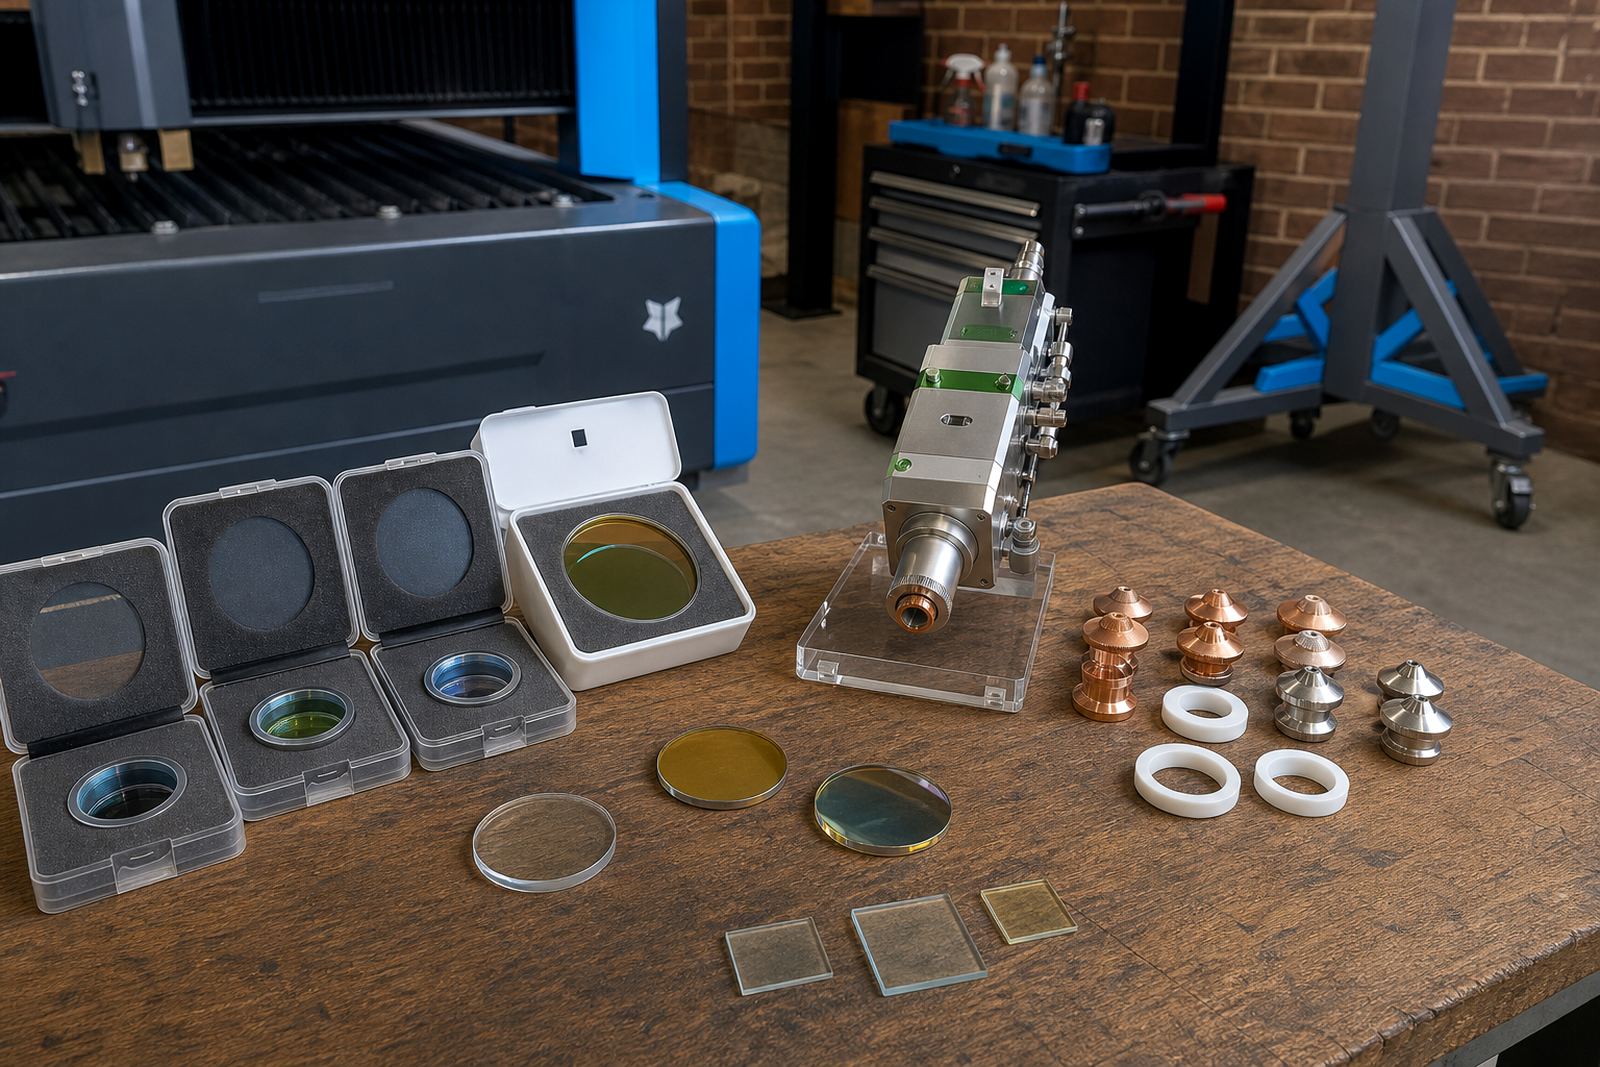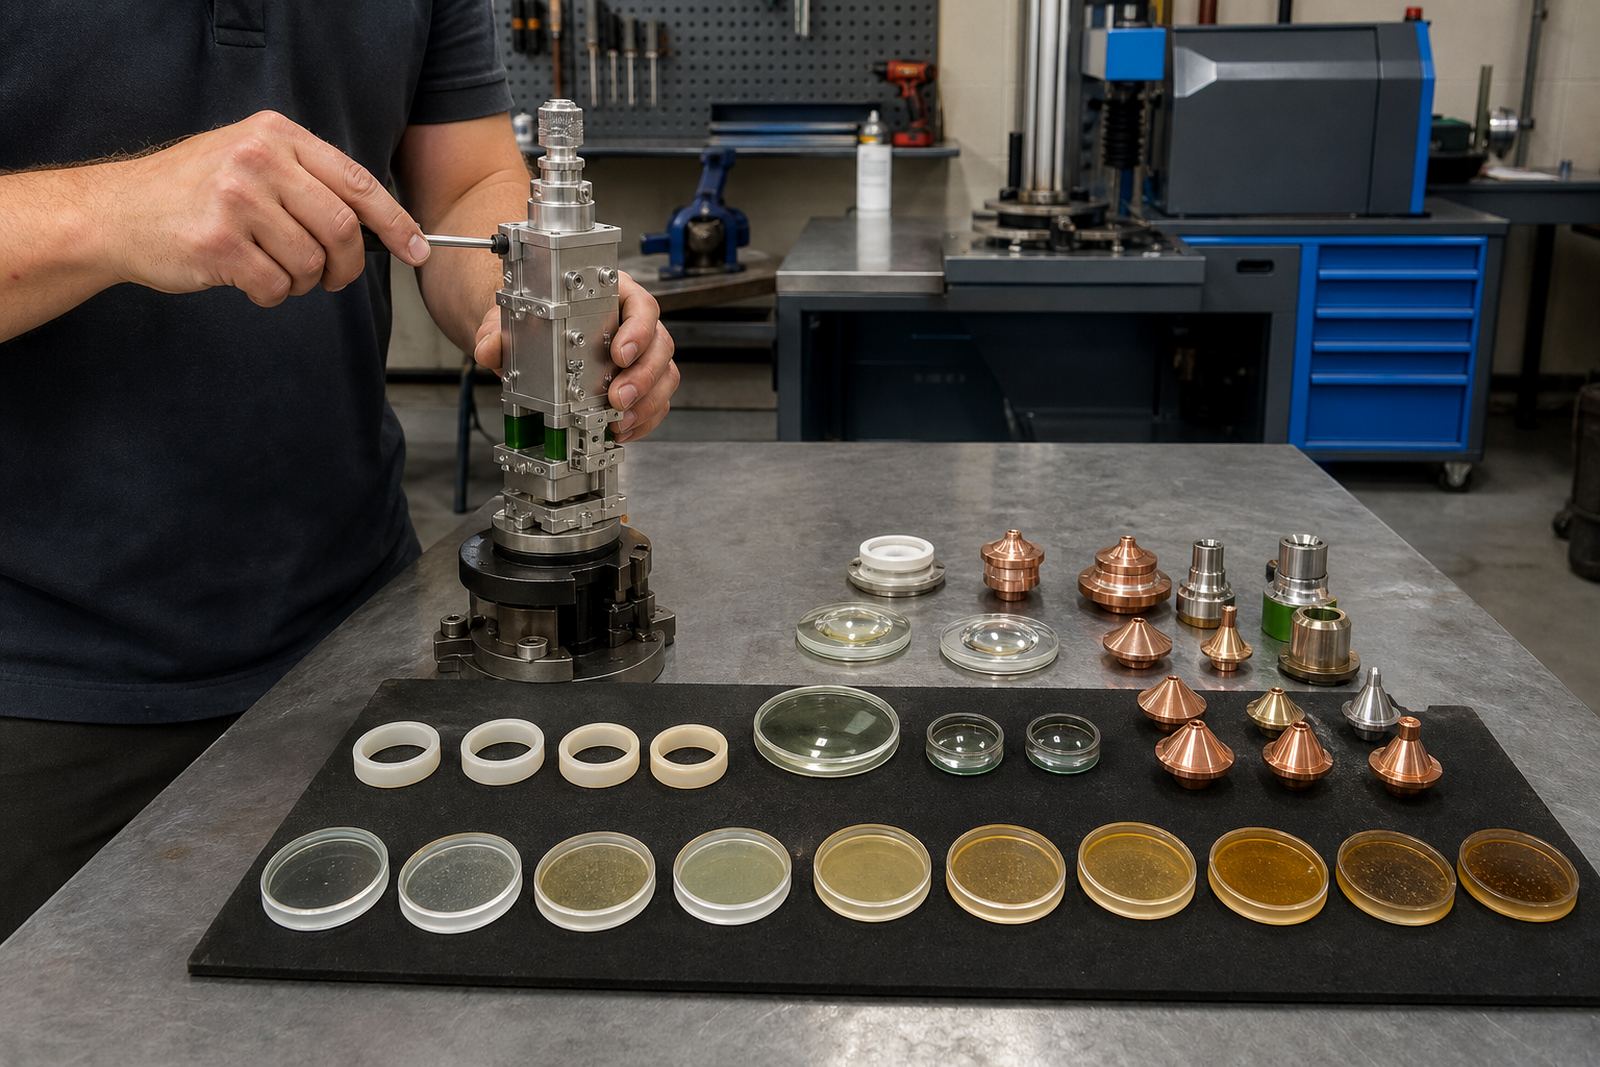

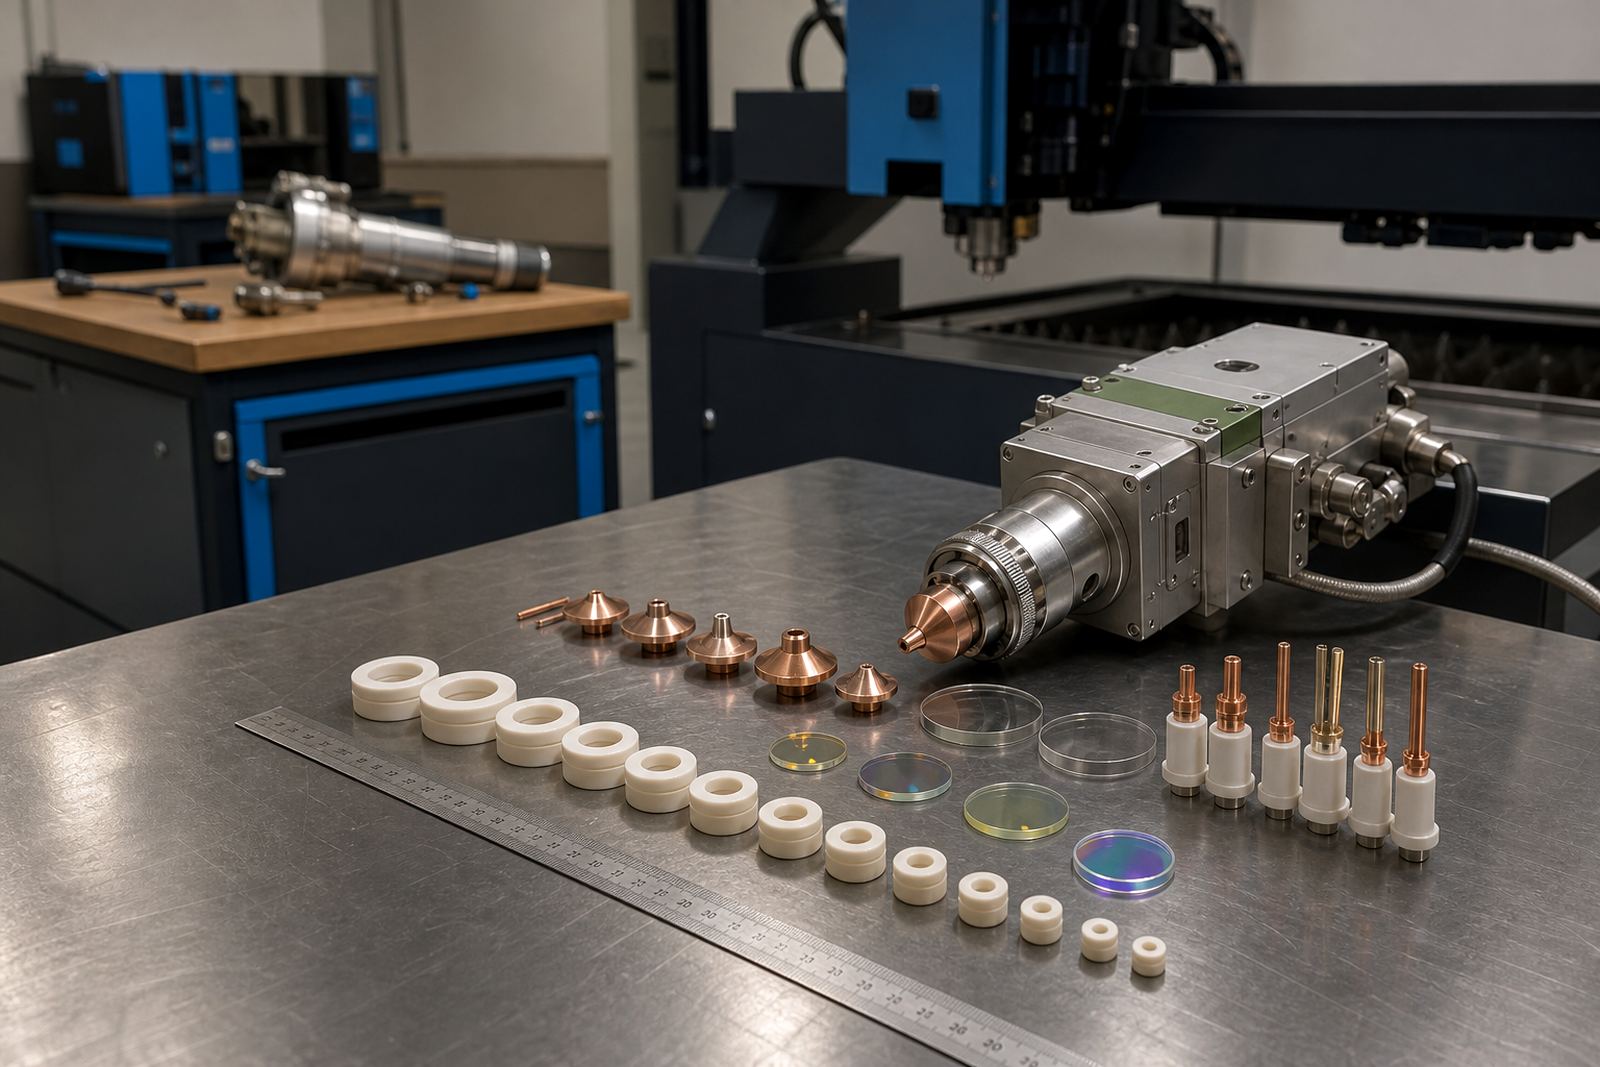
Start with the ring height that matches the head stack
Ceramic ring height changes how the nozzle sits against the head and how the sensing path reads the sheet. If the ring is too tall or too short, the nozzle can sit off line, which throws out centring and can make the head feel inconsistent during start pierce and cutting. On fibre laser cutting heads, the ring has to suit the full stack of nozzle, holder and sensor contact points, not just the thread.
Before you pick one, measure the old ring from seated face to seated face, then check whether the head uses a low, medium or raised ring profile. A mismatch can look minor on the bench but it shows up on thin sheet and on tighter cut schedules. In humid coastal conditions, ceramic parts should also be checked for hairline damage around the contact face.
Thread style must match the head body exactly
Ceramic rings come with different thread styles and pitch formats, and that is where many fitment problems start. A ring can look close enough in the hand but refuse to seat properly once it meets the head body. Cross threading, uneven torque and a ring that bottoms too early can all disturb the cutting setup.
- Match the thread style to the head body, not to the nozzle alone.
- Check the thread condition for flats, chips and old seal residue.
- Make sure the ring runs in square, then seats without forcing.
- If the old ring was damaged in a crash, inspect the body thread as well.
For Spartan, Kempton Park shops and field jobs in Johannesburg, Pretoria or Durban, that thread check saves a lot of extra head work later on.
Read the sensing contact layout before you order parts
The sensing contact layout tells you how the machine reads height and touch-off through the ceramic ring. Some heads rely on a single contact path while others use a layout that needs a clean, even ring face all the way around. If the layout does not suit the machine, the head may hunt for height or drift during sheet entry.
Look at where the contact points sit, how the ring mates with the sensor path and whether the head uses capacitive sensing in a direct or indirect layout. A small offset here can give false readings, especially after a nozzle change or a rough edge collision. If you are checking a replacement ring, hold it against the old one and compare the contact face, recess depth and seating lip before it goes near the machine.
How to tell the ring needs replacing
Ceramic rings fail in quiet ways before they fail badly. A ring can still screw in and still look usable, but a chipped edge or a worn contact face can upset centring and cause stray sensing faults. In a busy sheet-metal shop, that often shows up as poor nozzle repeatability, unstable cut starts or a head that needs regular rechecking.
- Look for hairline cracks around the body and threaded section.
- Check for chipped edges where the nozzle or holder seats.
- Watch for scorch marks, pitting or build-up on the contact face.
- Replace any ring that no longer seats cleanly or feels loose.
A good ring should feel solid, sit square and leave the nozzle path free of wobble. If it does not, the rest of the head setup keeps paying for that small fault.
Fit, clean and recheck the head on the bench
Bench fitting is the safest place to verify a ceramic ring before it goes back into service. Clean the seat, clear dust and metal fines from the thread, then fit the ring by hand first. Once it seats properly, check the nozzle, focus position and protective window condition so the whole stack works together rather than as separate parts.
After fitting, inspect the centring using a proper head check routine. The nozzle should sit true, the sensing contact should read consistently and the head should not show drag marks from poor alignment. If the ring was fitted after a crash or seal rebuild, inspect the gas path too. Dirt in the path can look like a ring problem when the real issue is elsewhere.
Field checklist for shops that cut all week
When a ring is being replaced on site in Cape Town, Rustenburg or the East Rand, the job needs a short practical check before the machine goes back to cutting. Keep the old ring aside until the new one is verified, because it helps confirm the right height and thread form if the new part does not seat the way it should.
- Confirm ring height against the removed part.
- Compare thread style, pitch and seating depth.
- Check the contact face for chips or rough edges.
- Wipe away dust and fine metal before final fitment.
- Test the head for stable sensing contact after installation.
If the ring is part of a wider head service, include nozzle centring, lens cleaning and a protective window check. That keeps the head stack honest and avoids chasing the same fault twice.