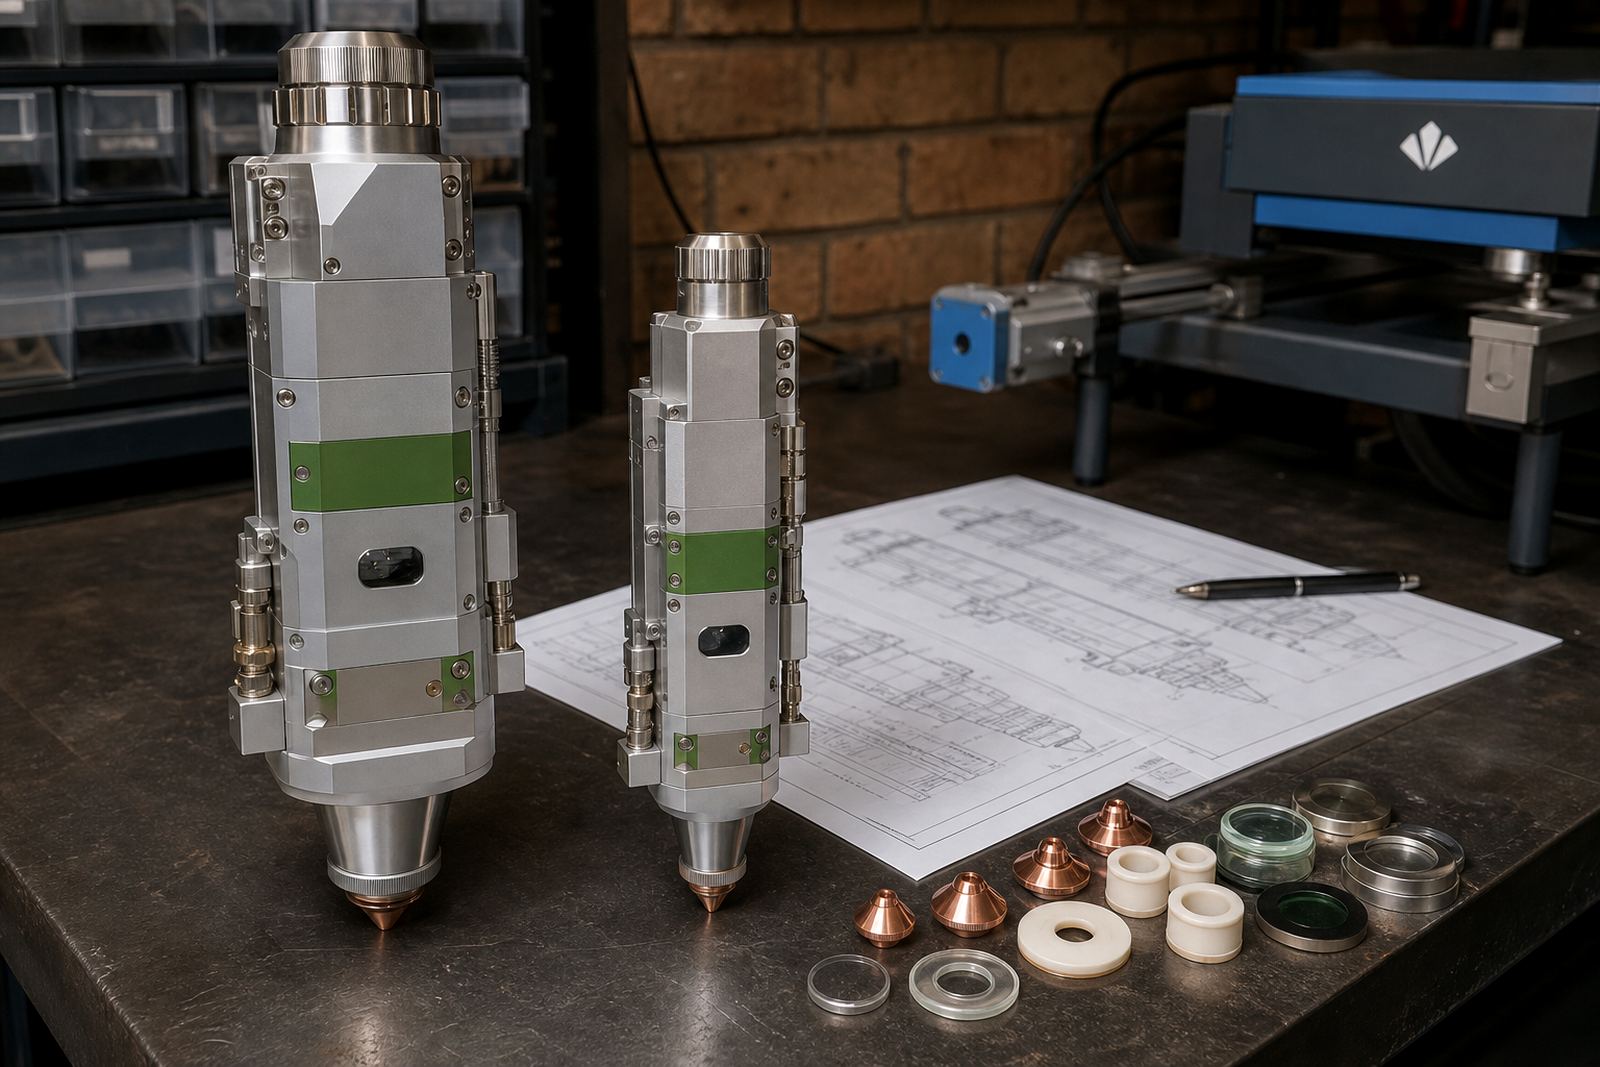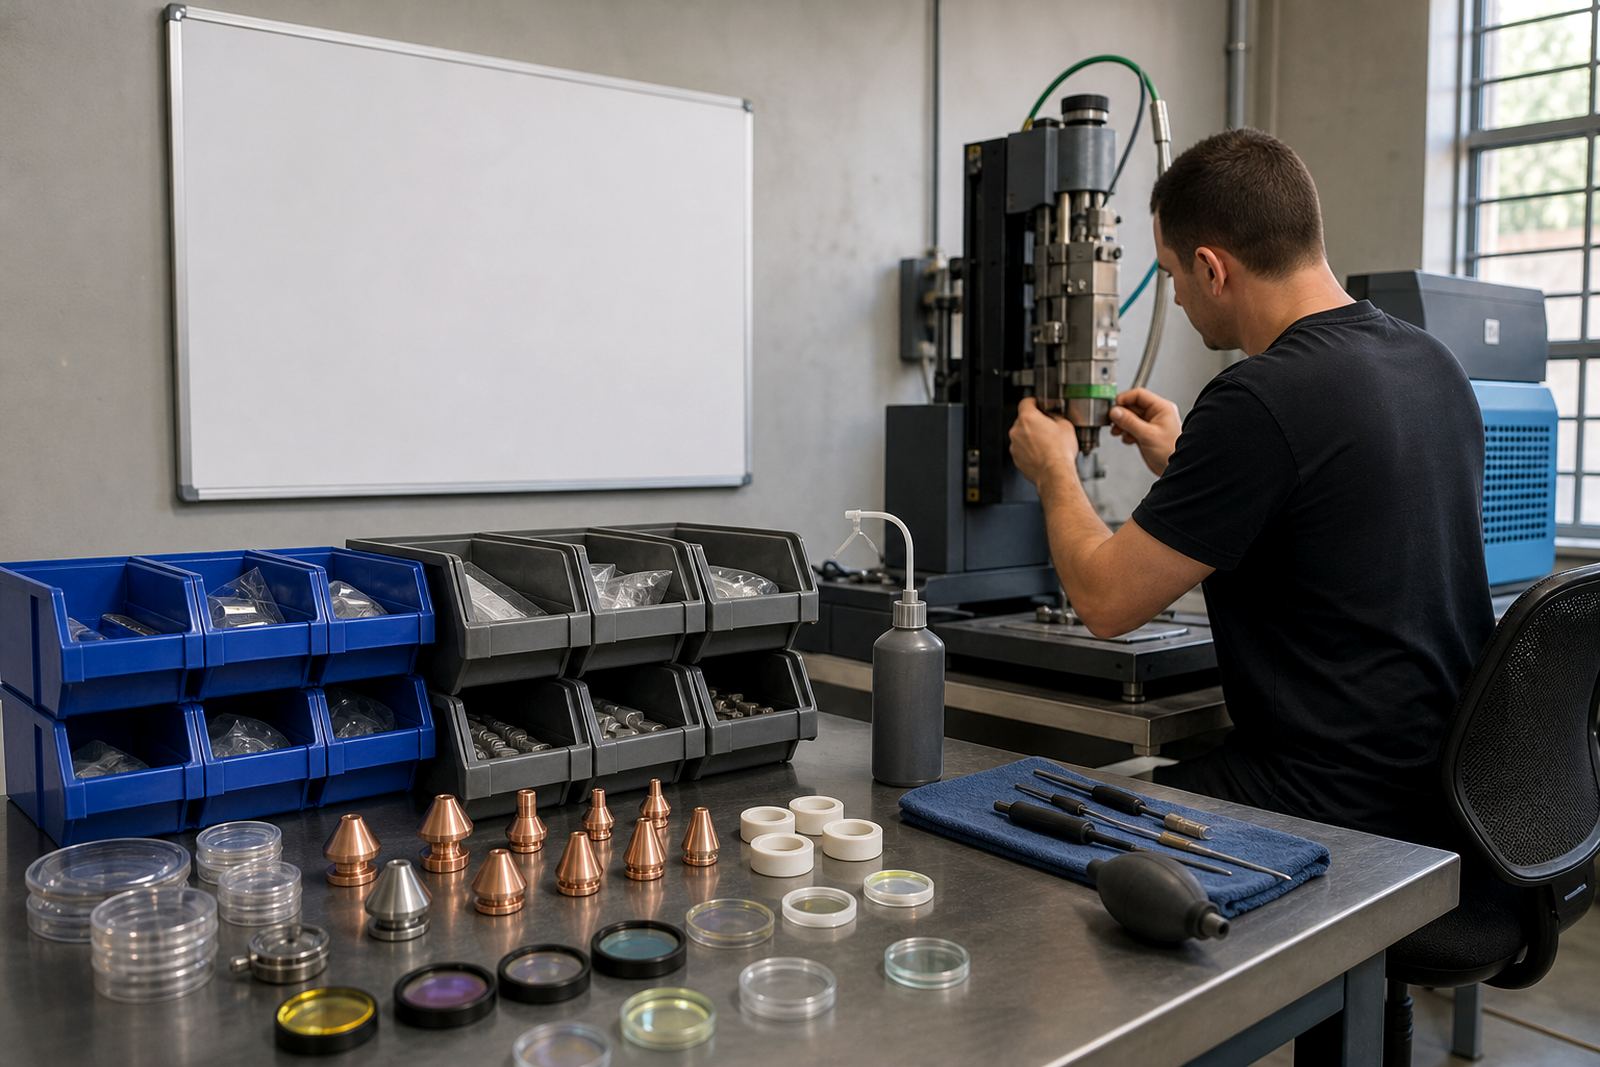

Start with the bore, not the shine
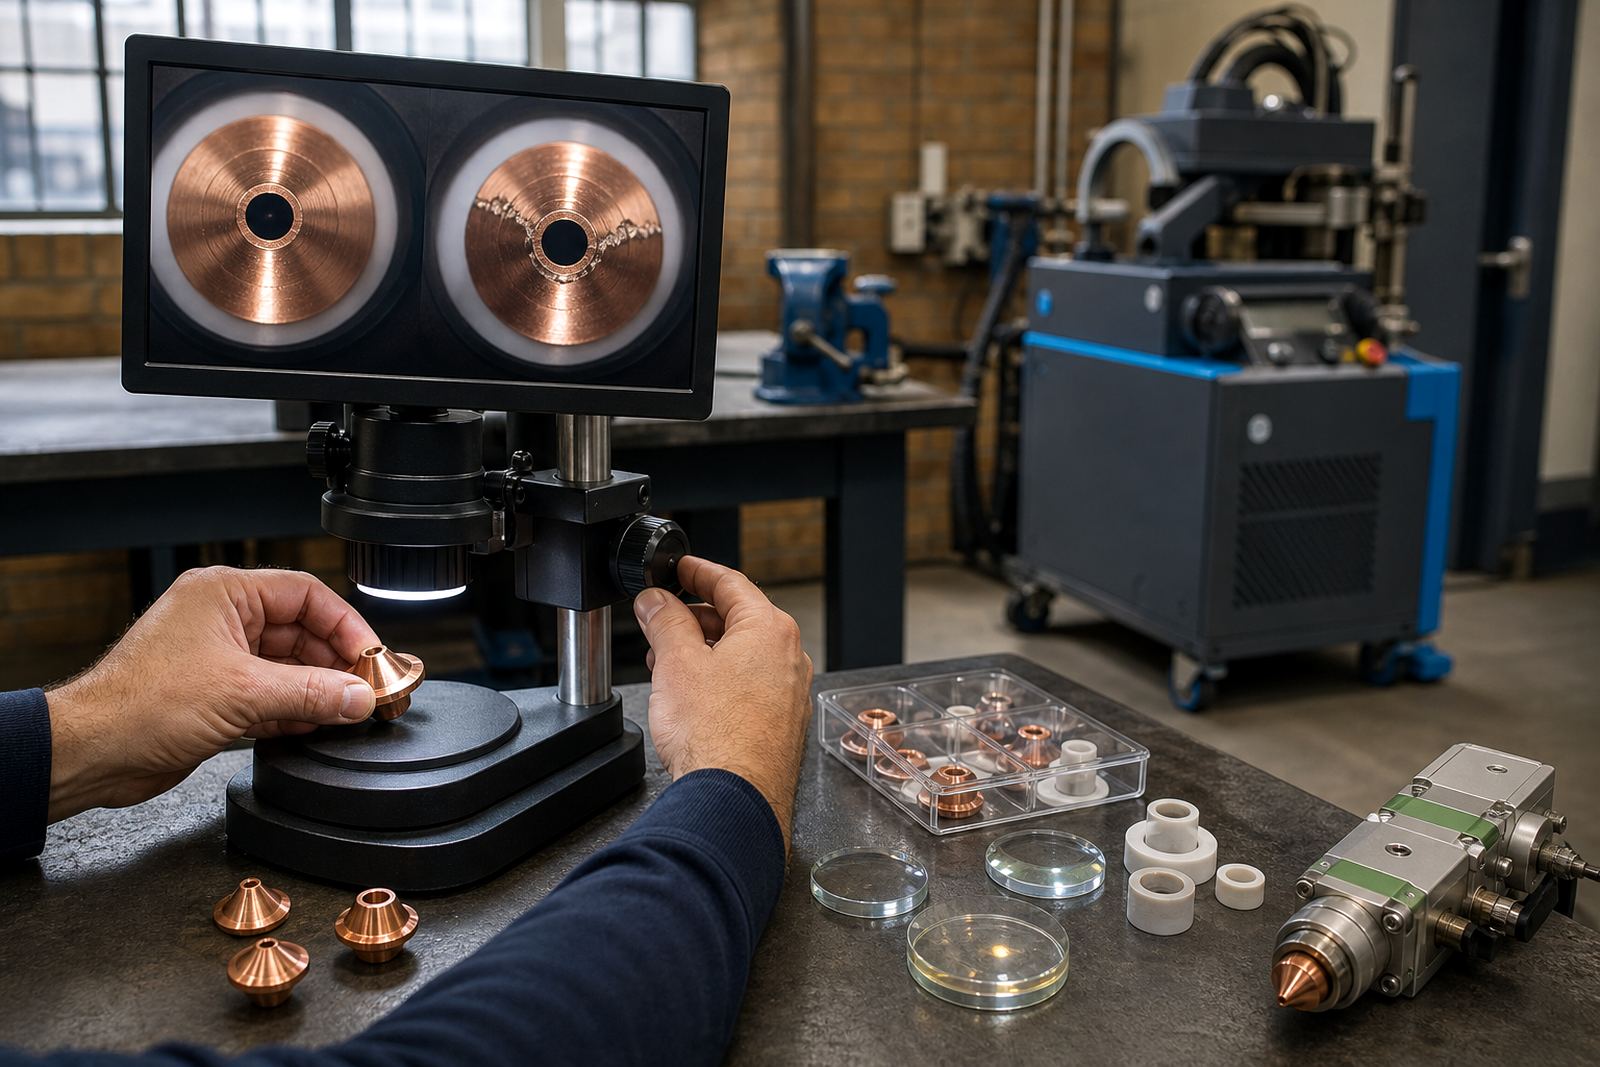
Hold the nozzle under strong light and look straight through the bore. The outlet should be clean and round, with no oval wear, burrs, dents or heat tint around the tip. A nozzle that has been knocked on a bench or dropped onto steel plate often picks up a small lip at the edge, and that lip can disturb the gas stream and leave a rough cut face.
On fibre laser cutting heads, the nozzle bore and the centre line must work together. If the bore is no longer true, centring will drift and the head will need extra adjustment just to hold a stable pierce. A nozzle with visible scoring or a rough interior finish is not worth putting back into service.
- Check for ovality at the tip.
- Look for burrs around the outlet edge.
- Reject nozzles with a chipped lip or dented cone.
- Set aside any nozzle with dark heat marks inside the bore.
Read the wear pattern after a job
Used nozzles often tell their story in the marks left on the cone and face. A clean, even polish around the outlet can be normal, but uneven wear points to poor centring, dirty gas, slag splash or a head that has been running too close to the sheet. When one side of the bore looks brighter than the other, the jet has been working off centre.
Single layer nozzles and double layer nozzles wear differently. A double layer body can hide damage at the inner passage, so inspect both layers with the same care. If the inner seat shows pitting or the outer face is stamped up, the nozzle should not go back on a cutting head that needs tight kerf control.
- Uneven polish usually means off-centre gas flow.
- Pitting suggests heat and spatter exposure.
- Scrape marks can point to a crash or bad handling.
- Reject any nozzle with a bent seat or poor concentricity.
Match the nozzle to the cut you are trying to hold
Nozzle condition is not only about damage. The wrong nozzle can still be new and still perform badly. Bore size must suit the sheet thickness, gas choice and cut quality you need. Too large and the gas loses control. Too small and the cut becomes noisy, unstable or prone to dross. On thinner sheet, a clean nozzle helps protect the edge quality. On heavier plate, centring and clean gas flow matter even more.
When a nozzle no longer matches the job, it can show signs that look like wear, yet the real issue is set-up. Keep a clear check on the bore size, the nozzle face and the condition of the tip before fitting it back to the head.
- Confirm the bore size against the sheet thickness.
- Check that the nozzle suits the gas and cutting style.
- Do not reuse a nozzle just because it is visually neat.
- Swap out any nozzle that gives unstable pierce behaviour.
Use the bench test before a nozzle goes back in the tray
A bench check saves time on the machine. Clean the nozzle gently and inspect it again under magnification if available. The outlet should remain crisp, with no oval wear or distortion after wiping. If the nozzle is threaded, make sure the thread is sound and that it seats properly without wobble. A loose seat can hide alignment trouble that will show up in the cut.
Bench inspection also helps spot contamination from cleaning routines. Too much force, a rough cloth or an unsuitable pick can mark the bore and leave fine scratches that are hard to see at first glance. Keep the cleaning routine light and controlled, especially where protective windows, focus lenses and ceramic rings are also in circulation on the same workbench.
- Wipe gently, do not scrape the bore.
- Check the thread and seating face.
- Reject parts with wobble or poor fit.
- Keep dirty parts away from clean optics.
Clues that the nozzle should stay off the machine
Some signs are clear enough that no further debate is needed. A nozzle with a chipped outlet, a crushed cone, heavy splash build-up or a blackened edge has already done too much work. The same goes for one that keeps drifting out of centring after repeated adjustment. On site, a technician will often find that the nozzle is only part of the problem, with a worn ceramic ring or a damaged capacitive sensor path adding to the fault.
If the cut starts to taper, the pierce becomes erratic or the edge shows unexplained roughness, stop and inspect the nozzle before chasing other settings. Focus position, gas path inspection and lens condition all matter, but a tired nozzle can undo the rest of the setup.
- Chipped edge or flattened tip.
- Repeated loss of centring after adjustment.
- Heavy spatter that will not clean off.
- Cut taper that follows nozzle changes.
A practical replacement habit for sheet-metal shops
Keep a small sorted tray for nozzles that are clean, lightly used and ready for the next job, then separate anything doubtful straight away. That habit keeps the machine room honest. It also makes it easier to judge when a nozzle should be replaced, cleaned or sent for bench service together with the rest of the cutting head.
For sheet-metal shops in Spartan, Kempton Park and across Johannesburg, Pretoria, Durban, Cape Town and Rustenburg, a neat nozzle routine helps improve cut control and reduce rework. When the nozzle looks suspect, treat it as suspect. It is cheaper to replace a poor nozzle than to waste material on a bad cut line.
- Sort clean, used and rejected nozzles into separate trays.
- Label parts that need bench inspection.
- Keep replacements close to the cutting machine.
- Record repeated faults against the same nozzle type.